Changing Body Proportion with ZBrush
If you want to use ZBrush to change the body proportion of the character instead of simply sculpting the surfaces, then follow the steps below for best result after the mesh is sent back to Character Creator.
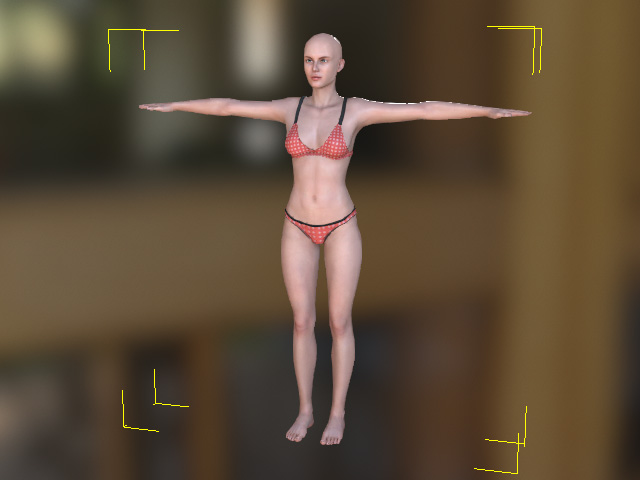
- Create a character (in this case, the default one).
- Select the character, eyes and teeth from the Scene Manager.
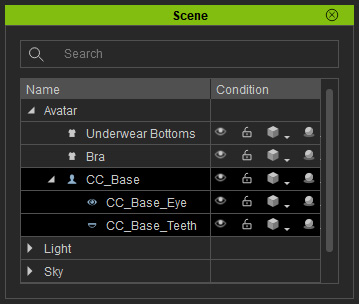
* Because there is a high possibility of changing the height of the character, selecting eyes and teeth in the step CANNOT BE SKIPPED. Note:
Note:The last selected in the Scene Manager will be displayed as the leading tool in ZBrush; therefore, it is highly recommended that you pick the CC_Base last.
However, you can still find the other meshes in the Subtool menu.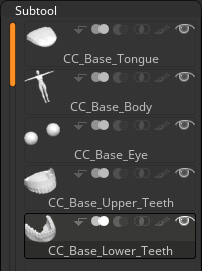
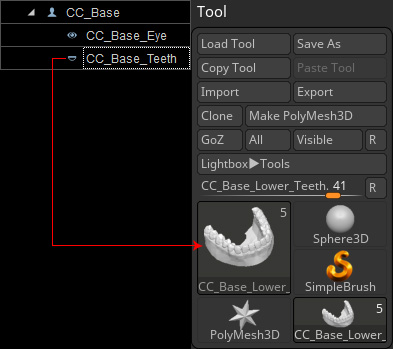
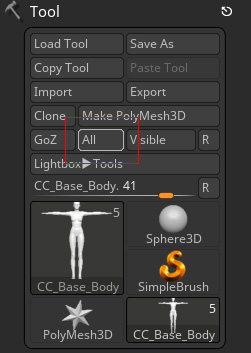
- Click the GoZ button on the toolbar.

Alternatively, you can access the File menu >> Export >> GoZ command.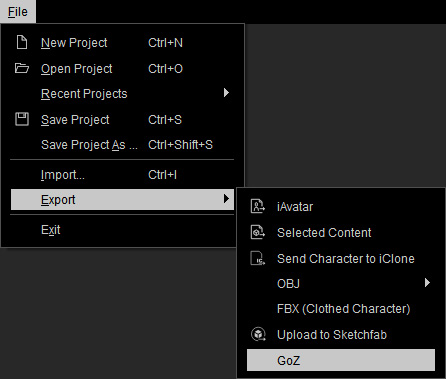
- Click the GoZ button to send the object to ZBrush.
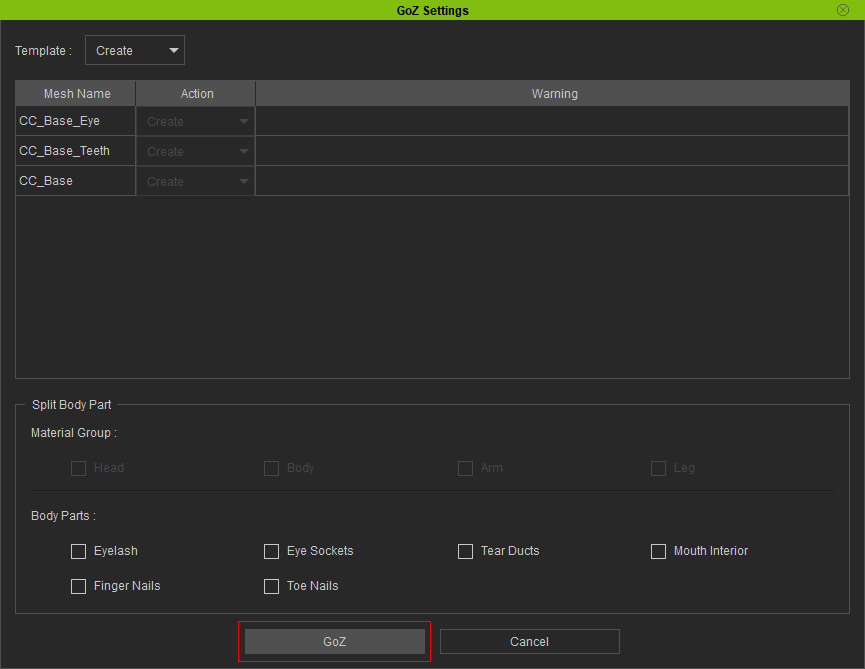
Refer to the GoZ Setting User Interface Introduction section for more information.Note:The tool files for GoZ feature are stored in the path below (by default):
C:\Users\Public\Pixologic\GoZProjects\Default - Edit the model with tools in ZBrush; in this case, the legs are lengthened.
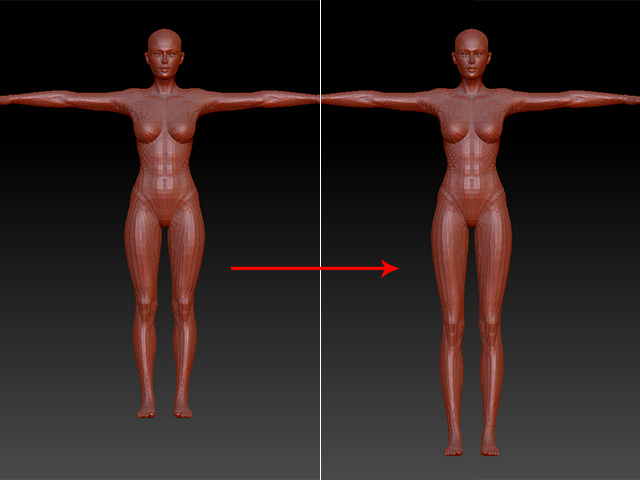
Make sure the eyes and teeth are correctly positioned. If not, then transform them.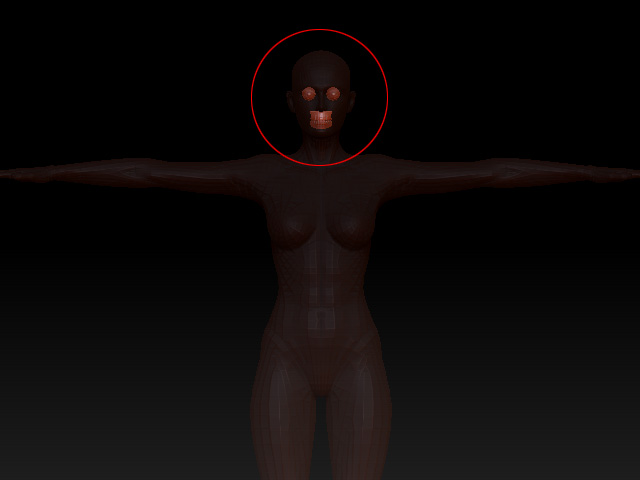

- Press the All button on the ZBrush to send the model, including the eyes and teeth, back to Character Creator.
 Note:
Note:Sending all meshes back to Character Creator ensures that the transform data of the eyes and teeth can be transferred along for auto-rig feature in the following steps.
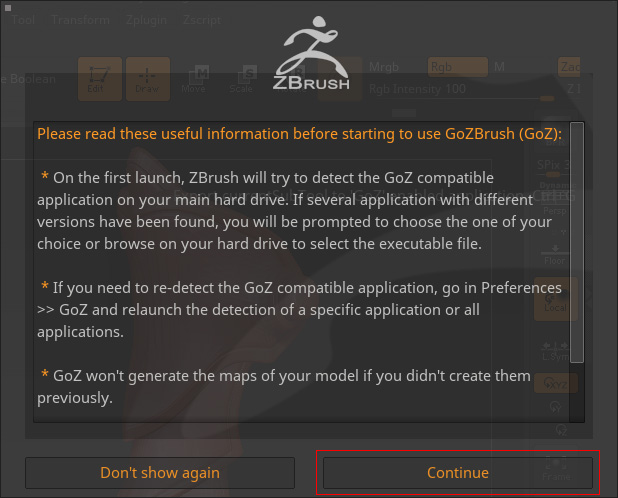
- Click the Continue button in the coming up message box.
- Activate the Adjust Bone to Fit Morph box and click the Update button when the dialog box shows in Character Creator.
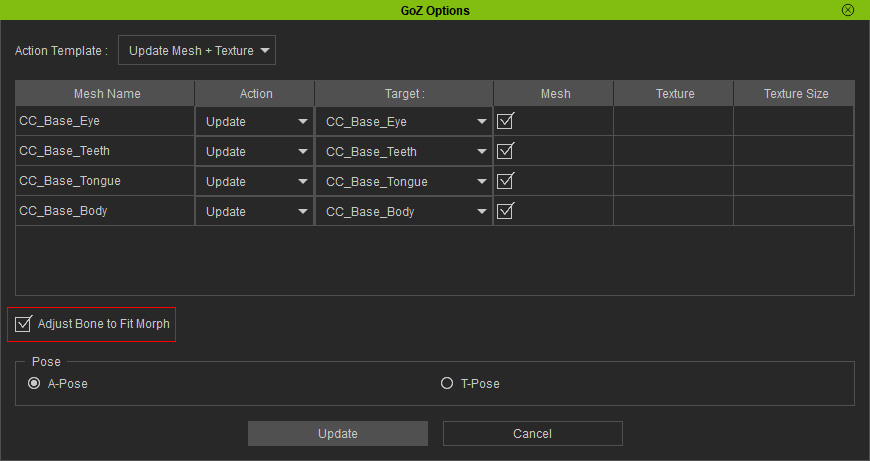
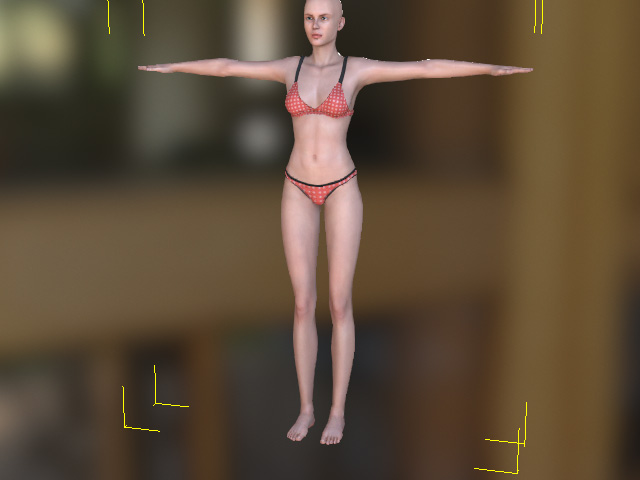
This step ensures the original bone structure to be auto-aligned to the meshes in accordance with the proportion changes of the character. - The character will be updated by the new proportion sculpted in ZBrush.
If you skipped step 8, then you need to manually adjust the bone after the meshes are send back to Character Creator.
