Prop and Accessory Pivot
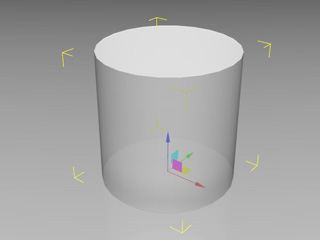
In Character Creator, each prop or accessory (hence reffered to as "P-o-A") has its own Pivot, which is the base for the Transform data. It can be taken as the Center of the entity. You can switch to the Gizmo mode so that you may see the position of the pivot in the selected P-o-As, since the Gizmo is located in the same place as the pivot. The fully flexible Pivot Editing system allows you to assign different P-o-A positions as pivots.
Since the pivot is the base for the transform data to refer to, then the Move, Rotate and Scale work according to the pivots of P-o-As. If a pivot is outside of the model entity, then unexpected results my occur, especially Rotate rotation and Scale, when you adjust the transform data of the P-o-A.
|
Move |
Rotate |
Scale |
Set the pivot location
You might come across models that have eccentric pivots. In Character Creator, you may freely change the pivot of the selected P-o-A without the use of any external software.
Please select the target P-o-A and toggle the
Gizmo mode to view the position of
the pivot. And go to the Pivot section under its attribute tab in the Modify panel.|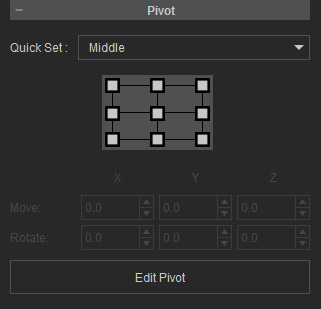
Using Quick Set
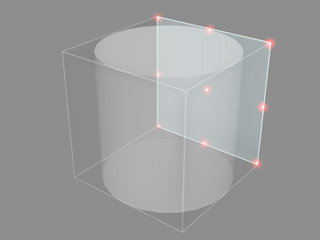
Each P-o-A is surrounded with a bounding box which shows the height, the width and the depth range of the P-o-A.
There are 27 fixed points located on the bounding box for quickly
setting the pivot location.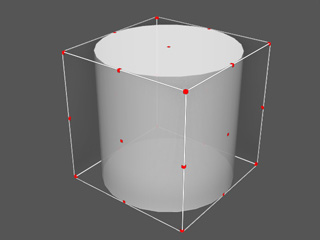
-
Select a P-o-A and switch to the move, rotate or scale tool and turn on its gizmo.
-
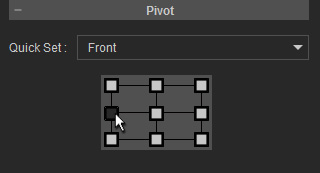
Use the drop-down list to decide which intersect plane of the bounding box you want to use.
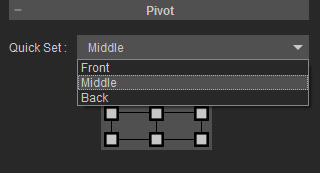

Front intersected plane
Middle intersected plane
Back intersected plane
-
Click on one of the nine points to re-locate the position of the pivot.
 Note:
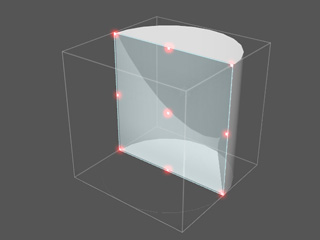
Note:Do not rotate a P-o-A and then set its pivot with Quick Set feature. Because this feature always sets pivots according to a straight virtual box that fits the P-o-A, which can mess up the pivot's position.
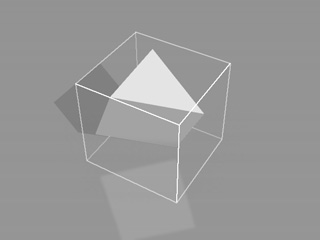

A rotated pyramid and a box surrounding it.
Back >> Top is set to the pyramid according to the box's orientation.
Setting Pivot Anywhere
If the P-o-A shape is complicated and using the Quick Set does not ensure the pivot is re-located to the correct position of the P-o-A, then you need to set the pivot freely by manual Edit Pivot.
- Select a P-o-A to relocate its pivot.
-
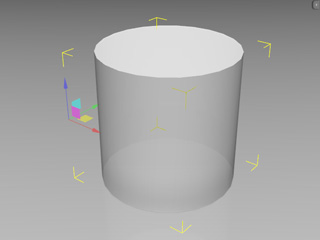
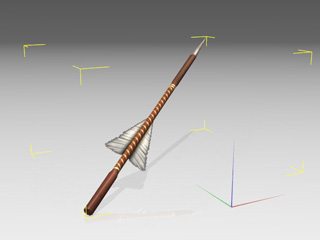
Click the Edit Pivot button. You will see that the pivot of the P-o-A
may be eccentric as the illustration shows below.
-
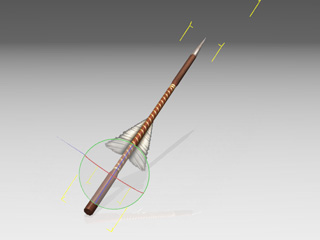
Use the Move
 tool to relocate the pivot to the desired position of the P-o-A.
Alternatively, you may enter exact values for relocating the position of the pivot.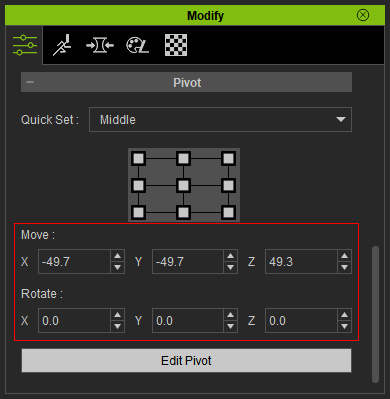
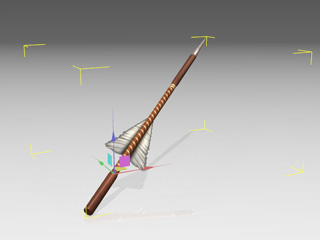
- Since the pivot's orientation is always local, then use the Rotate tool to align the
pivot orientation to the P-o-A.
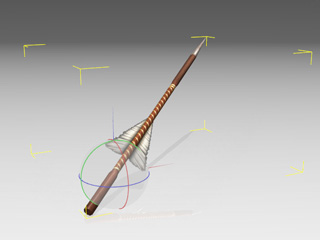
Before adjustment
After adjustment
-
Click the Edit Pivot button again to leave the editing mode.Note:
Please refer to the World or Local Axis section for more information on the reason that you need to rotate the pivot orientation.
