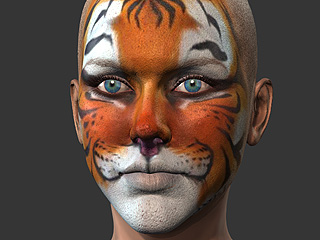
Using Custom Skin Texture
In the Basic Modification for Head Texture section, only the sliders are adjusted to do the basic and easy texture editing. However, you may also do the modification with advanced methods by replacing the texture or modify the texture in an external image editor.
Getting UV Reference Map for Creating Texture
Before creating a custom texture, you need to know the UV deployment of the head. By exporting the UV map, you can easily find the reference for editing or creating texture correctly.
-
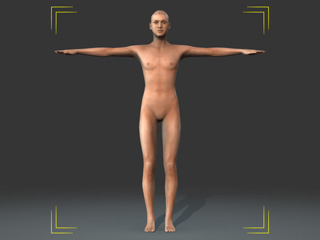
Make sure the character is selected.
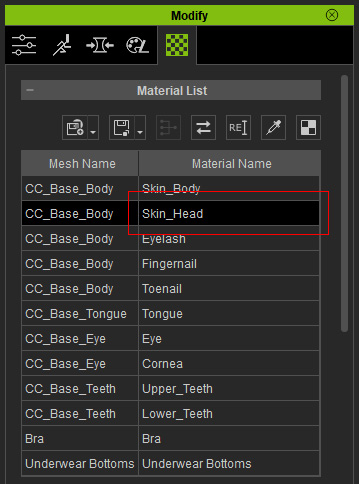
- Click on the Material tab in the Modify panel.
-
Select the Skin_Head material from the material list.
-
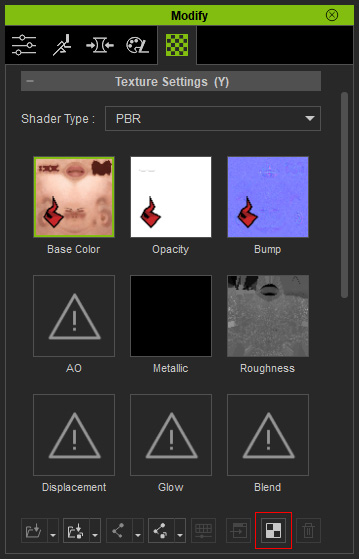
Click the UV button under the channels in the Texture Settings section.
-
The UV map of the selected material will be exported to your favorite image editor
(in this case, Photoshop).
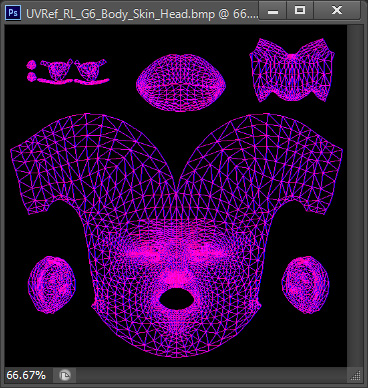
-
You may then use the image as reference for creating your custom texture.
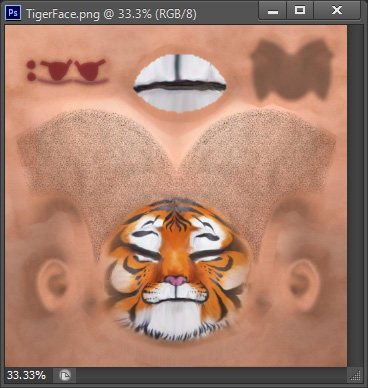
Replacing Texture
Please note that you must have purchased Essential Morphs & Skin content pack in order to have the input channel for loading custom images.
-
Create a new project in Character Creator.
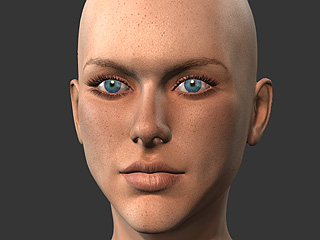
-
Go to the Modify (panel) >> Appearance
(tab).

- Select the Actor in the tree view and click the Activate button at the top-right of the panel to show the sections of adjustable parameters.
- Go to Actor >> RL_G6_Body >> Skin_Head >> Skin >> Base section.
-
Double click on the Diffuse icon and load the image prepared in
the previous section.
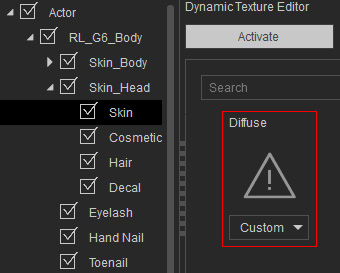
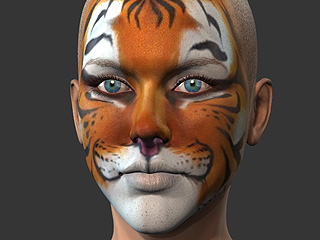
-
Optionally adjust the sliders to
append more effects to the new texture for the face.
