Polypainting diffuse maps of CC models
You can use GoZ to transfer a CC character model to ZBrush and apply polypaint to its diffuse maps. Afterwards, you can send the updated diffuse maps back to Character Creator to apply changes to the character.
- Start with a character in Character Creator.
- Select your character then click the GoZ Plus icon
 in the top toolbar to open the GoZ Settings modal window. In this example, we will select the eyeballs to GoZ.
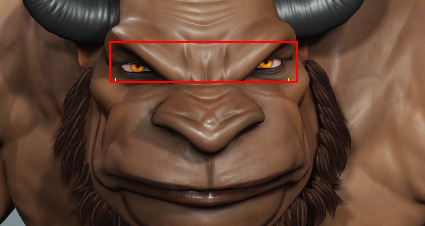
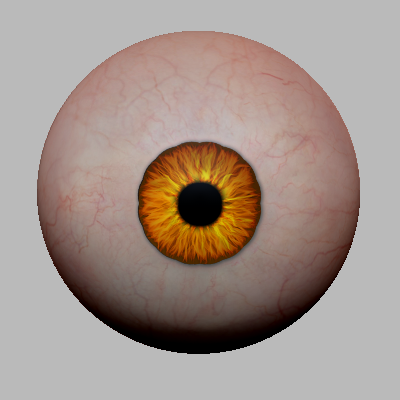
- Enabling the Diffuse option will allow CC to transfer and convert the diffuse map of the selected mesh into polypaint in ZBrush.
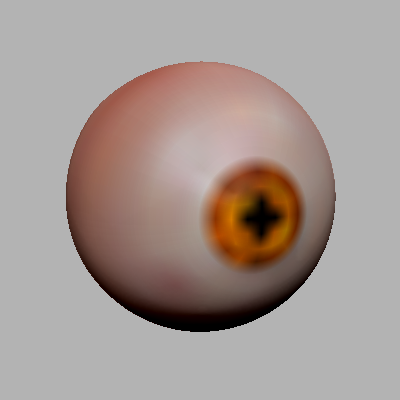
.png)
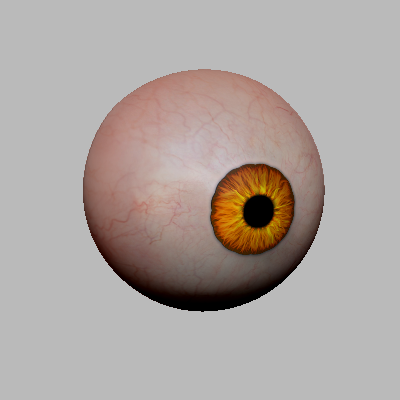
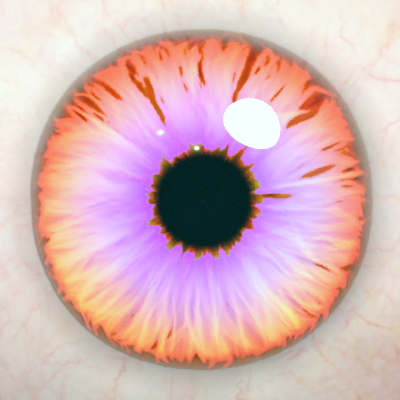
Eyeball in ZBrush with Diffuse enabled.
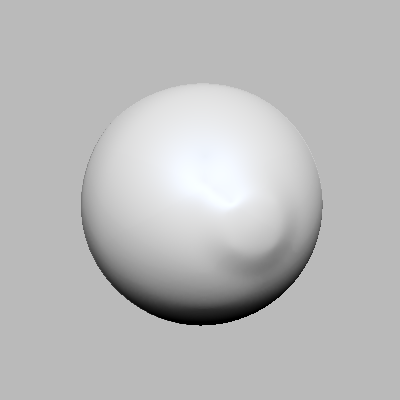
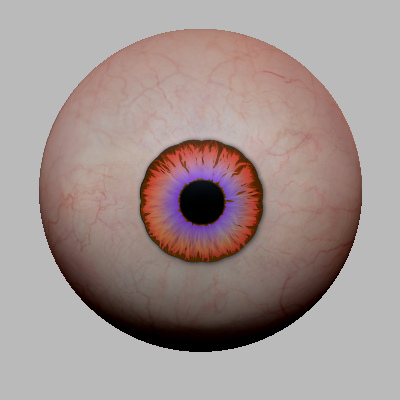
Eyeball in ZBrush with Diffuse disabled.
- Leave the remaining settings at their default values and click the GoZ button to transfer the eyeballs to ZBrush.

- Use the tools available in ZBrush to edit the polypaint on your subtools.
The eyeball’s default polypaint when transferred to ZBrush.
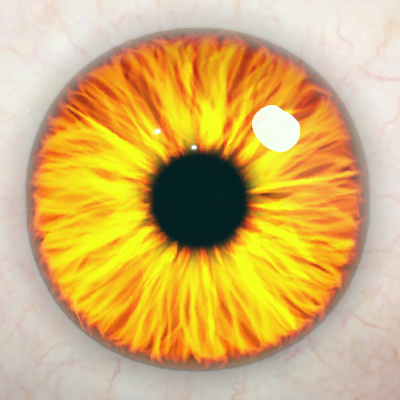
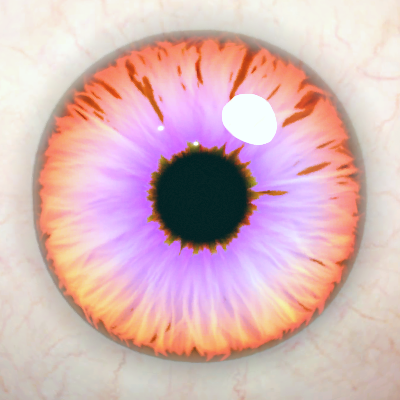
The modified eyeball polypaint after editing in ZBrush.
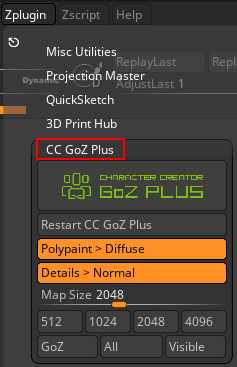
- Once your editing is finalized, navigate to Zplugin > CC GoZ Plus.
 Note:
Note:A ZBrush GoZ crash can prevent subsequent transfers with GoZ. In this case, click the Restart CC GoZ Plus button to re-establish a connection between Character Creator and ZBrush.
- In the CC GoZ Plus panel enable the Polypaint > Diffuse feature to convert your subtools polypaint into diffuse maps in CC.
.png)
Disabling Polypaint > Diffuse prevents the transfer of diffuse maps to CC and keeps the existing diffuse maps in CC as they are.
Enabling Polypaint > Diffuse will convert the polypaint on the subtools into diffuse maps and transfer them into CC. In this example, the changes to the iris color will be transferred to CC.
- Select the map size you want for your texture maps, then click All.
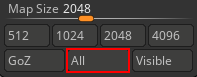
Diffuse maps in low resolution, such as 512p, can appear pixelated and blotchy.
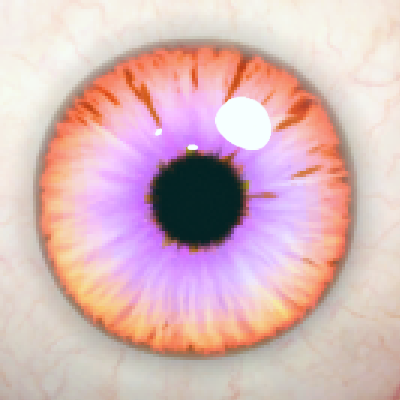
Diffuse maps in high resolution, such as 4K, will sufficiently contain all of the polypaint details, including the nuances of the iris.
- In Character Creator, the GoZ Options modal window will appear. Keep the default settings and click the Update button.

The Subdiv setting in ZBrush determines the initial resolution of the polypaint; higher subdivision levels result in better resolution.
 | |
The polypaint resolution at SDiv 1. | The polypaint resolution at SDiv 7. |
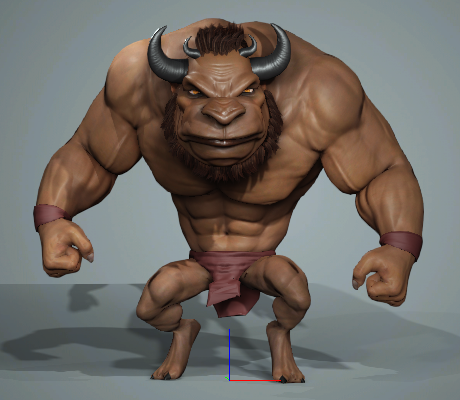
The eyes of the minotaur model in Character Creator are successfully updated..png)
