Creating Cavity Maps with ZBrush
Taking the advantages of ZBrush pipeline, you are able to generate custom cavity maps to increase character's skin details.
- Export CC character by GoZ feature.
- In ZBrush, select the face with MaskPen tool, which increase the performance by hiding ActivePoints.
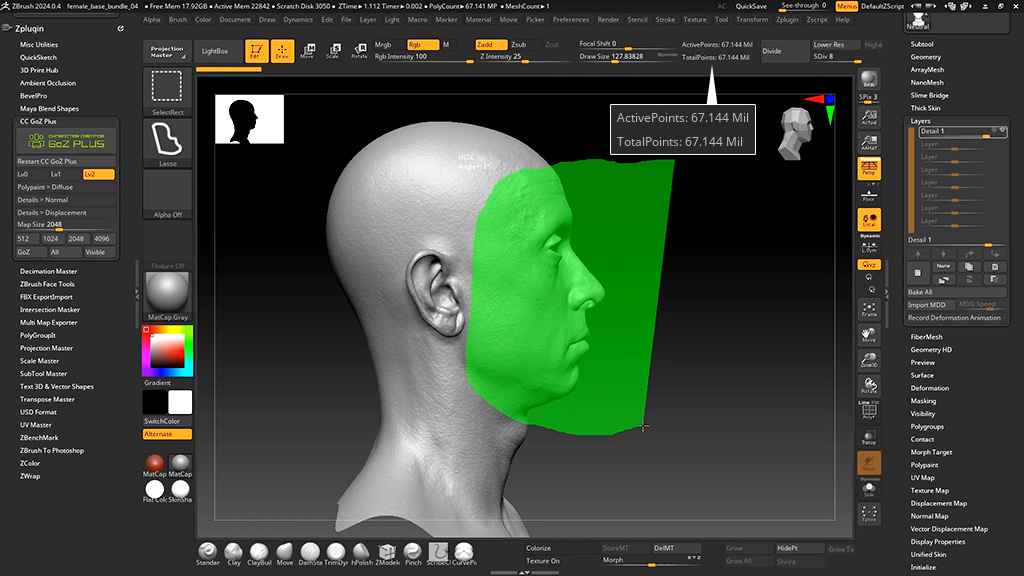
The un-selected parts will be hidden.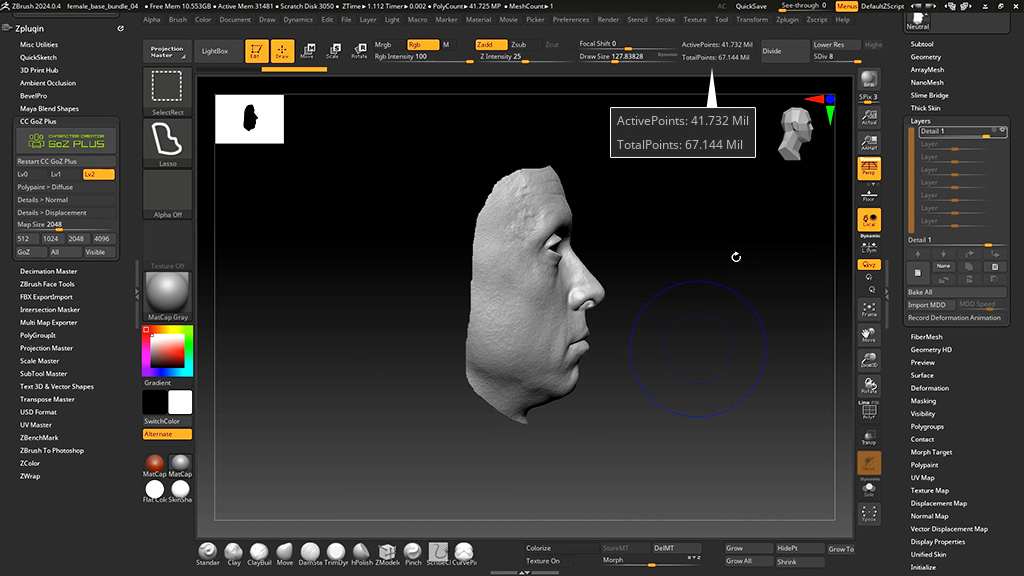
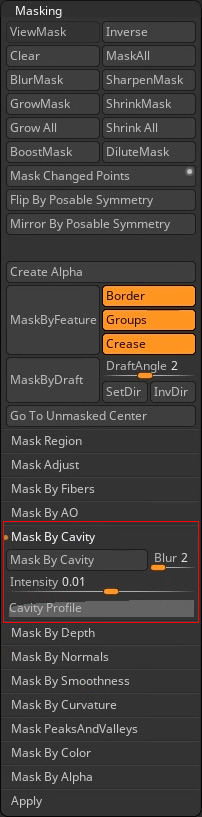
- Expand the Masking > Mask By Cavity section.
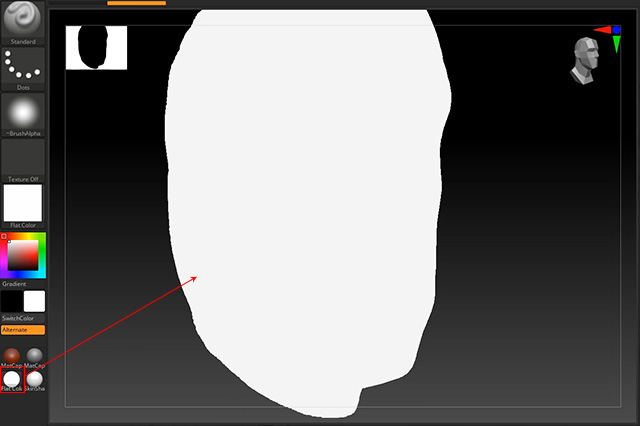
- Click the Flat Color button.
- Click the Mask By Cavity button to generate the cavity fine lines.
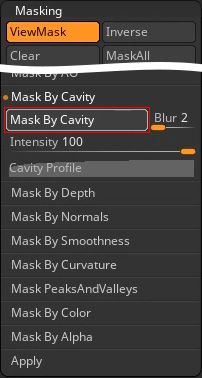
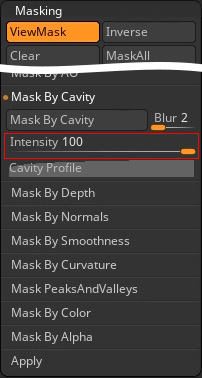
- Set the Mask By Cavity Intensity to 100.
Zoom in to inspect the cavity result.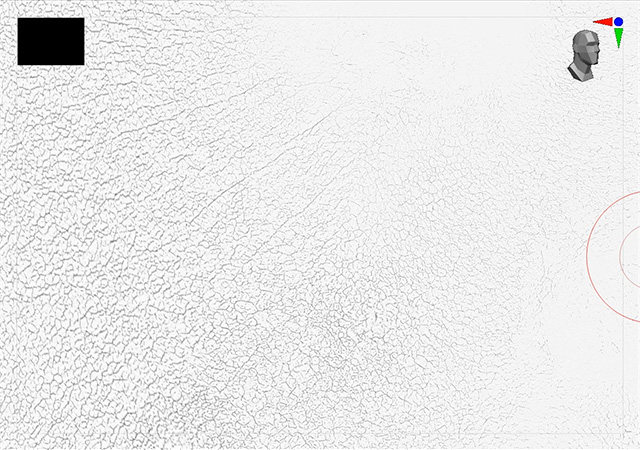
- Adjust the curve and click the Mask By Cavity button.
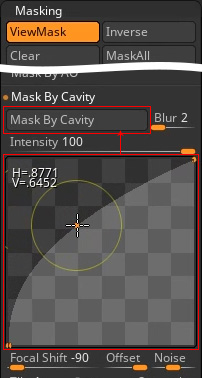
The texture will be updated accordingly.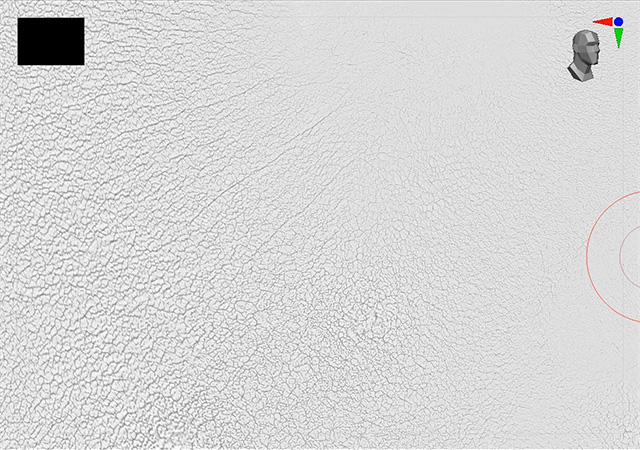
- Repeat the previous step until you are satisfied with the cavity effect (zoom in for previewing details if necessary).
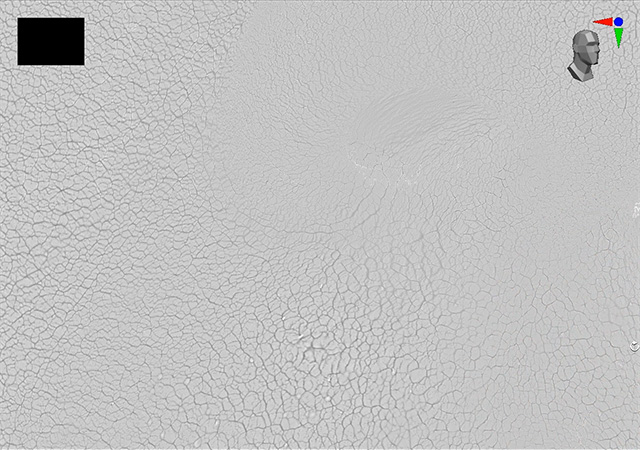
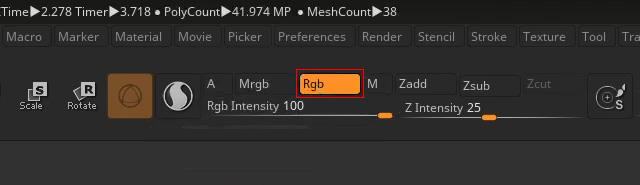
- After the mask is created, set to RGB mode.
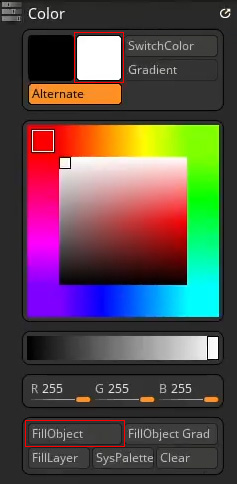
- On the Color tray, set the swatch color to white and click the FillObject button to fill the non-masked object with white.
- Click the Inverse button on the Mask panel.
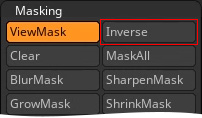
- On the Color tray, set the swatch color the black and click the FillObject button again.
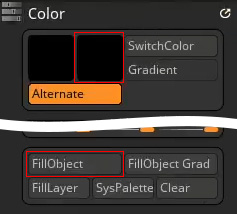
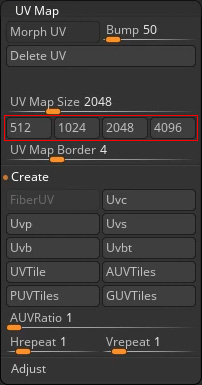
After these steps, the grayscale colors of the cavity are painted on the object. - Select the Texture size (high resolution for baking more details) on the UV Map tray.
- On the Texture Map tray, click the New From Polypaint button to create a new texture map.
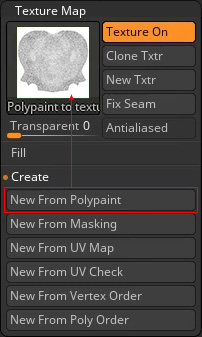
- Click the Clone Txtr button to add the texture to the Texture channel on the left shelf.
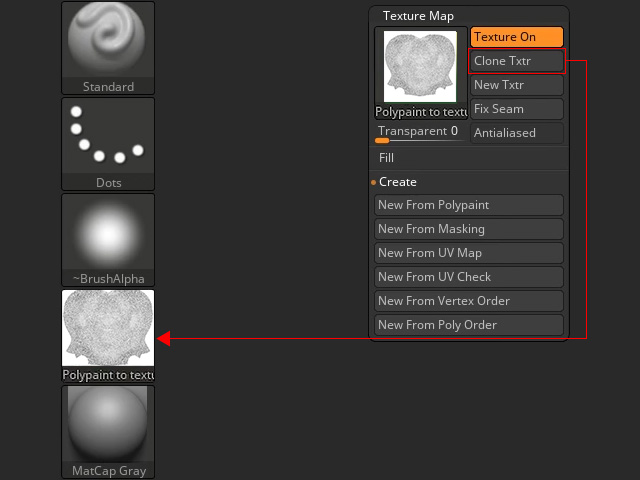
- Export the texture with ZBrush export texture features as an image file.
- You can drag and drop the image file to the Cavity channel of the character in Character Creator.
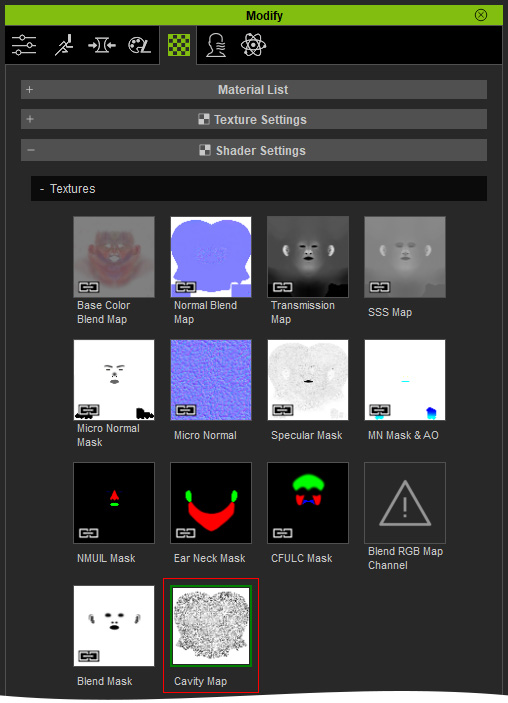
- Switch the viewport to different render view (General, and Roughness are recommended) and adjust the Cavity Strength for inspecting the cavity result.
General Render View
Roughness Render View
