Deriving New Character Designs
By using the GoZ feature and Character Creator 4, you can avoid the time-consuming and tedious process of rigging character models for various design variations. Instead, you can rig your character model once and apply it to all your designs.
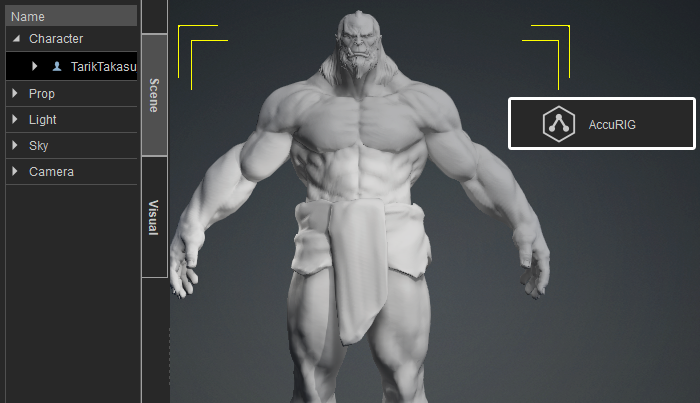
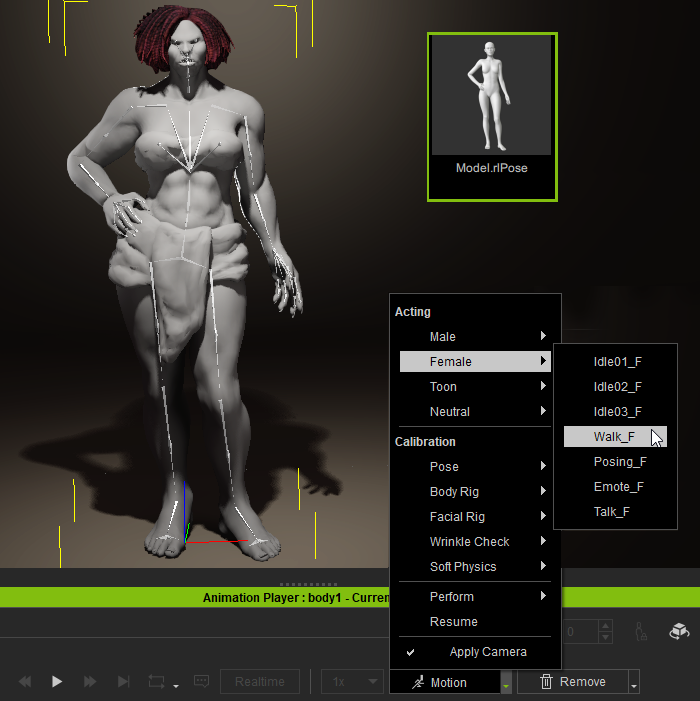
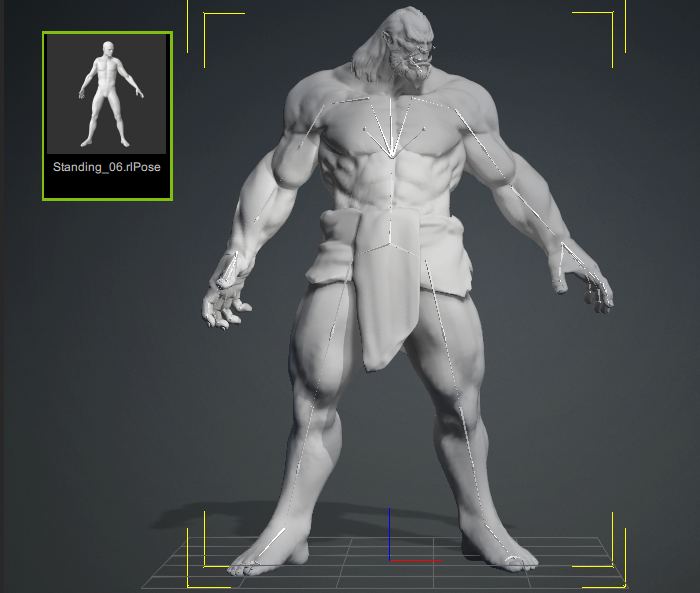
- Once you have transferred your character model to Character Creator 4 and completed the AccuRig process of rigging it, you can start testing different poses for your model.
- Use the premade poses from the Content Manager or use the motions at the bottom of the viewport to check if there are any issues.
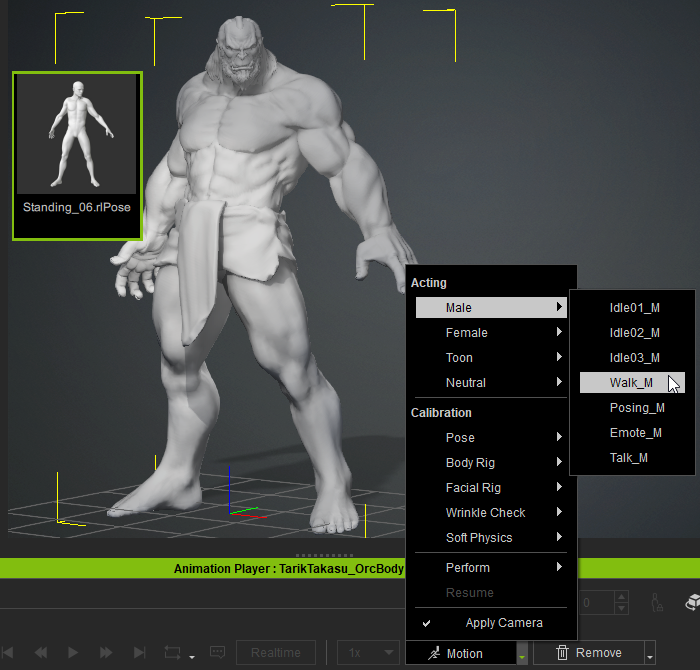
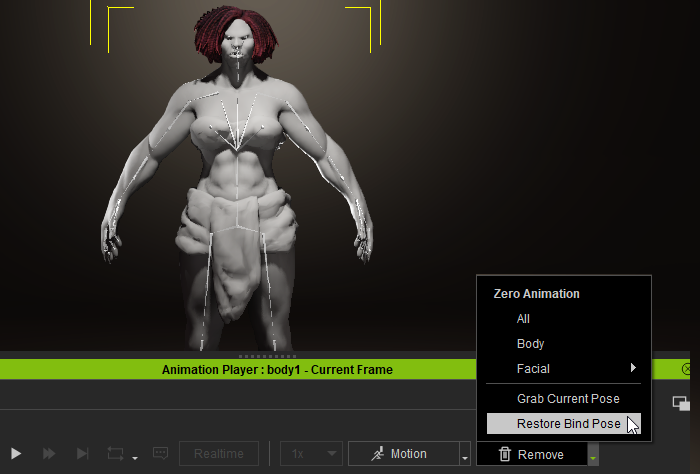
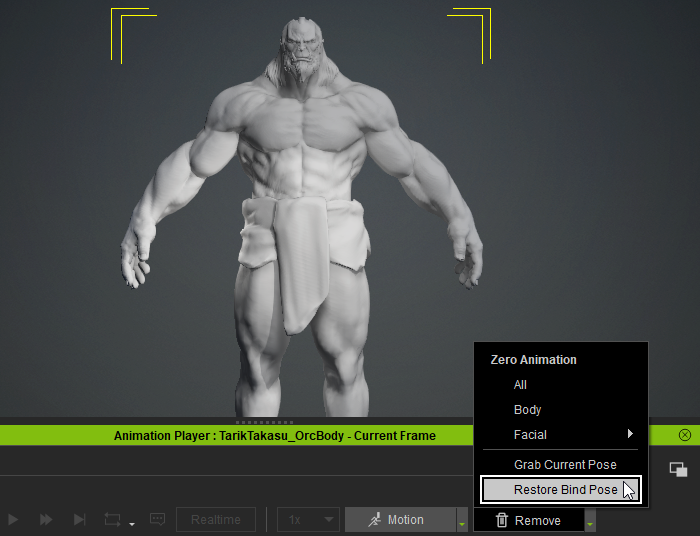
- Return to the original bind pose by clicking the Restore Bind Pose button in the Remove menu.

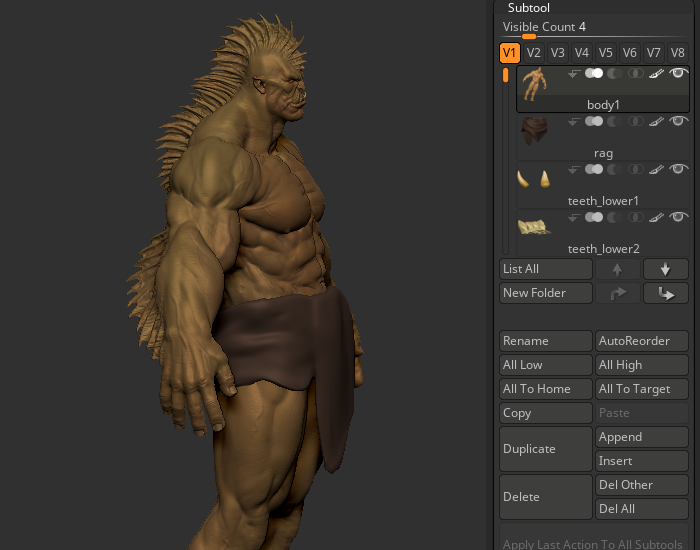
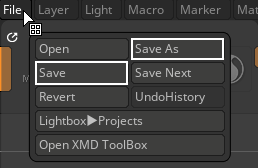
- Now that the models are synced, save both the ZBrush and Character Creator 4 files.
ZBrush
Character Creator 4
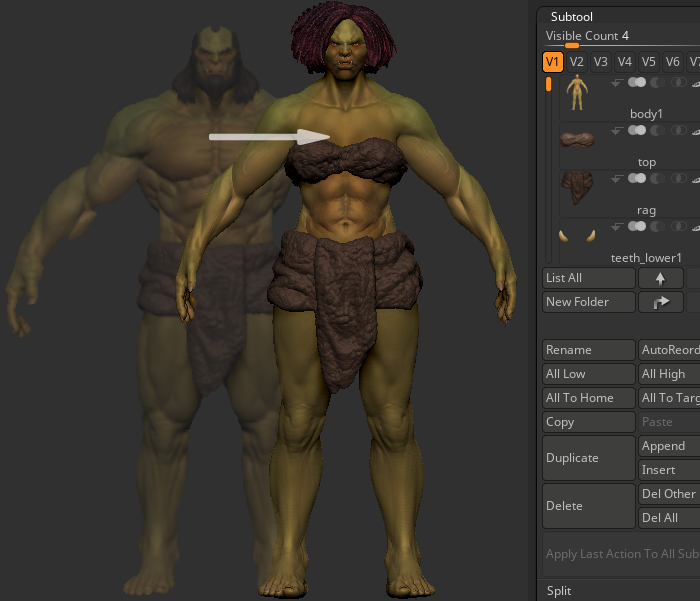
- You can now create a new design for your ZBrush character.
 Rules on Making Character Modifications
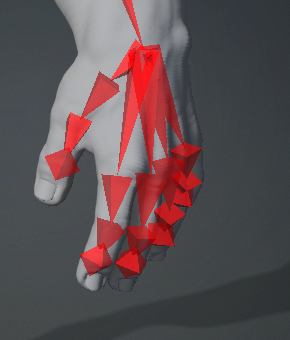
- When changing the model shape, do not alter the position of the joint relations between the mesh and bone.
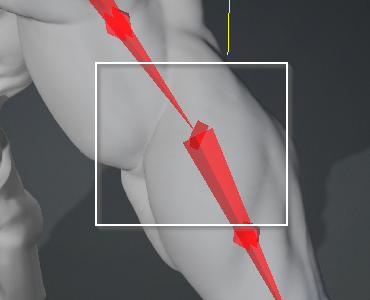
Correct
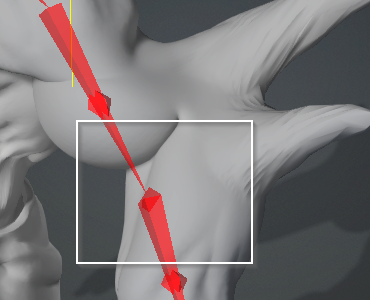
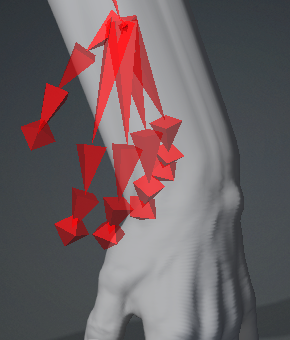
Incorrect
- Do not change the length of any limb. For instance, do not extend the arms or legs to make them longer.
Correct
Incorrect
- Morphing the character mesh can only be done before posing. Users must not change the shape of the character during the posing phase as this will cause irreversible issues.
- Each project can only have one mesh morph. If users want to have multiple versions of the character with different morphs, they will need to save them into separate projects.
- After applying a test pose in Character Creator 4, you must return the character to its original pose and save it.

- When changing the model shape, do not alter the position of the joint relations between the mesh and bone.
- When the design process is completed use the All button to transfer the new character design to Character Creator 4 for update.

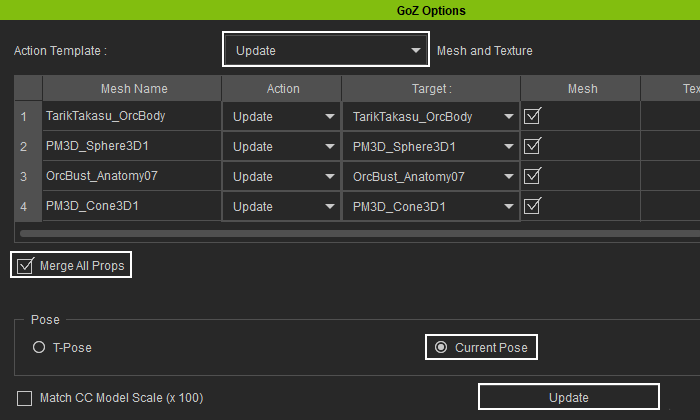
- In Character Creator 4’s dialog window, set Action Template to “Update”, enable Merge All Props, and select the Pose > Current Pose option. Then click the Update button.
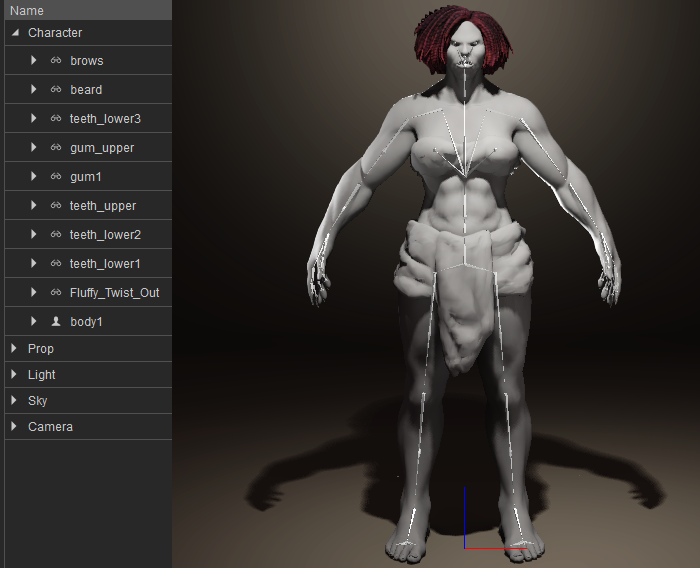
- The new design will now be applied to the character model and still retain the original rig.
- Use the premade poses from the Content Manager or use the motions at the bottom of the viewport to check if there are any issues.
- Return to the original bind pose by clicking the Restore Bind Pose button in the Remove menu.
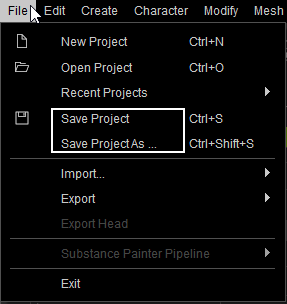
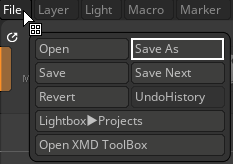
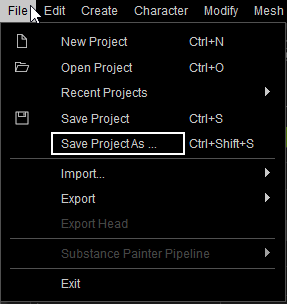
- Now that the CC and ZBrush projects are updated and synced, proceed to save both projects using Save As and Save Project As respectively.
ZBrush
Character Creator 4
Reopening Saved Projects for Editing
After saving your projects, if you wish to reopen them in the future for further design adjustments, please follow the steps below to ensure the correct syncing process for both projects.
- Reopen the synced ZBrush and Character Creator 4 projects.
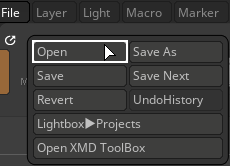
ZBrush
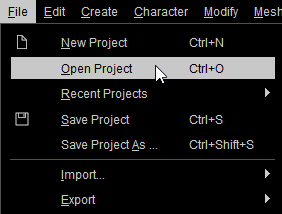
Character Creator 4
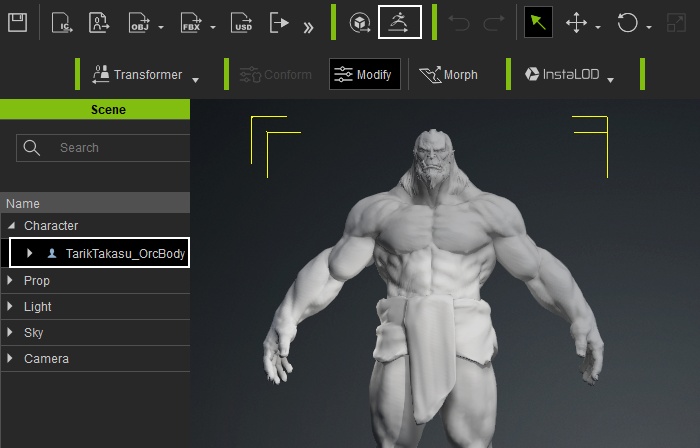
- In Character Creator 4, select your character model and click the GoZ icon to update the model information in ZBrush.
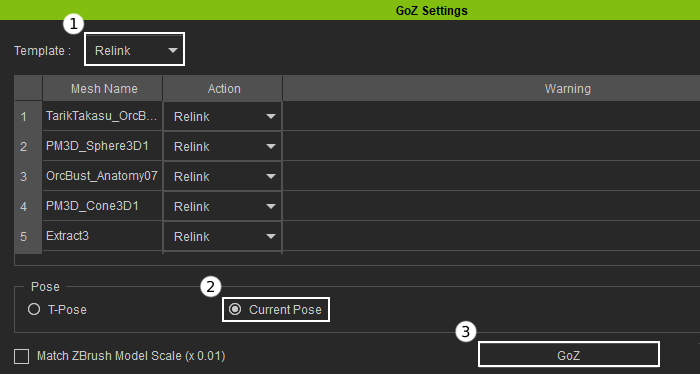
- The GoZ Settings dialog window will appear. To update the pose date in ZBrush, set Template to “Relink”, enable Pose > Current Pose option, and click the GoZ button.
- In ZBrush, use the All button to update model information in Character Creator 4.

- In Character Creator 4’s dialog window, set Action Template to “Update”, enable Merge All Props, and select Pose > Current Pose. Then click the Update button.

- In Character Creator 4, check if the rig is correctly bound to the model.
- Return to the original bind pose by clicking the Restore Bind Pose button in the Remove menu.
- Go back to ZBrush and continue to create a new design for your character.