GoZ Transferring to Character Creator 4 for Inspection
This page will demonstrate the process of transferring ZBrush subtools to Character Creator 4 for rigging and then relinking back to ZBrush. This process enables you to create poses with your model in Character Creator 4 and check for any mesh issues while posing.
- Launch ZBrush and import your character model or open your project file.
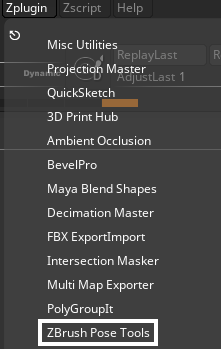
- From the menu bar, click on Zplugin > ZBrush Pose Tools to open the ZBrush Pose Tools panel.
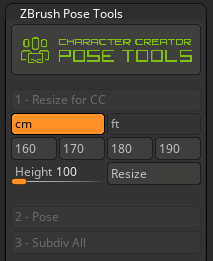
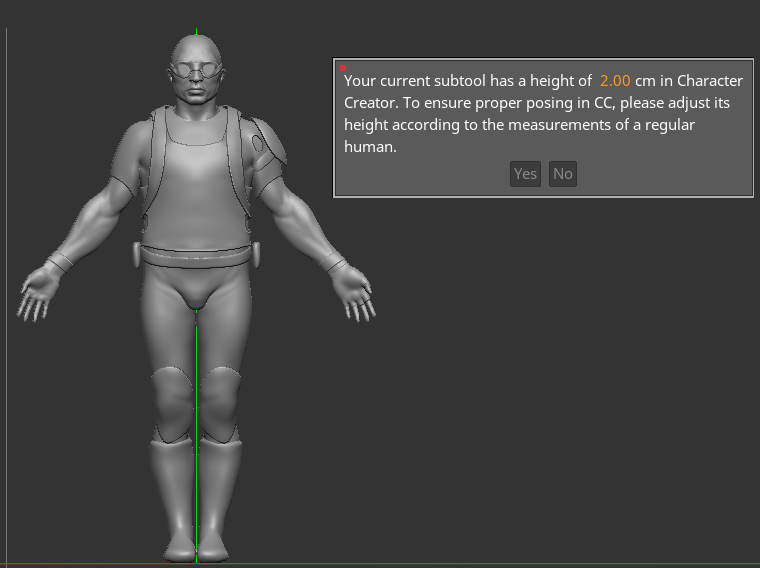
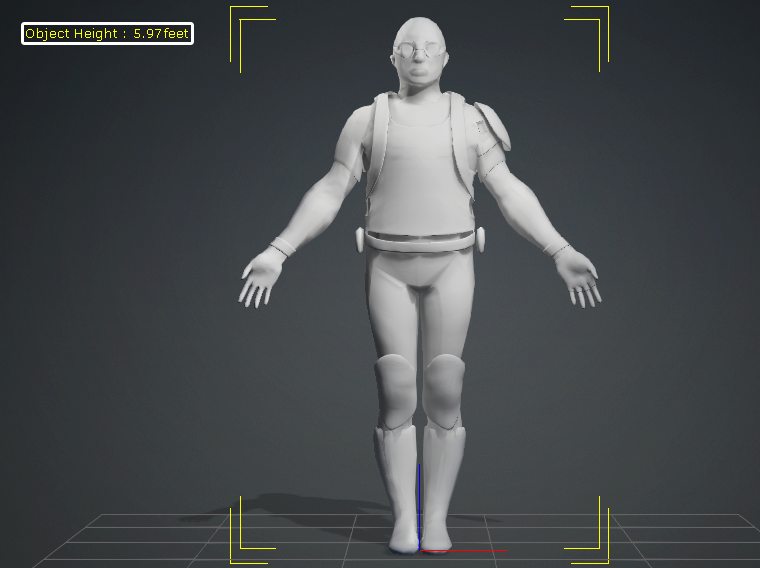
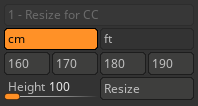
- When using Resize for CC, it is crucial to select your main character subtool and adjust its size based on realistic human dimensions. Failure to do so may result in disproportionate models in CC.
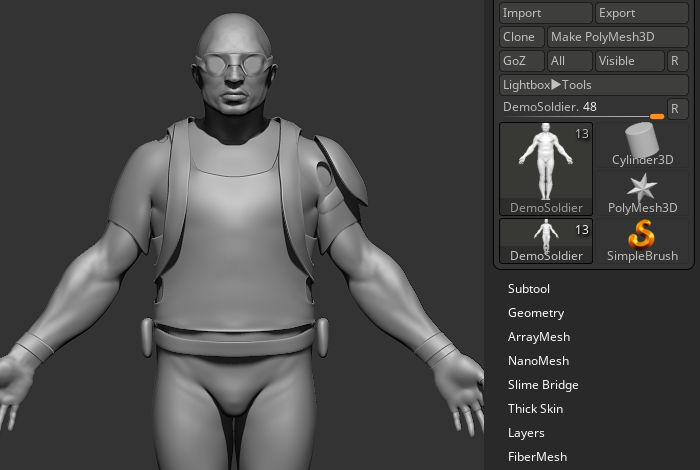
- Separate your model subtools into soft and hard categories after resizing. For instance, knee guards as hard subtools and split into individual subtools.
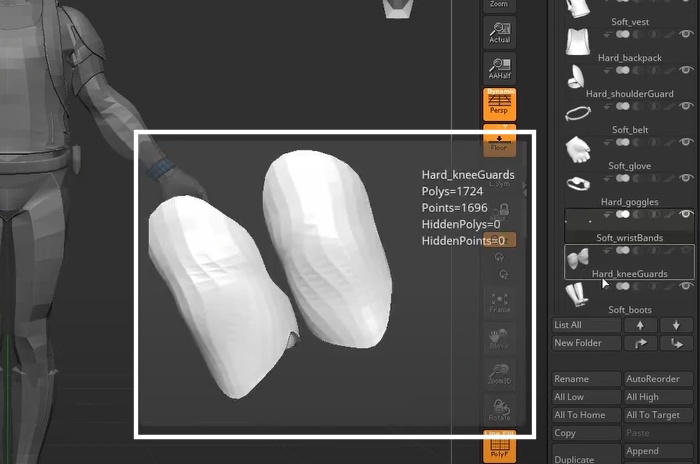
- On the right-hand side of your screen, click the All button to transfer your character subtools to Character Creator 4.
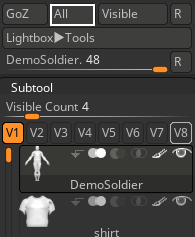
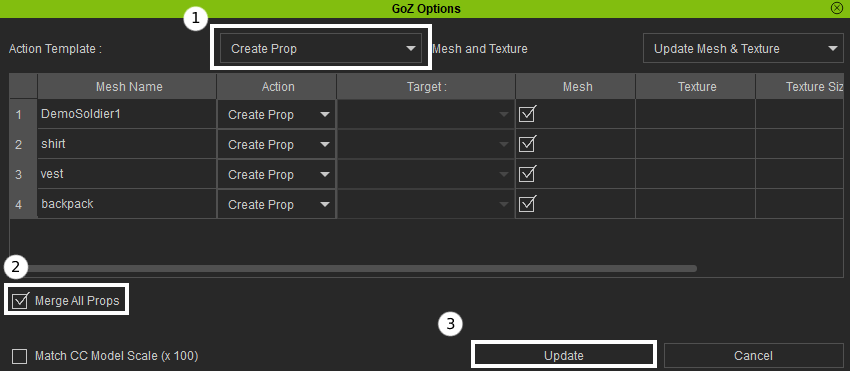
Refer to the Naming Convention for ZBrush Subtools for more information. - When converting subtools to Character Creator 4, make sure to set the Action Template to "Created Prop" and check the Merge All Props option in the pop-up window that appears. Then click the Update button.
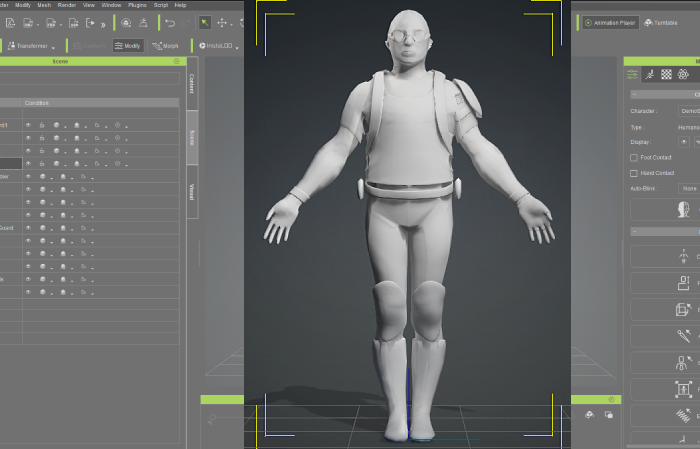
- Your character will then appear in the Character Creator 4 viewport.
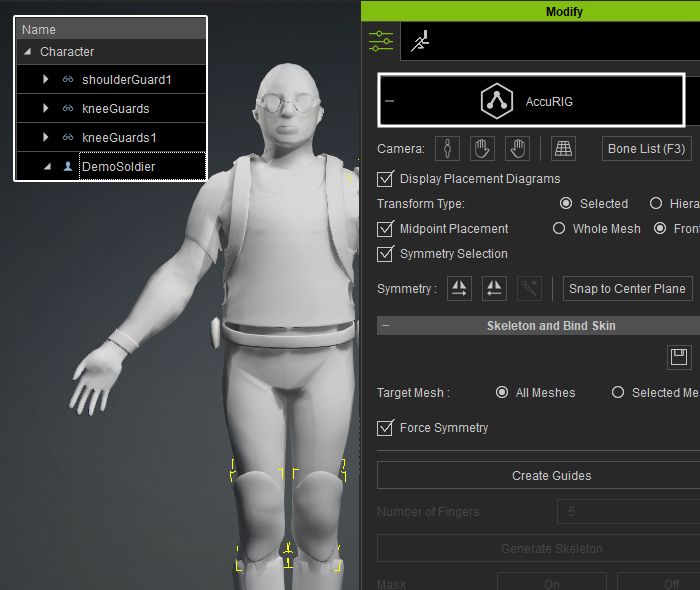
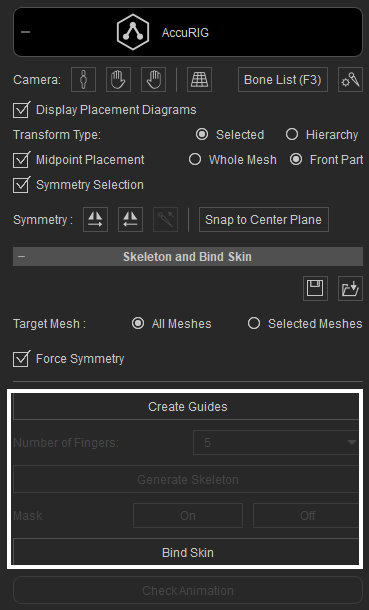
- Select all of the character meshes and click the AccuRig button.
- If your character's polygon count exceeds 300K quads (600K triangles), a warning dialog box will appear. To ensure smooth auto-rigging in Character Creator 4, it is recommended to optimize your ZBrush models first. You can find instructions on how to optimize your ZBrush model by clicking the provided link: “How to optimize your ZBrush model”.

- Proceed to create a skeleton and rig your actor in AccuRIG. AccuRig will also automatically apply Skin Weight to your model for better posing. After AccuRig, if you want to apply and edit your own custom skin weight, refer to the Manually Editing Skin Weight page for more information.
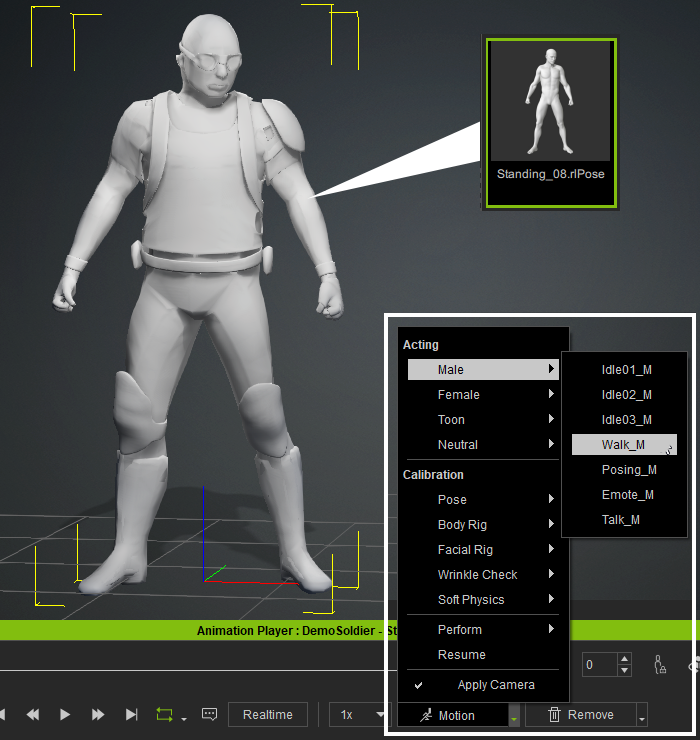
Refer to the Model Repositioning with AccuRIG section for more information. - Once rigged, you can begin to pose your character by deploying pre-made poses from the Content Manager or use the motions at the bottom of the viewport to check if there are any issues.
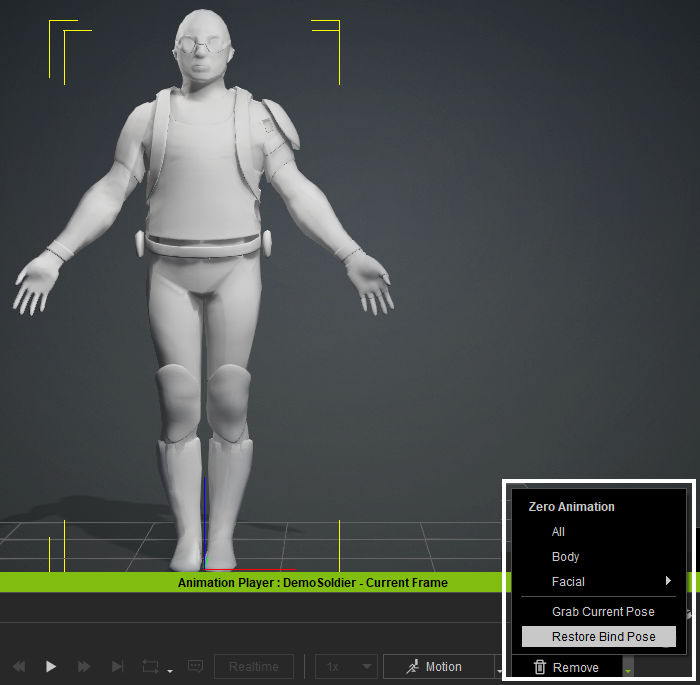
- Return to the original bind pose by clicking the Restore Bind Pose button in the Remove menu.
- Click the Goz icon.

- When updating the pose back to ZBrush, make sure to set the Template to "Relink" and check the Current Pose option in the pop-up window that appears. Then click the GoZ button.