Creating Custom Accessory (New for v.3)
If you have ever made objects in 3D tools, such as 3DS Max or Maya, you can import and create custom accessories from these objects in OBJ or FBX format if the 3D tools support exporting OBJ or FBX files.
- Create an object with your favorite 3D tools. In this case, Maya.
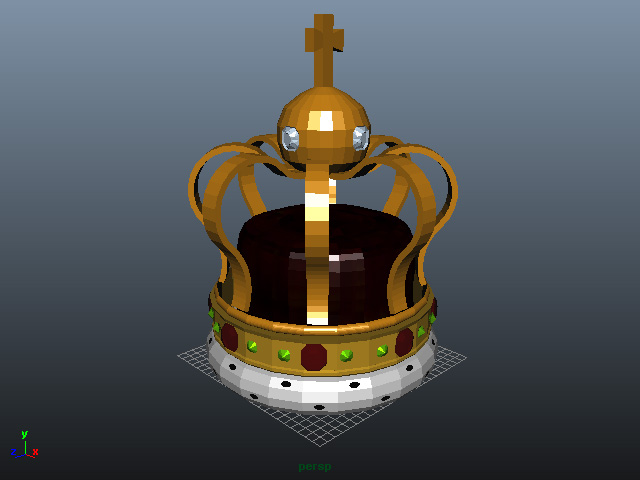
- Export the object in OBJ or FBX format.
- In Character Creator, go to Create menu >> Accessory command.
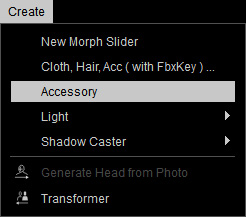
- Load the OBJ or FBX file.
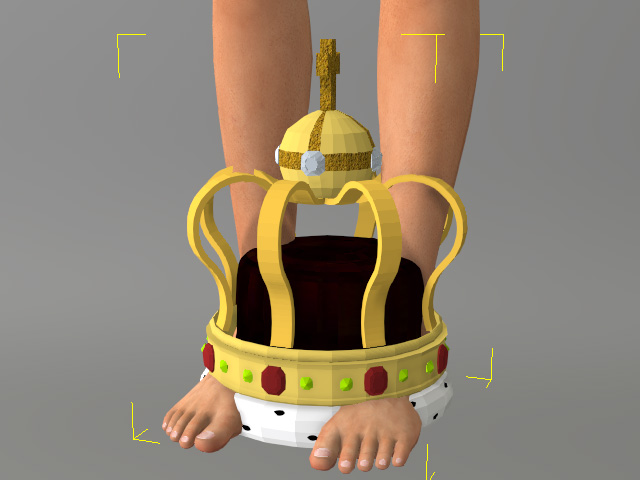
- By default, the file will turn into an Accessory attached to the pelvis node of the character.
- Fix the normal to smooth out the surface of the accessory by accessing the Modify menu >> Edit Normals command.

The accessory surface will be smoothed.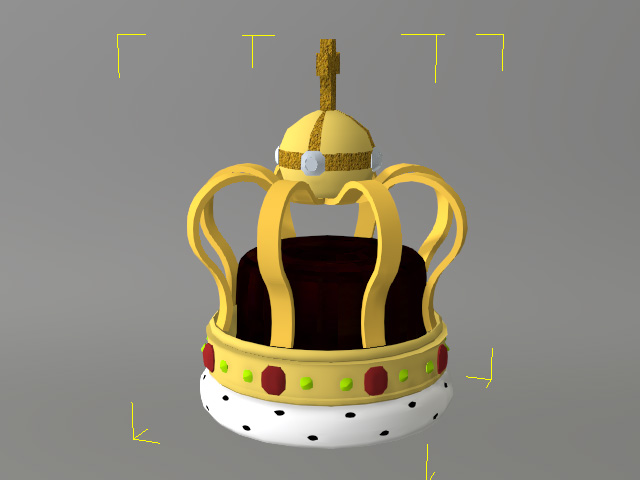
- Convert the accessory to PBR shader mode with the Convert Object Shader feature in the Modify panel >> Material tab >> Material List section.

Modify the Metallic, Roughness and other textures for the materials applied on the accessory.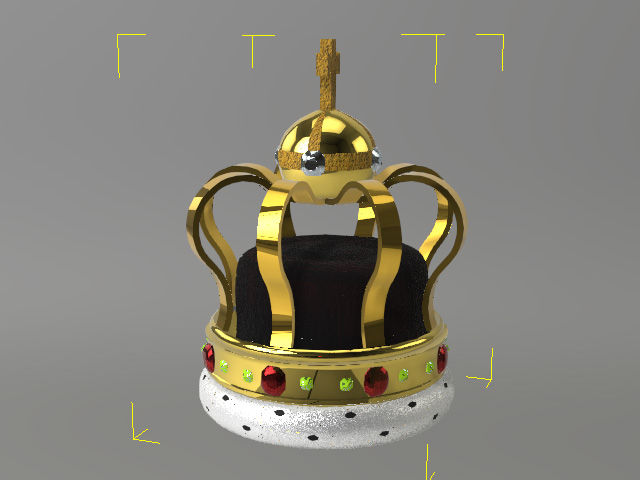
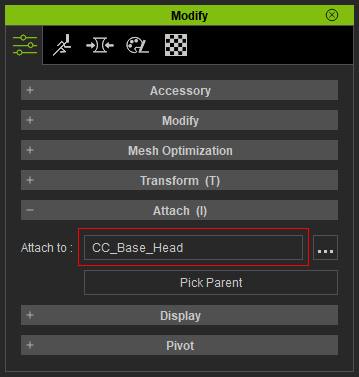
- Attach the accessory to ideal bone node (in this case, the head node).

- Transform the accessory to a proper position.
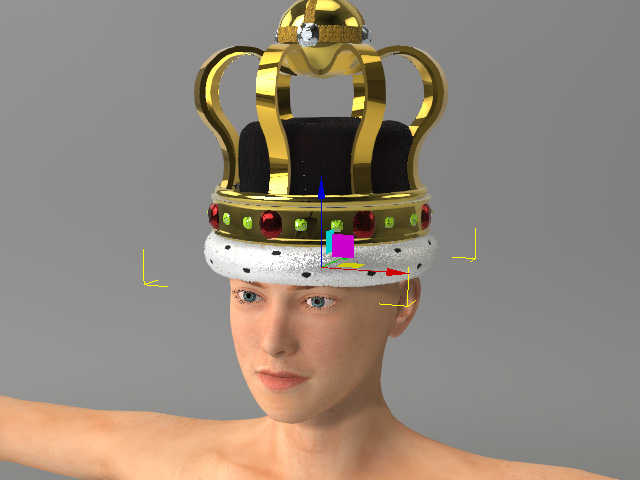
- Save it to the library to expand the collection of your accessories.
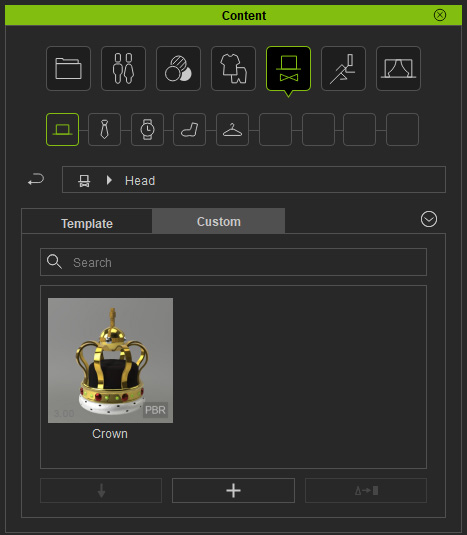
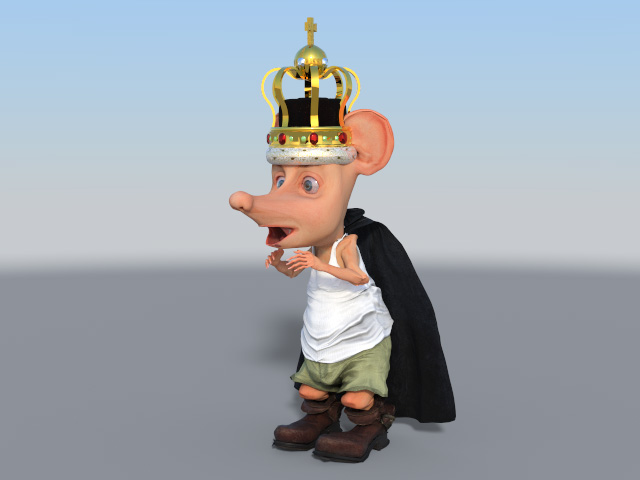
- You can then apply this accessory to any other character.