Transferring Content to Another Computer
The template or custom content can easily represented on another computer. With the Multiple Drive feature, it is easy to retrieve custom content from a portable storage and pick up your project from where you left off, at any time.
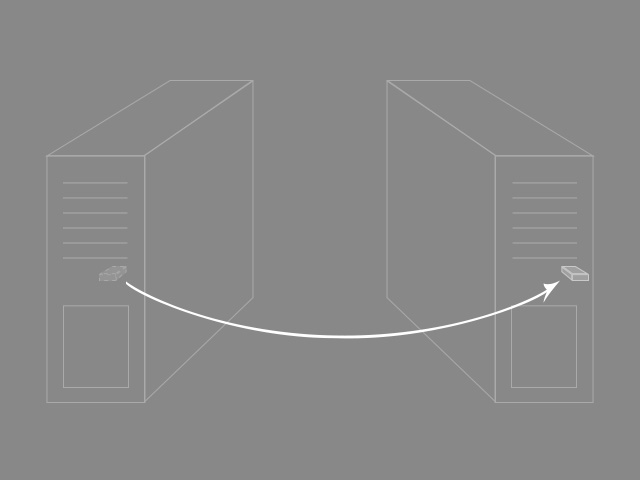
After switching to a new workstation, you have to re-download and re-install all templates from Reallusion.
- On your new workstation, sign in to your account from within the program.
Use the same account that you have purchased content with.
- You can view your sign in account (email) within Reallusion Hub.
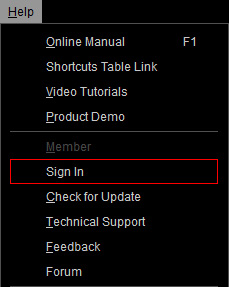
- For iClone and Character Creator, you can directly sign in / sign out the program from the Help menu.
- Click the Refresh
 button under the Template tab to manually synchronize your local library with the cloud.

- Your purchased assets will be restored in the Content Manager.
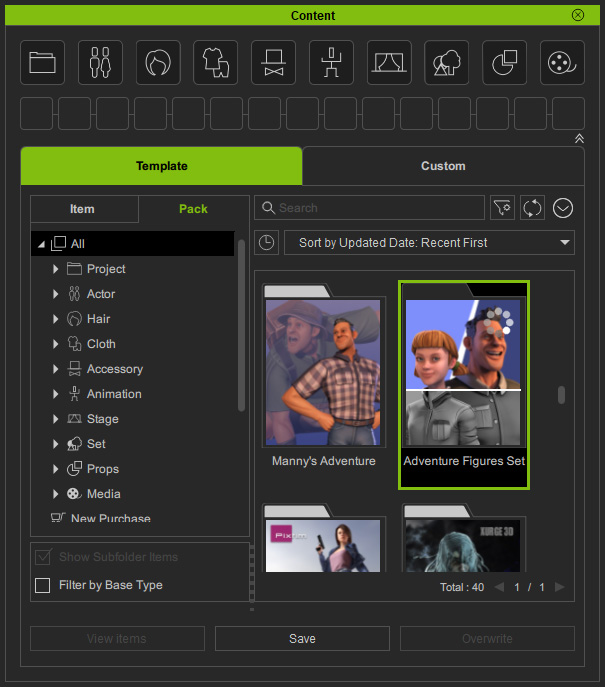
- Download and install all templates.
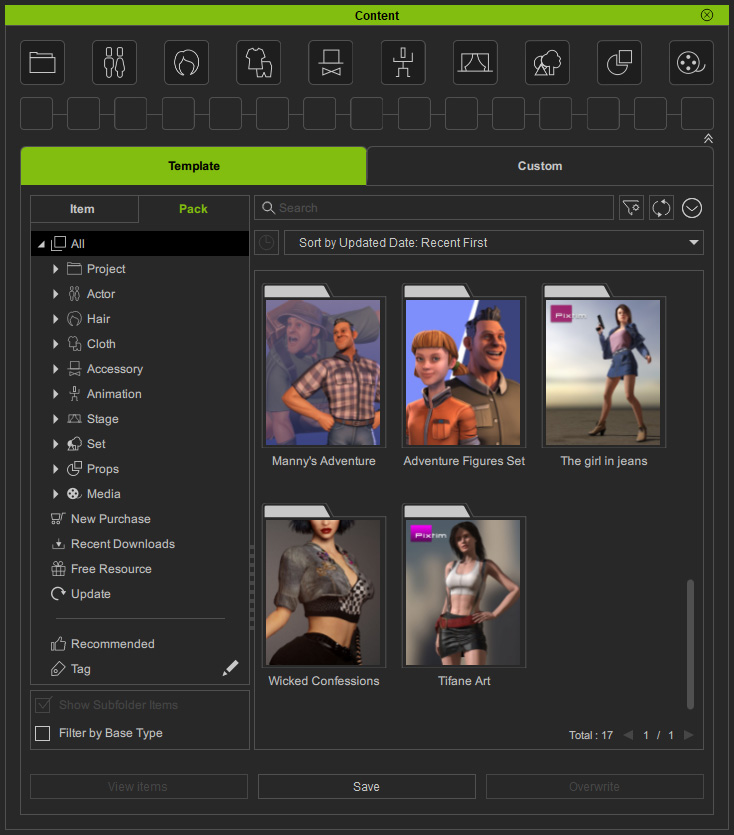
- You can now apply the assets into your scene on your new workstation.
If your purpose is to share your custom contents to another computer by USB drives, then follow the subsequent steps.
- On the main computer, insert a USB drive.
Click the Content Manger Menu and choose the Settings command.
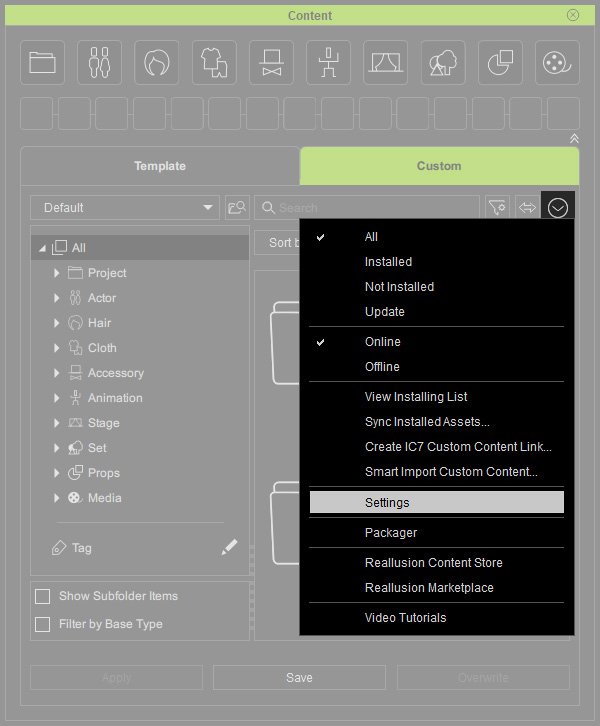
- The Settings panel will show with the default custom folder for saving your contents.
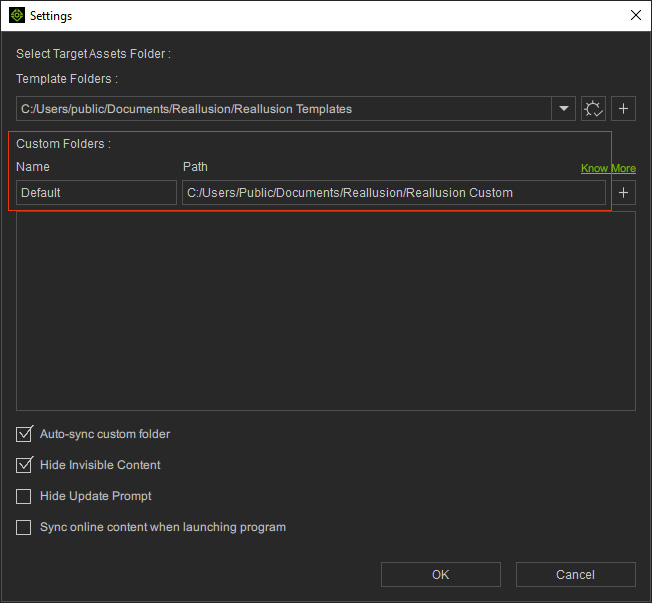
- Click the adjacent + button to add a custom folder.
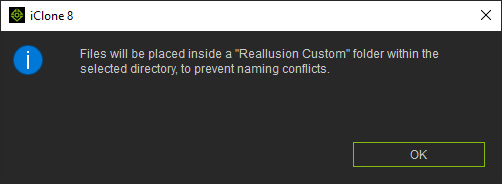
A message will appear saying that a Reallusion Custom folder will be created in your target directory.
Click the OK button.
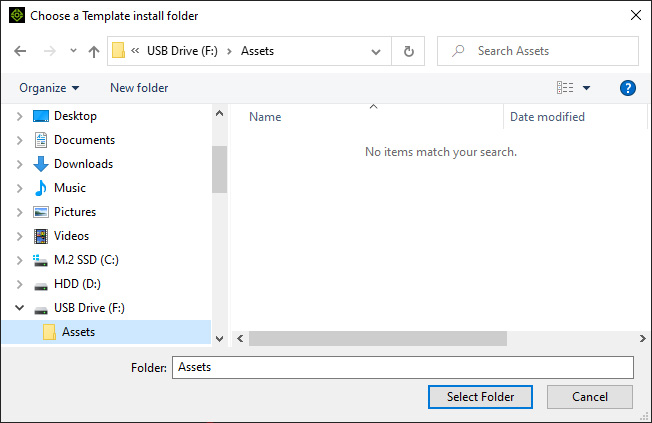
- Pick a folder on the USB drive as the destination (in this case, Assets).
Click the Select Folder button.
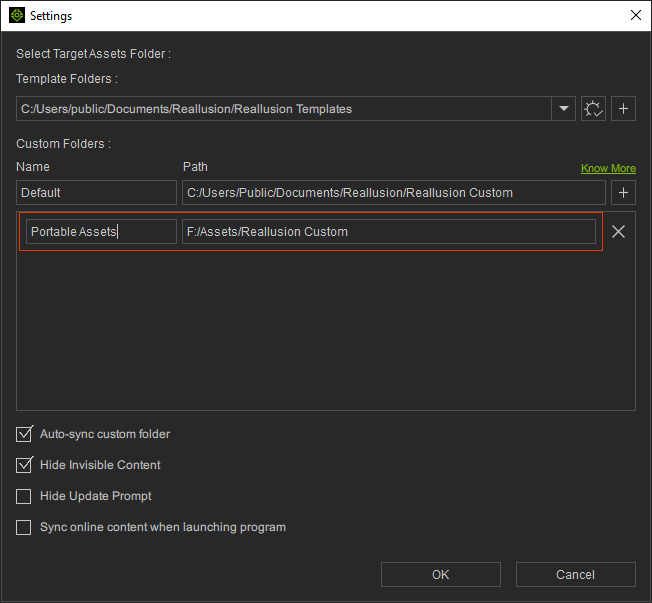
- The folder name and folder path will show in the list.
Rename the folder to Portable Assets in this case.
Click the OK button.
- Choose the new custom folder on the USB drive from the drop-down list.
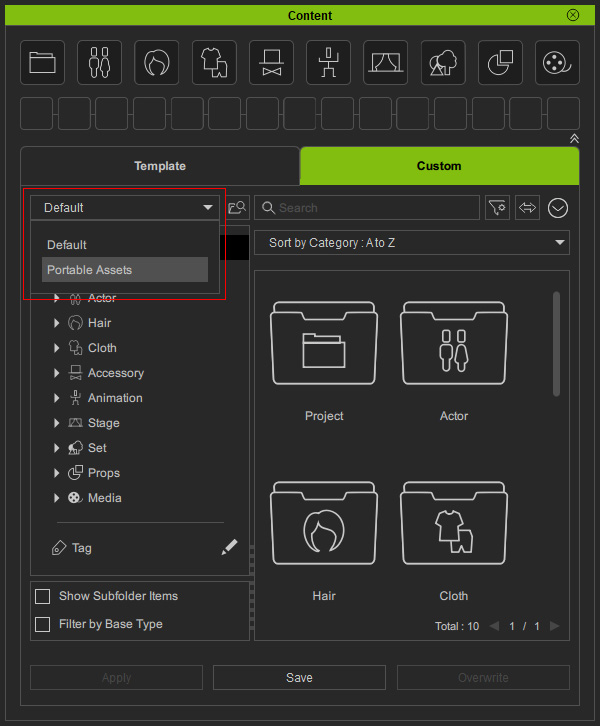
- Save content or import content into this custom folder.
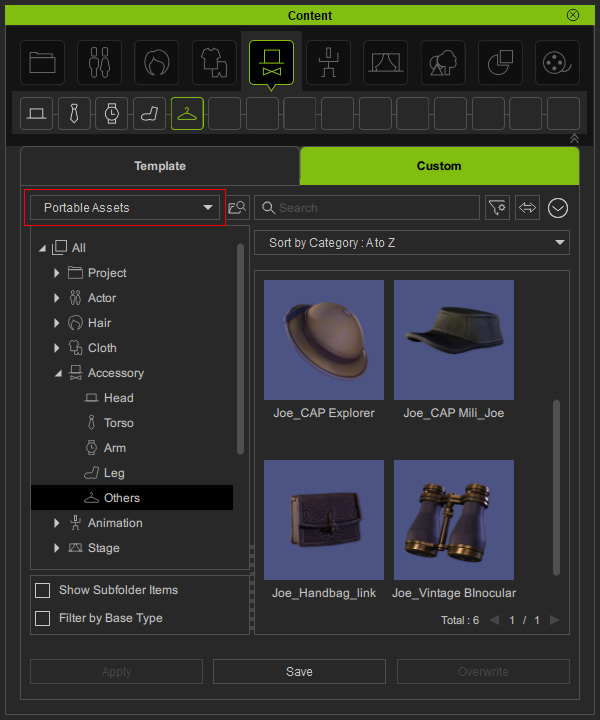
- You can now move the USB drive in which the custom content are stored to the destination computer.
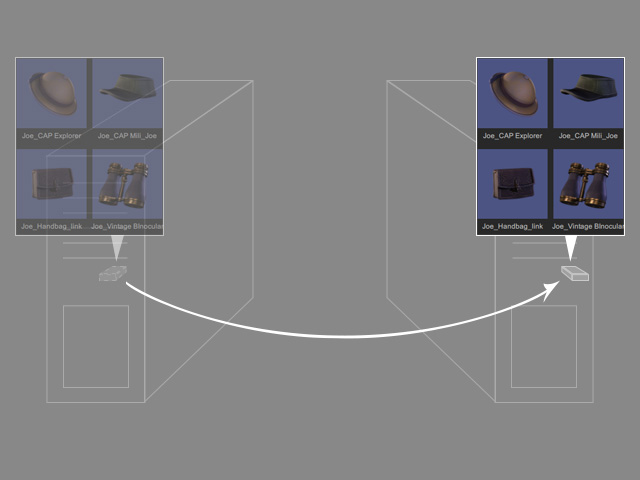
- Plug the USB drive to the destination computer.
The custom contents remain the ones under the local custom folder initially.
Pick the custom folder in the USB drive from the drop-down list.
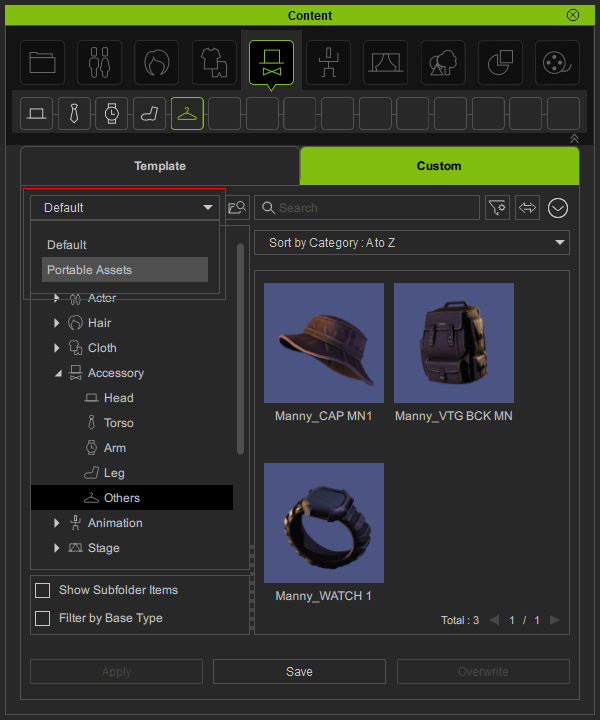
- As you can see the custom content stored on the USB drive appear.

- You can now use the custom content on the destination computer.
