Saving Content
After applying content items such as character, hair, clothes, accessory, animation or props for your project, you can save these items to their corresponding categories under the Custom tab.
- Create a project with some content items.
- Select the item you want to save.
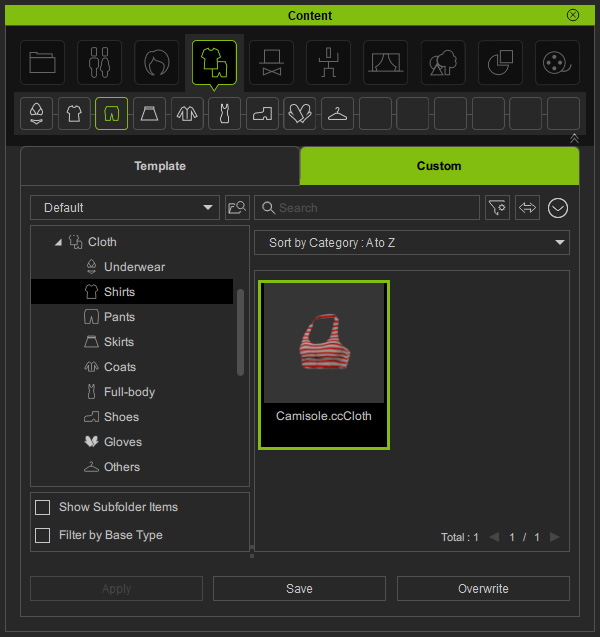
- Move to the Custom tab, and then switch to the target category by clicking the Category Buttons or selecting the category nodes in the tree-view.
Click the Save button at the bottom.
- Type in the file name in the Save Options dialog.

- Confirm the item category, or click the Asset Type drop-down button to change the category this item belongs to.
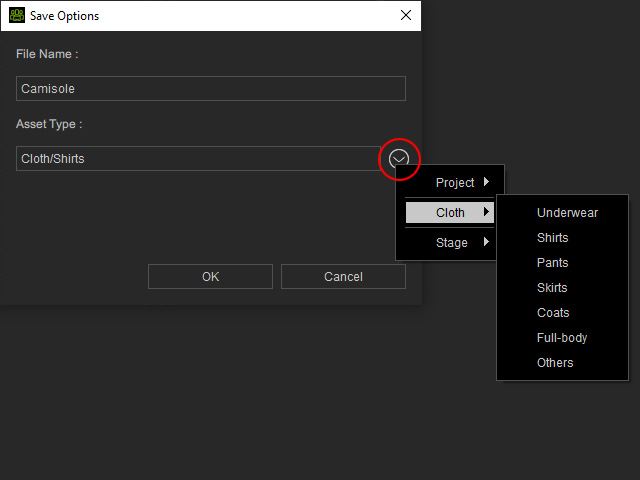
* The content format you are saving depends on the category you specify here. Please refer to the content structure table for the storable content groups under each category. - Click the OK button to save the item into the specified category.
The newly added item will be displayed in the specified category under the Custom tab.
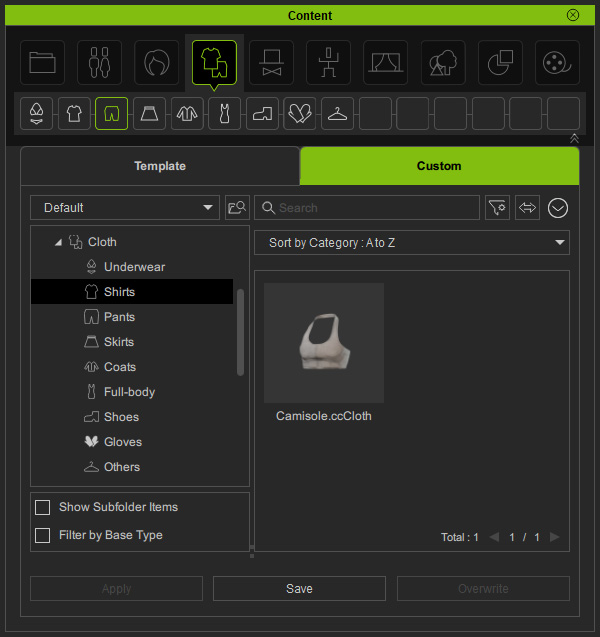
- Now your content is stored in a default custom folder.
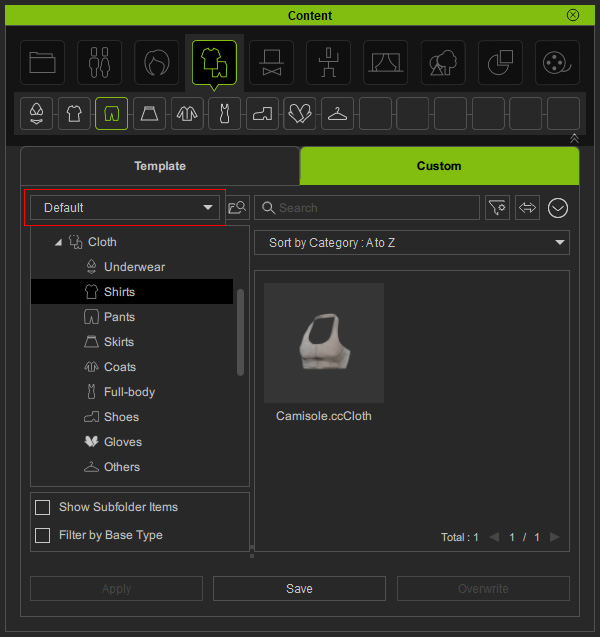
You can organize, move the custom contents, or change the storage path to another drive.
- If the item is modified in the future, you can overwrite the item with another one selected on the viewport.
When there is any modification on the existing custom contents, you can replace them with the new ones, if both items belong to the identical category or file extension.
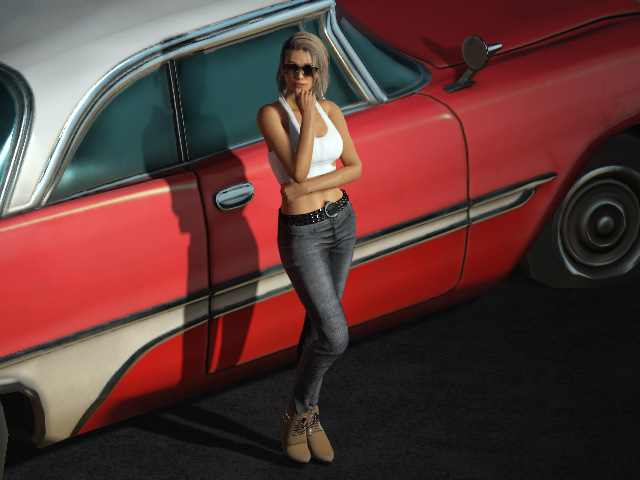
- Make sure the content (Camisole in this case) is saved under the Custom tab in the previous section.
- Apply the content to the character.
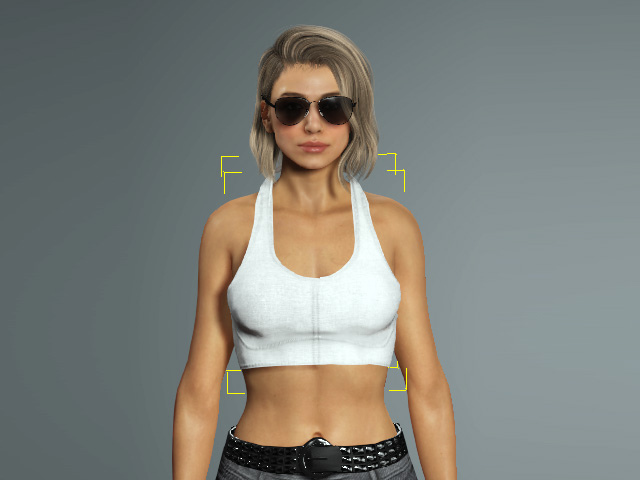
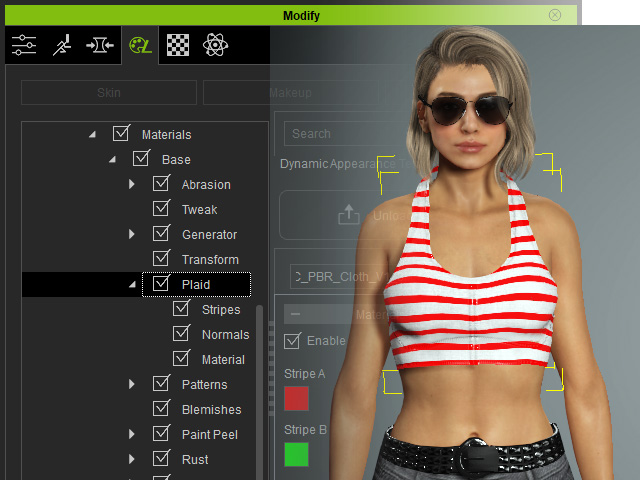
- Modify the clothing style in Character Creator.
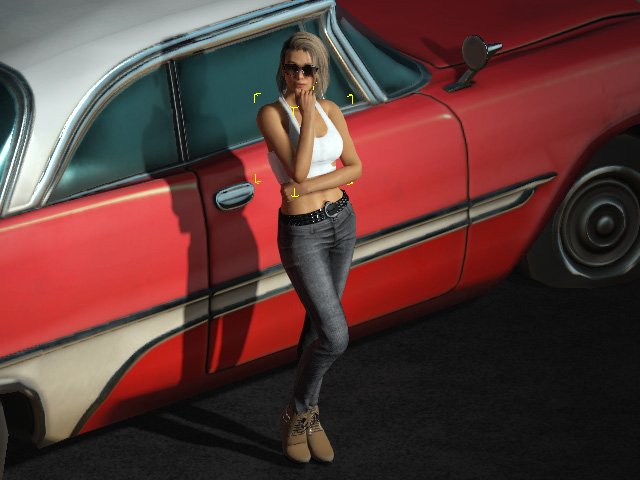
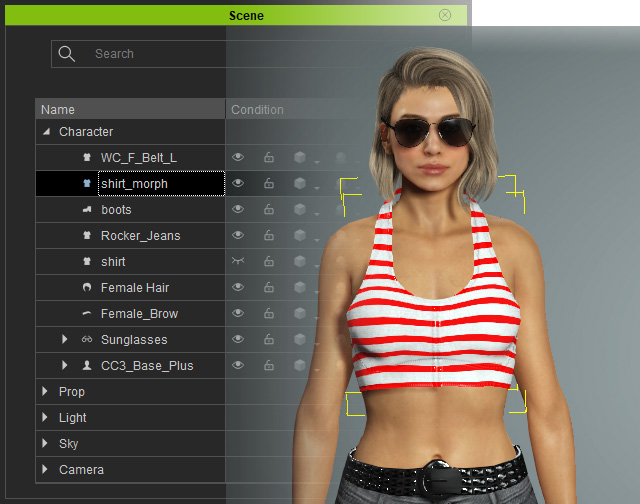
- Pick the target object you want to save.
Sometimes, you may find it's hard to pick the desired object as there are multiple objects overlaid on the viewport.
In that case, you can alternatively select the target object via the Scene Manager.
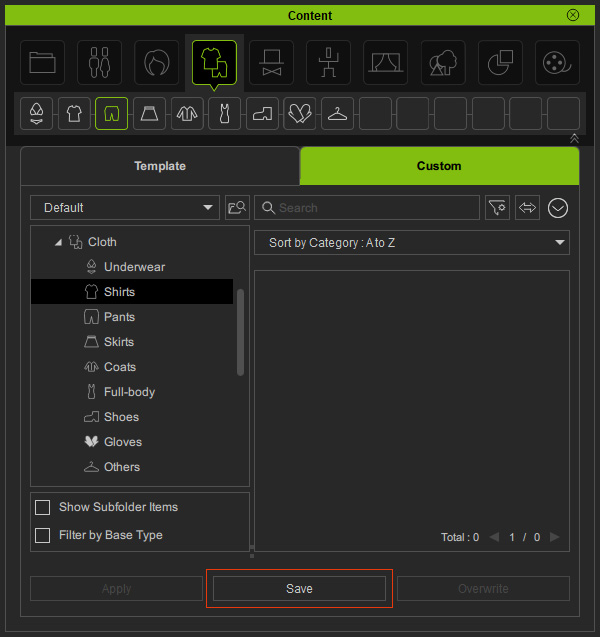
- Select the item to be replaced with, and then click the Overwrite button at the bottom-right of the Custom tab.
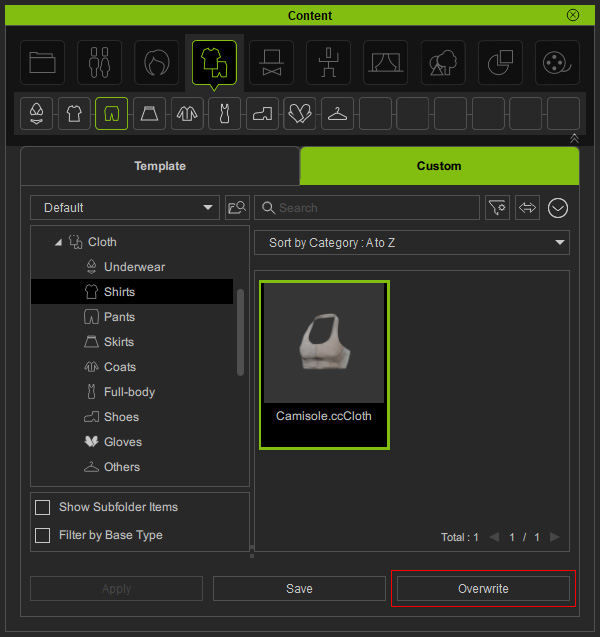
* You can only overwrite an existing item with a one of the same content type or file extension. - Now the item is replaced with the one currently selected in the viewport.