Modifying Items in Custom Pack on Marketplace via File Explorer
Inconsistencies may arise when handling custom content using Windows File Explorer and the Packager window. Follow the instructions below to resolve this problem.
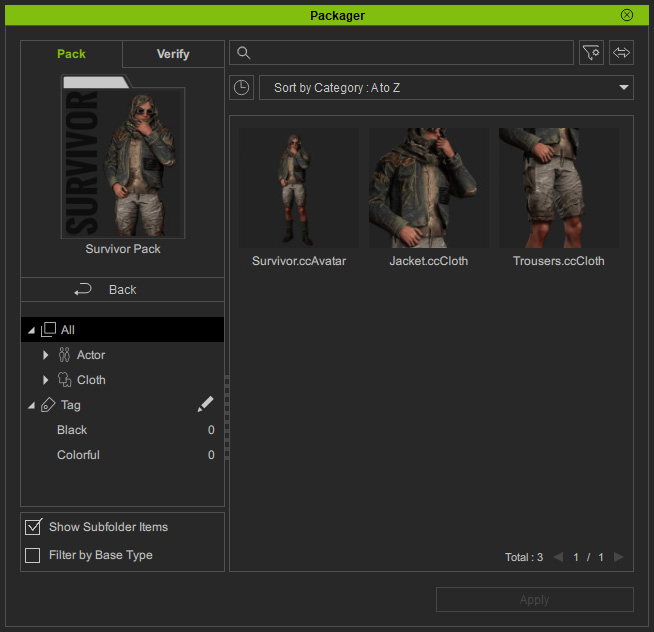
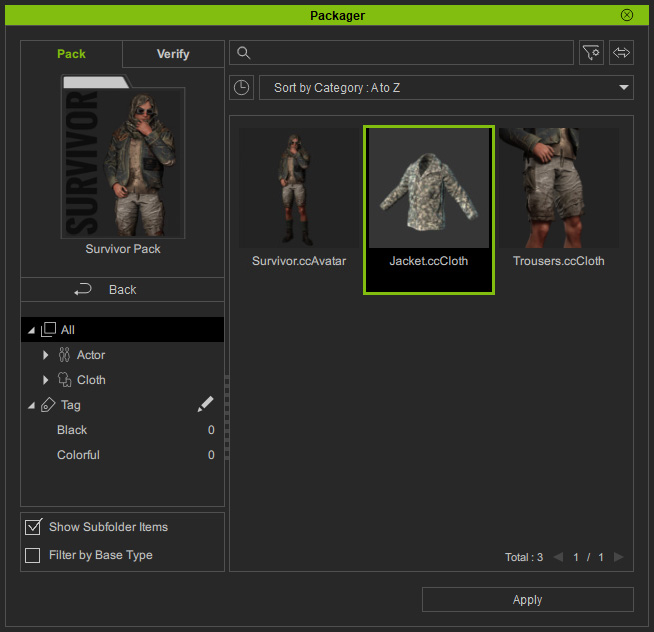
- Make sure you have created a custom pack with custom items in the Packager.
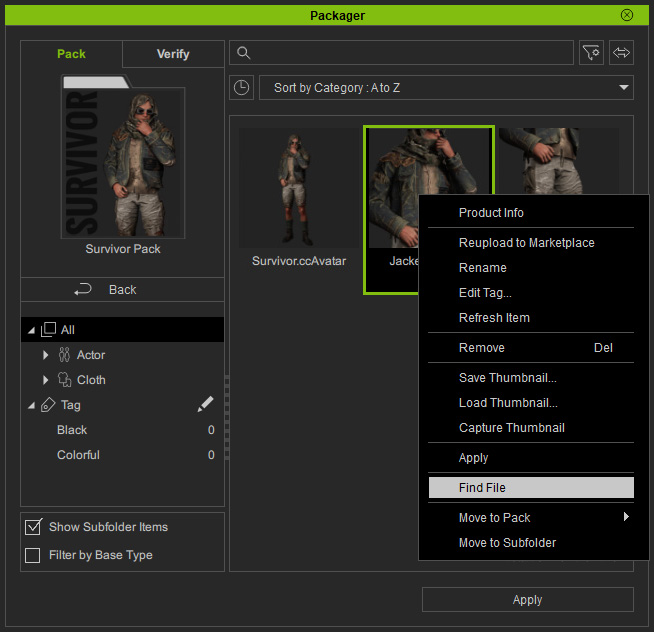
- Right-click on a virtual item to find the physical file.
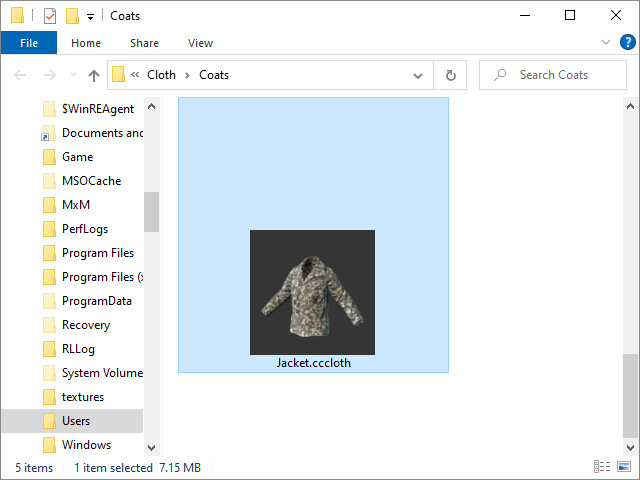
- File explorer will open and the item will be auto-selected.
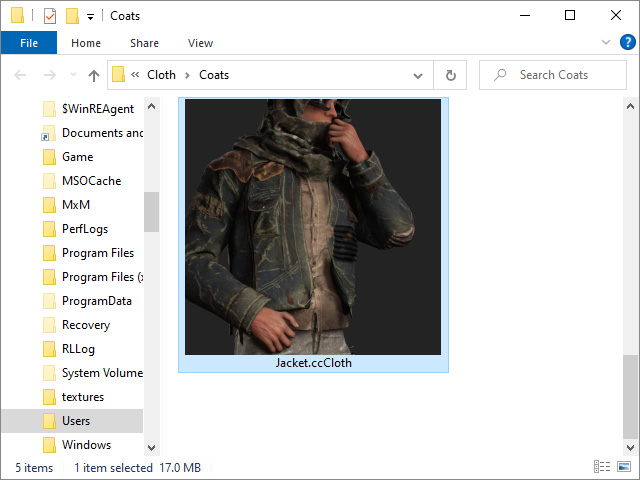
- Replace the item with another file of the same name.
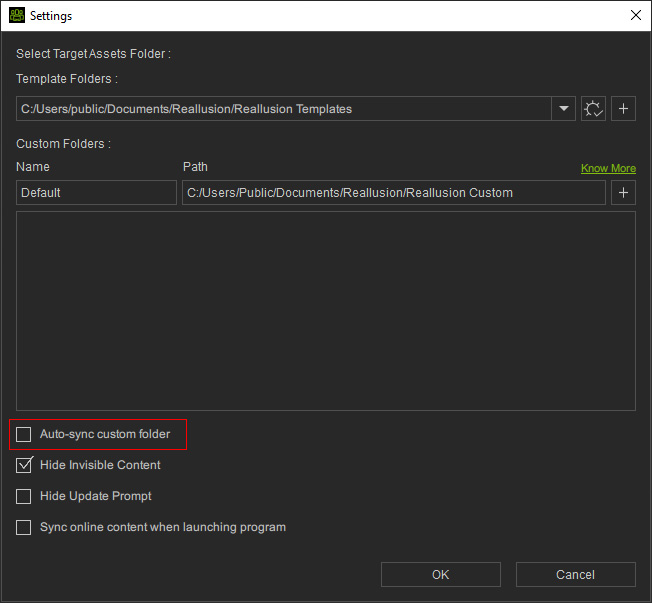
- This replacement is undiscovered to the Content Manager if Settings > Auto-sync custom folder option is disabled.
* Besides file replacement, the Content Manager can keep track of deletions and name changes. - Go back to Packager and right-click on the virtual item that was replaced.
Choose the Refresh Item command from the context menu.

* The Refresh Item command also works with multiple items. - The content originally found within the Custom tab of the Content Manager, as well as the virtual item within the Packager pack, will receive updates.
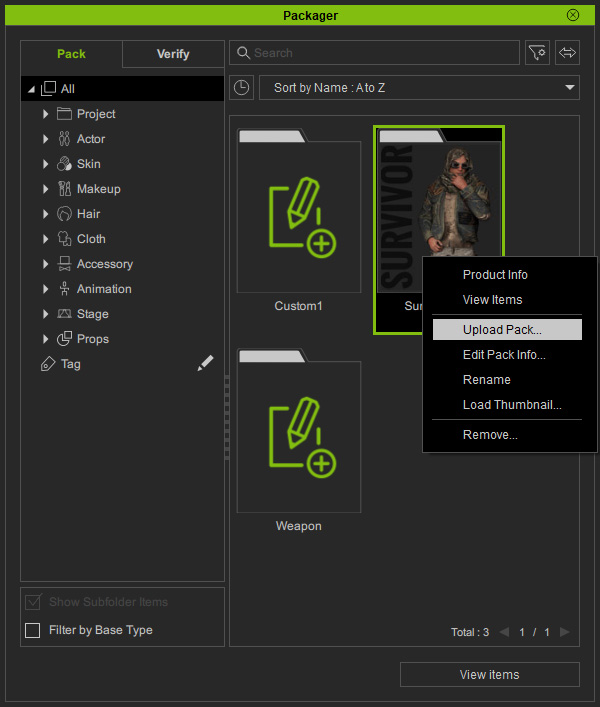
- Exit the custom pack and upload it once again.
- Packager will perform checks on the online pack data and display operational status - Insert, Update, Skip, and Remove.
When it comes to a large amount of data, you can alternatively ignore all operations by clicking the Skip All button on the bottom, and then pick those items which you want to make changes to.
Click the Upload button to confirm the changes.
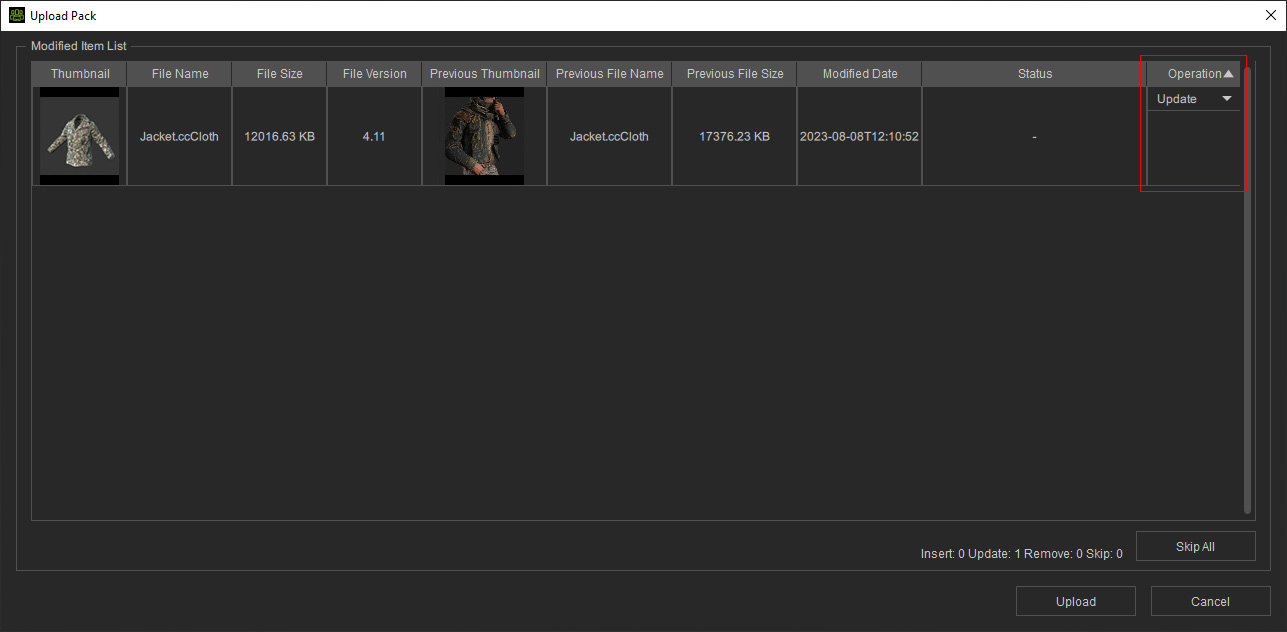
 Sorting operations
  :
:You can sort the listed operations by clicking the column heading. The default order is Insert → Update → Skip → Remove. Click the heading to reverse the order.
- Go to the online Marketplace page to verify if the items in the pack is updated.

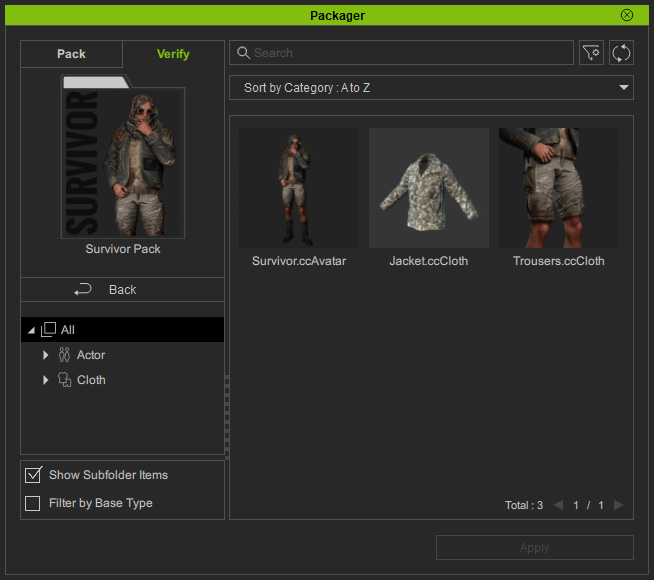
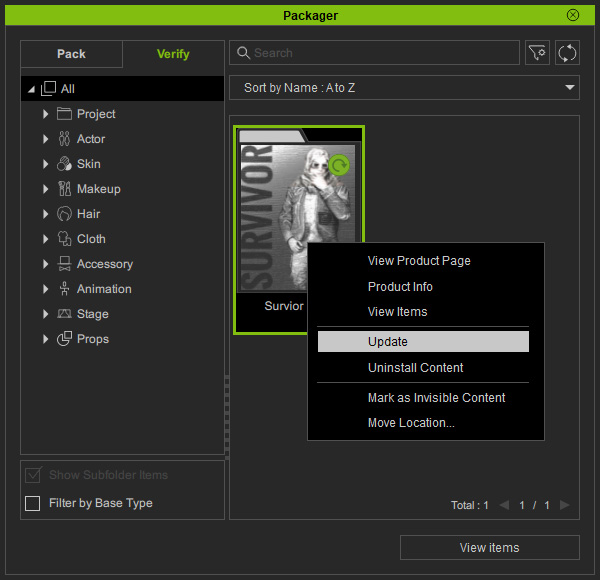
- Switch to the Verify tab of Packager and right-click to refresh the uploaded pack.
An
 icon will show on the upper right corner of the pack.
Right-click on it and choose the Update command from the context menu.
icon will show on the upper right corner of the pack.
Right-click on it and choose the Update command from the context menu.
- Click the Update button to update the local database.
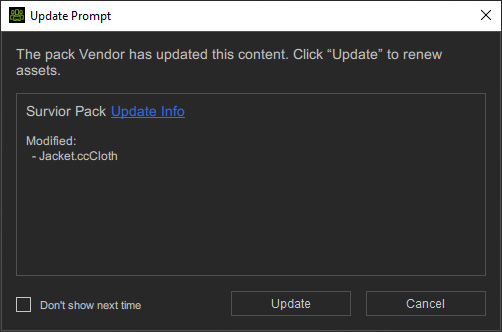
- Open the pack and you will see what the customers will see after they buy and install the pack.