Adding Content to Custom Pack
Any of your custom contents can be virtually added into a pack.
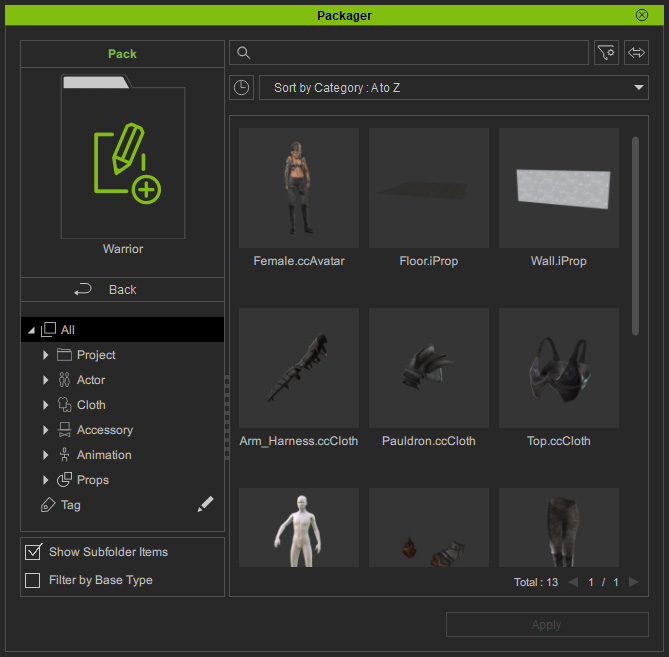
- Prepare a project.
- Switch to Custom tab of Content Manager and save your contents.
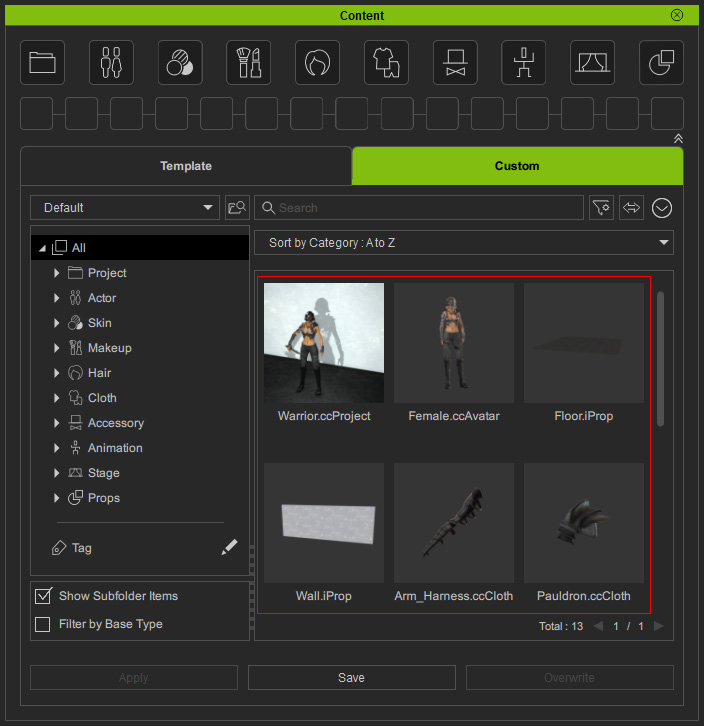
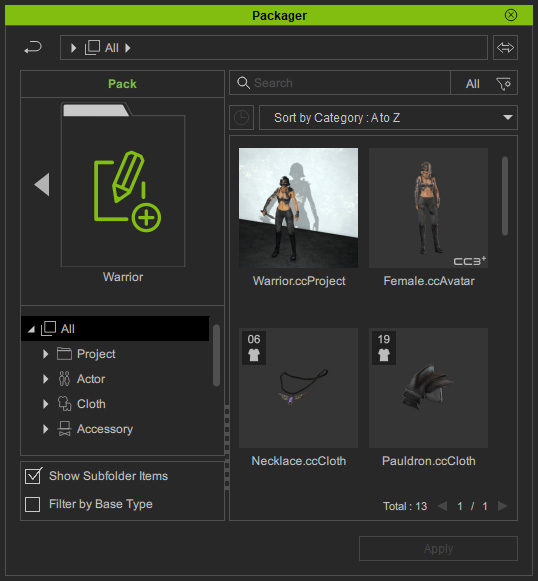
* The Show Subfolder Items checkbox is enabled to view all items in the subfolders. - Open the Packager (Ctrl + F4) panel and create a custom pack.
- Right-click on one or multiple items under the Custom tab of Content Manager and choose the Add to Pack command from the context menu.
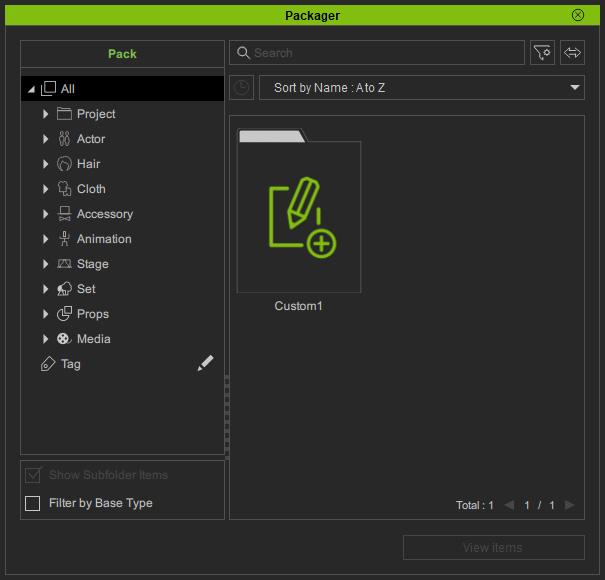
The custom packs you have created in the Packager panel will show.
Pick any of them, or choose the Create Pack command.
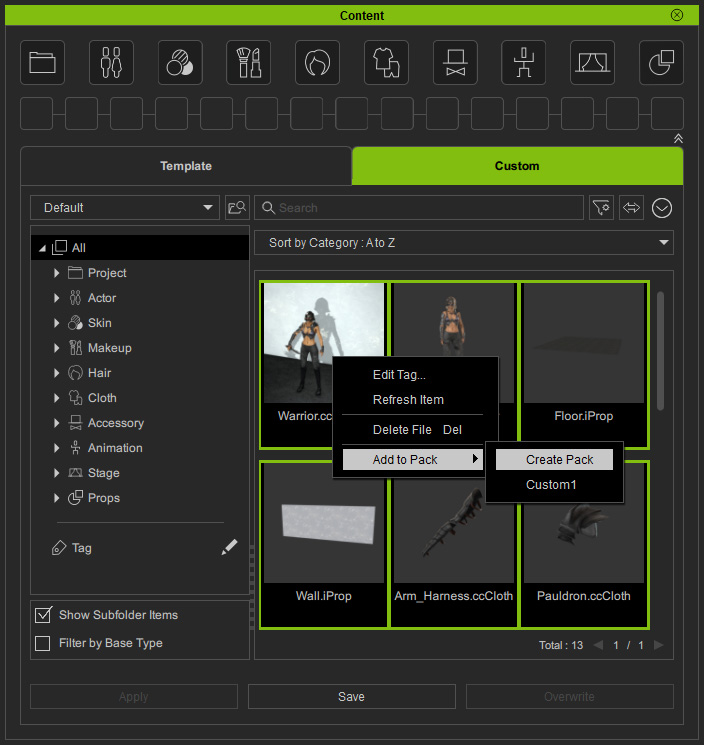
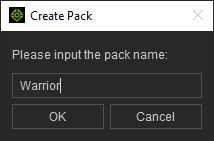
* Adding contents by drag-n-drop is also supported. - Name the custom pack and click the OK button.
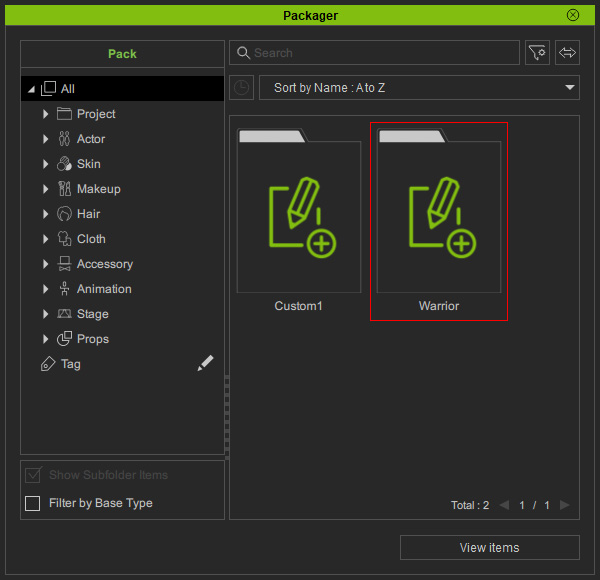
- You will see the new pack shown in the Packager panel.
- The following message will appear.
Click the Go button.
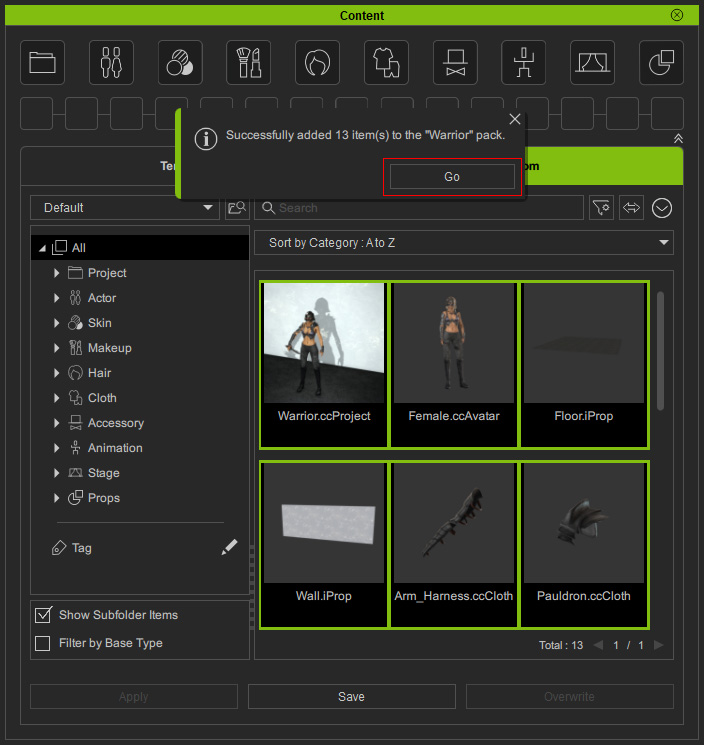
The message disappears after five seconds. If you do not click the Go button right away to show the results, then you can manually open the custom pack in the Packager panel by double-clicking on it. - You will see the items are virtually added into this pack.
Synced items share names and thumbnails as well as categories, tags and collections. Any updates of the virtual items can sync back to the original contents, and vice versa. - If you want to remove any item from this pack, right-click on the item and choose the Remove command from the context menu.
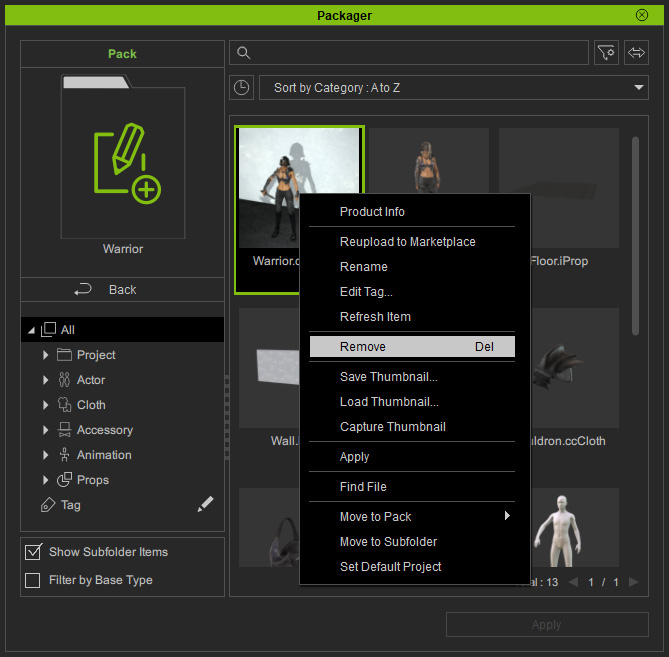
- The custom content will unbundle and remove its virtual item from this pack.