Preparing a Custom Sprite (New for 2.1)
You can load different types of media, videos or images to create a sprite.
When a sprite contains a series of image or videos,
then you may create Image Replacement Animations in Stage mode with setting keys.
*Please note that this feature is for the Pipeline and Pro versions only.
Loading Media to Form a New Sprite
Prop
-
In Stage Mode, click the
 Create Media button on the Function Bar.
-
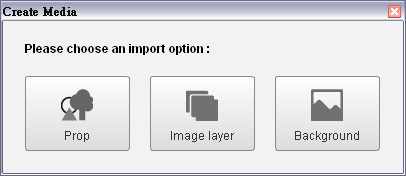
Click the Prop button in the Create Media panel.
-
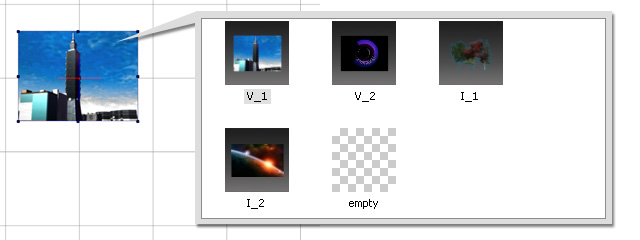
Load multiple media files. A sprite with multiple media files will be created afterward.
Two More Methods to Create a Sprite or to Add More Media to a Sprite
If you want to create a sprite, or append more media onto an existing sprite, then you may use the two methods below:
-
Sprite Editor in actor or prop composer mode.
-
Drag and Drop from media source folders.
The added media in the sprite are named Poses. Any sprite can have multiple poses so that you can use
these pose to generate Sprite Animations.
Using the Sprite Editor
-
Character
-
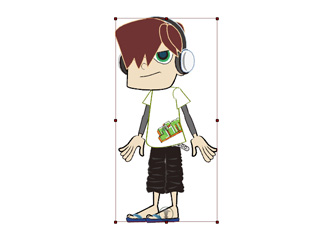
Select an existing character.
-
Click the
 Character Composer button on the Function Bar.
-
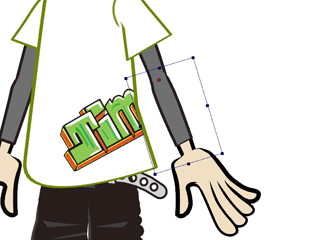
Select a body part (sprite).
-
click the
 Sprite Editor
button on the Function Bar.
The Sprite Editor panel shows.
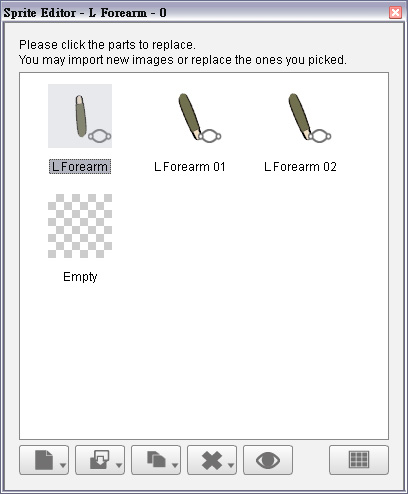
-
You may click another body part without closing the Sprite Editor.
-
Click the Add New Sprite
 button.
Load one or more media files.
-
This body part is now a sprite with multiple poses. All the
poses are now listed in the panel.
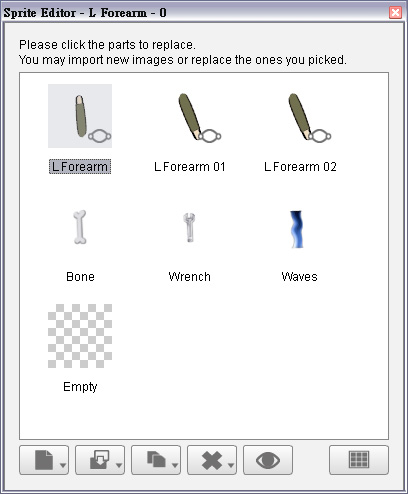
|
Note:
|
|
If you want to create a character that is able to perform 3D dimensional motions,
then you need to add up to 10 angles for the poses. Please refer to the sections
below for more information:
|
-
Prop
-
Select an existing prop.
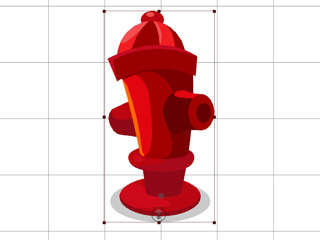
-
Click the
 Prop Composer button on the Function Bar.
-
Click the
 Sprite Editor button on the Functional Tool Bar.
The Sprite Editor panel shows.
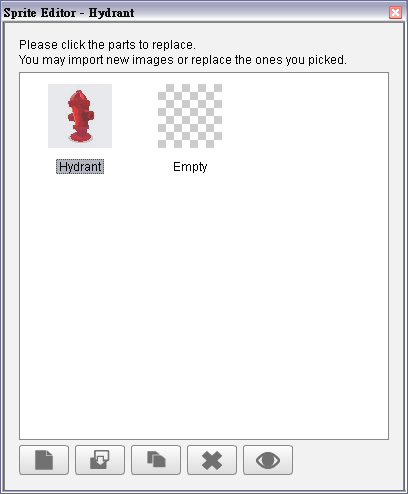
-
Click the Add New Sprite
 button in the
Sprite Editor panel. Load one or more media files.
-
This sprite is now appended with multiple media files. All the media files are now listed in the panel.
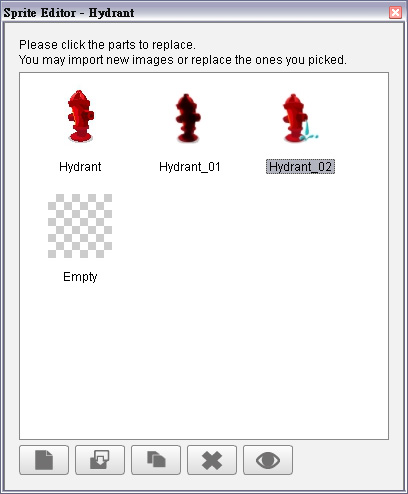
|
Note:
|
-
The elements of a sprite can be media files in different formats:
-
Image: *.jpg, *.bmp, *.gif, *.png, *.tga.
-
Video: *.avi, *.wmv, *.rm, *.rmvb, *.mpg, *.mpeg, *.mpe, *.mp4, *.asf, *.asx, *.wm, *.flv, *.mov, *.swf
-
Reallusion Specific Format: *.iWidget, *.popVideo
-
You may select a video file and click the Preview
 button to preview the results. button to preview the results.
-
Select an element thumbnail in the list.
Click the Replace Current Sprite
 button to load a new file that will replace the selected one. button to load a new file that will replace the selected one.
-
Select an element thumbnail in the list and press the Delete key to remove the element from the list.
-
No matter which media file is selected from the list in the Composer Mode, the sprite will always shows the first one in the
Stage Mode.
|
Drag and Drop from Media Source Folders
-
Creating a Prop with Multiple Media
-
Select multiple media files from the source folder in Stage Mode.
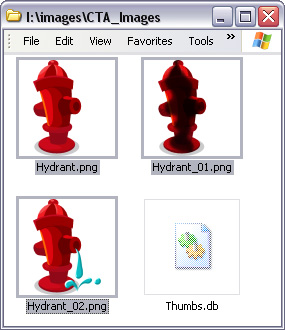
-
Drag and drop into the working area of CrazyTalk Animator.
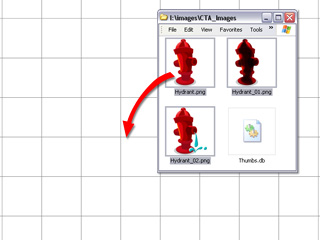
-
A new sprite prop containing several media files is
generated.
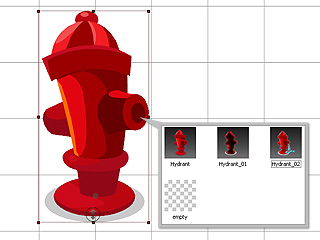
-
Appending Media to a Sprite
-
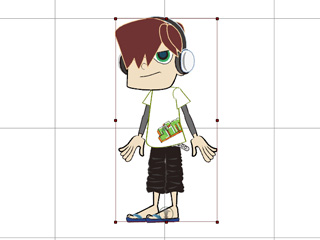
Select a character or a prop. Switch to the Composer mode.
-
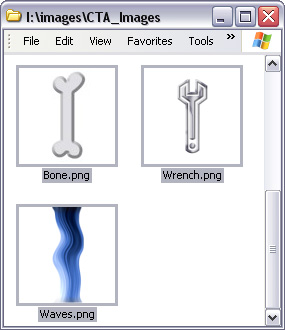
Select single or multiple image files in the source folder.
-
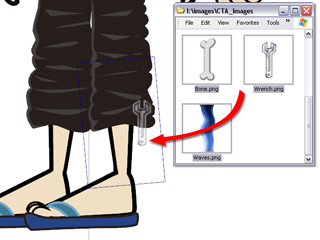
Drag and drop onto the target sprite in the working area of CrazyTalk Animator.
-
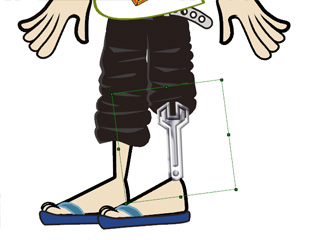
Pick the sprite and click the
 Sprite Editor button.
The media will then be converted into the
poses of the sprite.
|
Note:
|
|
If you want to create a character that is able to perform 3D dimensional motions,
then you need to add up to 10 angles for the poses. Please refer to the sections
below for more information:
|
Replacing an Existing Pose or Element in Sprite
When you want to replace poses (of a character's facial features or body parts) or
elements (of props) with prepared image-based or vector-based files by using the buttons
at the bottom of the Sprite Editor panel, you may need to follow the
steps below.
Prop's Element and Character's Single Angle of Pose
This method replaces only one element in the sprite of a prop; and a single angle pose for
a character's facial features or body parts.
-
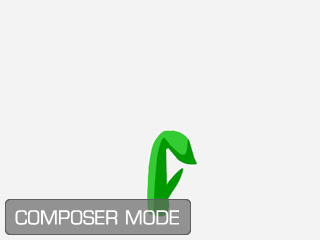
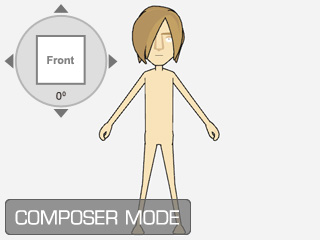
Select an object (prop or character) and enter the Composer Mode.
|
|
|
Prop in Composer Mode
|
Character in Composer Mode
|
-
Pick a sprite and open the Sprite Editor.
-
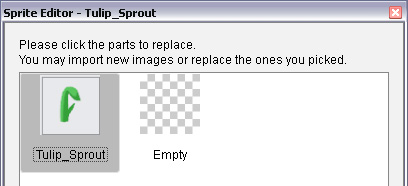
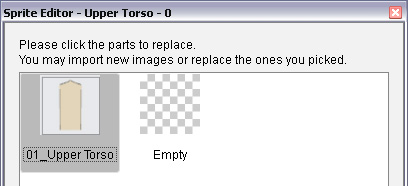
Select the element (for prop) or one of the poses (if there are multiple poses for the character).
|
|
|
The element of the prop is selected
|
The pose of a character's body part is selected
|
-
Click the Replace Current Sprite button (for prop) or the down
arrow >> Replace Current Angle (for character) at the bottom of the panel.

|

|
|
Click the Replace Current Angle button (for props)
|
Click the down arrow besides the Replace Current Angle (for characters)
and select the Replace Current Angle command
|
-
Load a prepared file to replace the current one.
|
Note:
|
|
For the character, you are able to open the Angle Table, where you'll be able to see that only the content in the current angle slot has been replaced.
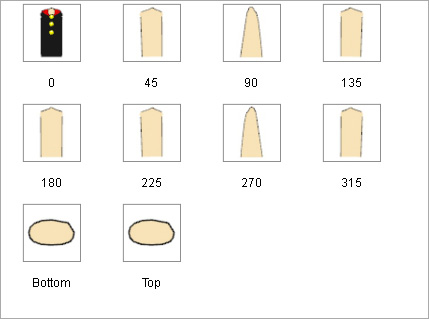
|
Complete Character Angle Profile Replacement
Use this method to replace character poses that look identical at all 10 angle profiles.
-
Select a character and enter the Composer Mode.
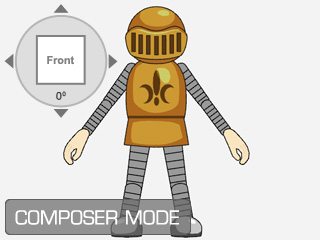
-
Pick a sprite and open the Sprite Editor.
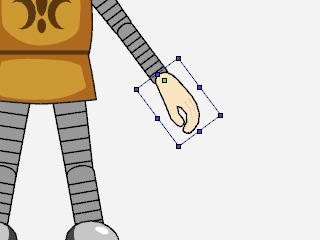
-
Select one of the poses (if there are multiple poses for the character).
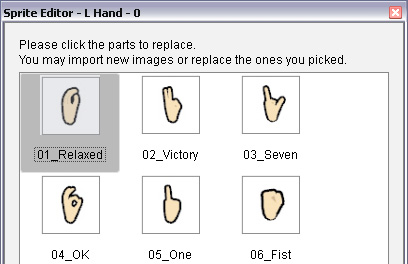
-
Click the down arrow beside the button at the bottom of the panel.
-
Choose the Replace Full Angle command.

-
Load a prepared file to replace every angle of this pose with the
loaded file.
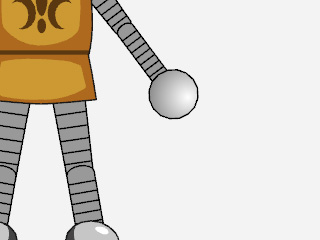
-
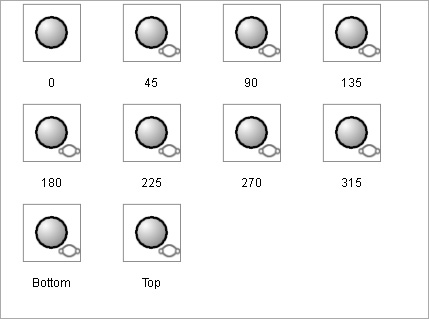
Open the Angle Table and you will see every angle is replaced
with the newly-loaded file.
 Create Media button on the Function Bar.

 Create Media button on the Function Bar.

 Character Composer button on the Function Bar.
 Prop Composer button on the Function Bar.


