


|
Note: |
|
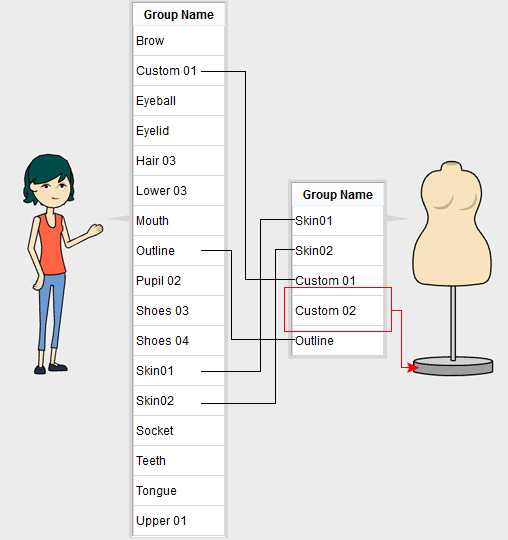
Please note that the target object must contain the same pre-defined group names as the source object has by using the Vector Grouping Tool panel (Pipeline version only). Please refer to the sections below for more information: |
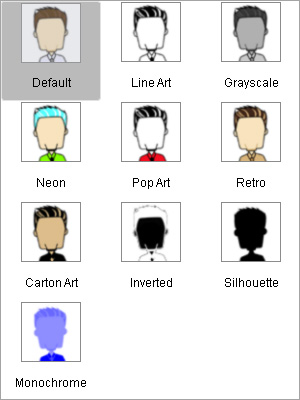
The Render Style feature not only quickly sets styles of any object in the scene, but also can make the entire scene or specific objects cohesive with identical render style presets. You can also pass render style data from one object to another.
If the objects (characters or props) in the scene already have predefined Render Style presets, you can quickly transfer the style to other ones in Stage Mode without opening the Render Style panel repetitively. This method is specially suitable for the Vector-based objects.
|
Note: |
|
Please note that the target object must contain the same pre-defined group names as the source object has by using the Vector Grouping Tool panel (Pipeline version only). Please refer to the sections below for more information: |
If the objects have 10 render style presets but are not well-defined in advance, then you may use the Apply Selected Render Style feature to quickly define the presets without entering the Composer Mode. This method is suitable for both vector-based or image- based objects.

|

|
|
Vector-based source object |
Image-based source object |

|
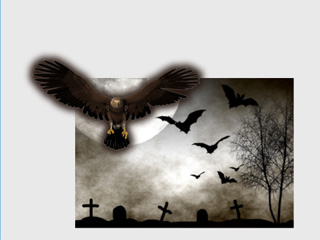
|
|
Vector-based target object |
Image-based target object |
|
Note: |
|
Please make sure you have performed the procedures for these objects before the next steps.
|
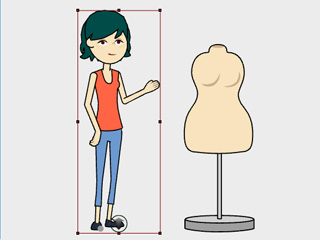
|
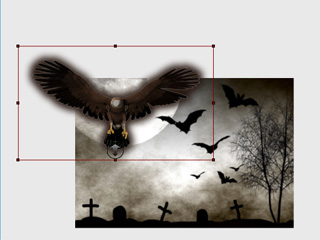
|
|
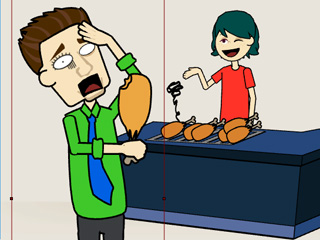
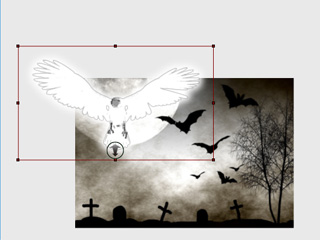
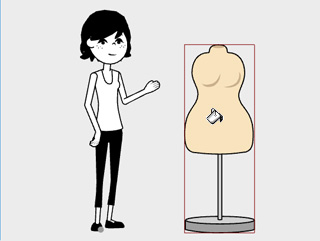
The source objects are picked. |
|
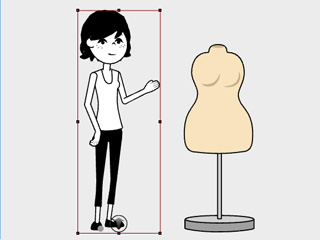
|
|
|
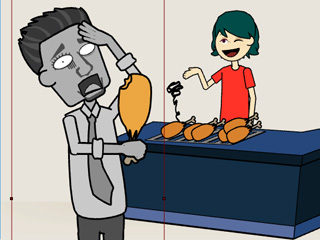
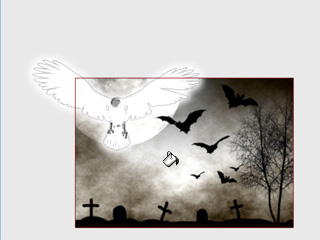
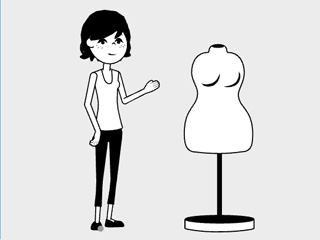
The Line Art preset is utilized. |
|
|
|
|
|
|
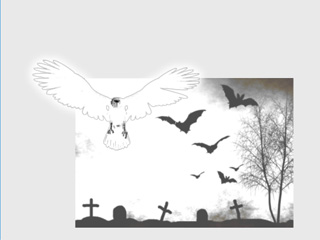
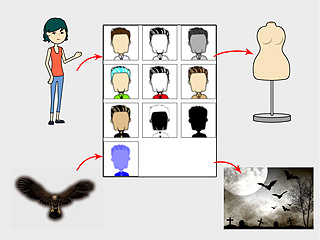
The Line Art preset is passed to the target objects. |
|
|
Note: |
|
Please note that, for the Vector-based objects, if
the group names between the source and target objects
do not completely match, then only the identical groups will
be influenced after the Apply Selected Render Style is
performed. In the following case, the color grouped into the
Custom 02 will not take any effect after the
target object has been given a render style preset from the source object. |