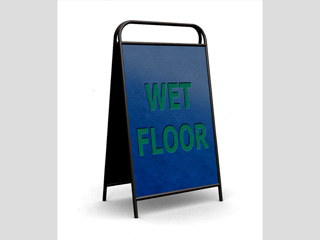
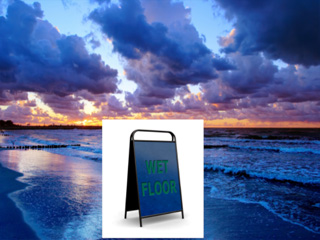
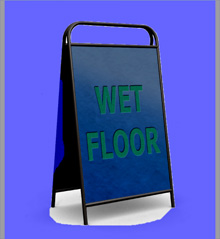
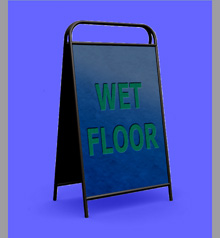
A photo without mask data.
The unnecessary parts of the original image conceal the custom background or even other objects.
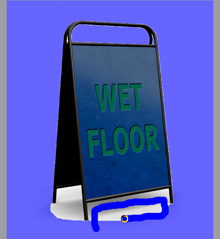
When your source image contains a simple background area with a similar color or when the contours of the prop are not complicated, you can use the Auto Mode to quickly define the mask for the background area. This mode is suitable for props with sharp and clear contour edges because CrazyTalk Animator can quickly auto-mask areas according to the edges.
Before you add a mask, you need to create a prop from an image. After the prop is generated, it is by default without a mask. Therefore, even if you replace the background, the original background of the image still conceals the custom background of the project.
|
|
|
|
A photo without mask data. |
The unnecessary parts of the original image conceal the custom background or even other objects. |
 button at the tool bar to access the Mask Editor panel.
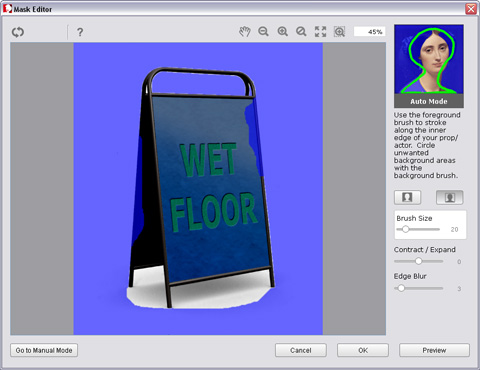
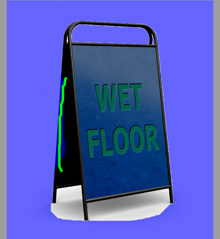
 button and roughly draw
contours to frame around the prop (do not worry if the contour is enclosed or not).
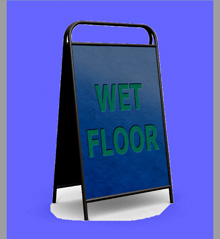
button and roughly draw
contours to frame around the prop (do not worry if the contour is enclosed or not).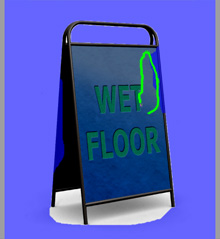

|
|
|
|
 button.
|

|
 button to check out the mask result.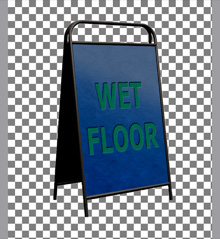

|
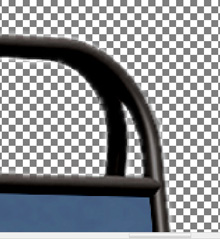
|
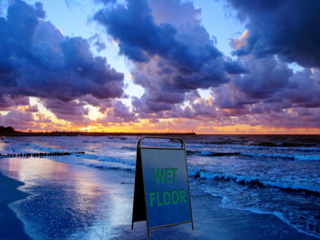
|
Note: |
|
If you want to modify the details of the mask, then click the
Go to Manual Mode |
 button to enter the
mode with the current mask result.
button to enter the
mode with the current mask result.