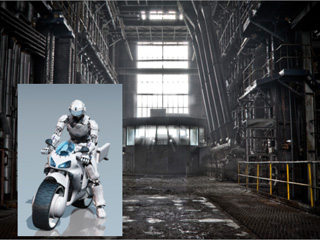
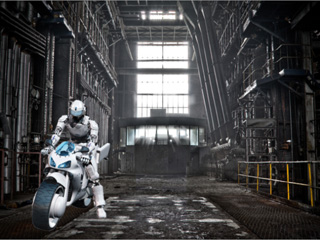
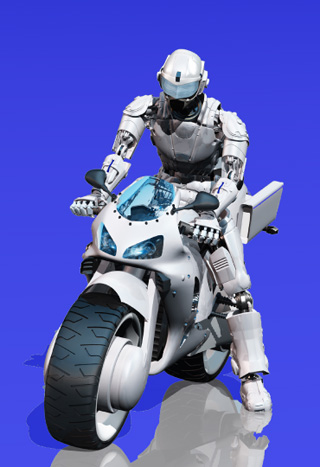
A photo without mask data.
The unnecessary parts of the original image conceals the custom background or even the other objects.
When your source image is complicated and the contour edges of the prop
can not be clearly determined in the Auto Mode, you can use
the Manual Mode to modify the details of the mask by carefully
painting the mask with the tools in this mode.
Please note that you can always start with a rough mask generated from Auto Mode and then
modify the rough mask in Manual Mode.
|
|
|
|
A photo without mask data. |
The unnecessary parts of the original image conceals the custom background or even the other objects. |
 button on the tool bar to access the Mask Editor panel.
 button to switch to Manual Mode.
 button to remove the entire mask.
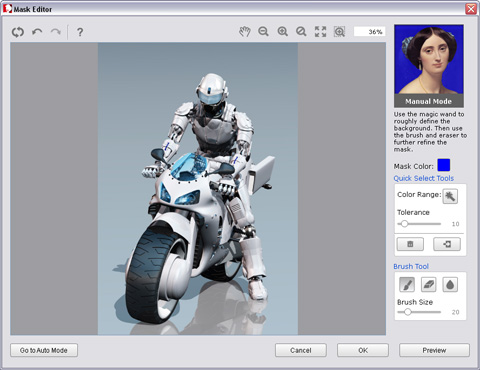
Press down the Color Range
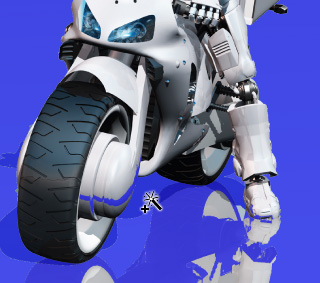
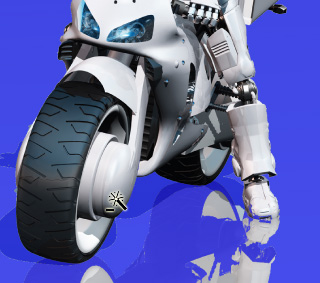
 button and then pick a spot on the image to mask that colored area and those with similar shades.
 button to check out the mask result.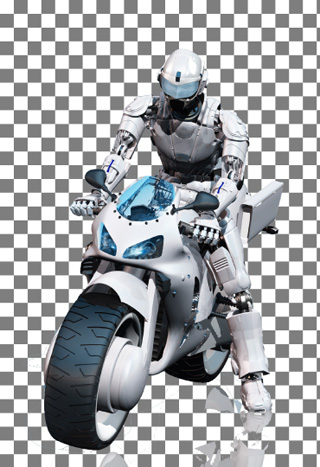
|
Note: |
|
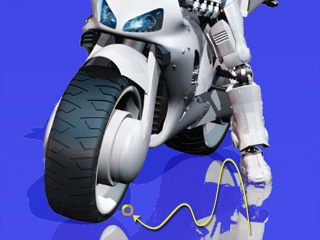
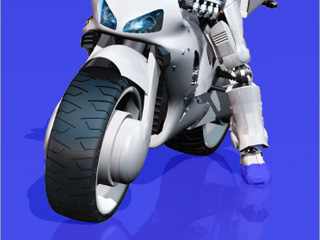
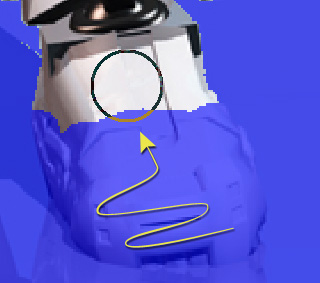
To modify the mask details, you can use the Brush Tools.
 button in the Brush Tools section.
|
|
 button and paint on the image to correct the
excess areas of the mask.
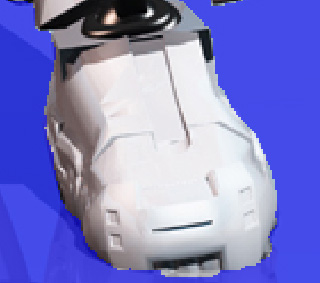
button and paint on the image to correct the
excess areas of the mask.
|
|
button to check out the mask result. 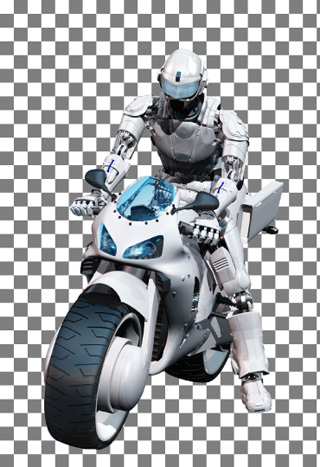
 button and paint on the edges of the mask to smooth the jagged
ones.
button and paint on the edges of the mask to smooth the jagged
ones.
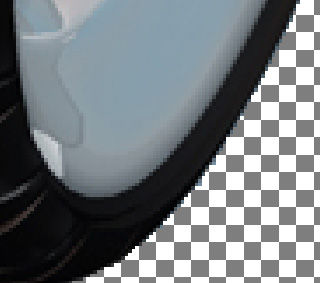
|
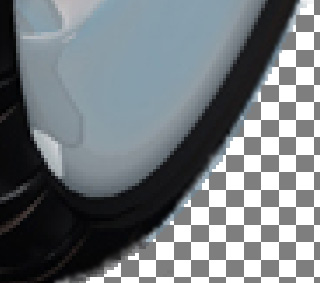
|
|
Jagged edges |
Use blur tool to remove the jagged edges |
|
Note: |
|
If you click the Go to Auto Mode |
 button, the mask you have created in
the Manual Mode will be discarded.
button, the mask you have created in
the Manual Mode will be discarded.