Setting Custom Default Pose with Action Menu
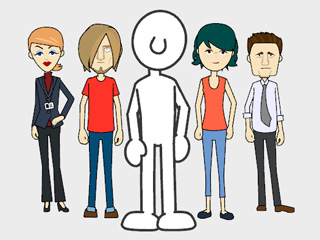
When you apply a G2 character, you may notice that the character stands in a
certain pose, which is so-called
Default Pose. However, you may consider them mild and want to define
custom default pose for your characters.
|
|
|
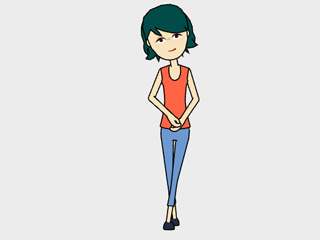
The characters with given default poses.
|
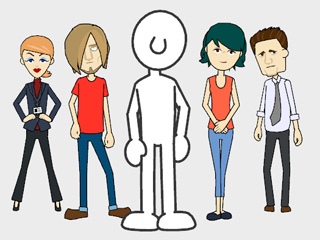
Customized default poses reveal the personalities of each character.
|
You are allowed to customize the default pose by using the Action Menu. The benefit to create a custom default pose are:
-
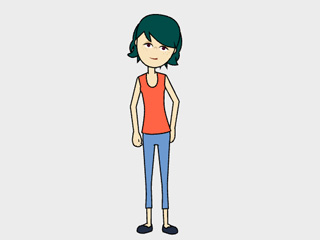
Set an appropriate pose that matches or strengthen the character's personality.
-
Sharing a character with custom default pose with your co-workers for group working
in creating animations.
Step 1: Creating Custom Motion
-
Apply a G2 character (the default pose is baked within it).
-
Have the character act a certain motion.

Methods:
-
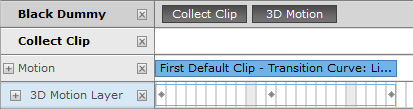
Open the timeline (F3), the Collect Clip and the Motion track of the character.
-
Make a range within the Collect Clip track (one-frame range is allowed).
|
Note:
|
|
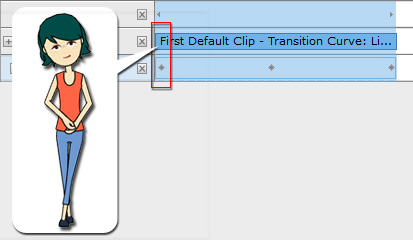
Please make sure that the first frame of the motion in the range contains
a desired pose that is suitable for the character.
|
-
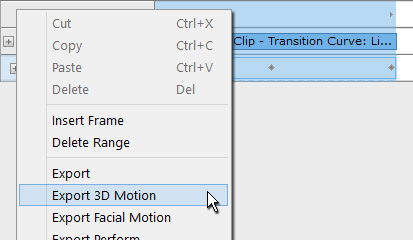
Right click in the range and execute Export 3D Motion command. Save the range as a
new 3D motion file.
Step 2: Loading Motion Clip to Action Menu
-
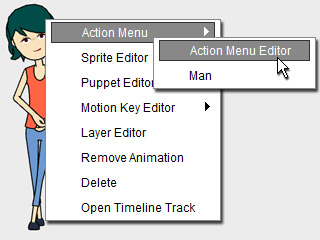
Right click on the character and select Action Menu >> Action Menu Editor.
-
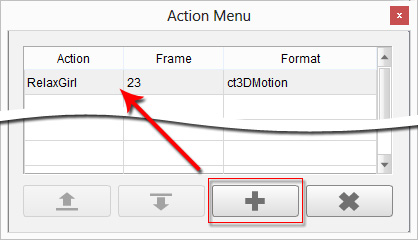
In the editor, click the Add button and load the motion file created in the previous
steps.

The pose in the first frame of the motion will turn to be the default pose of the character.
|
Note:
|
|
You may click the
Default button in the
3D Motion Key Editor to preview the
new default pose of the character.
|
-
Add the character to the custom library. Each time the character is applied,
it strikes a default pose (you may also see the pose is used as the
thumbnail of
the character file).