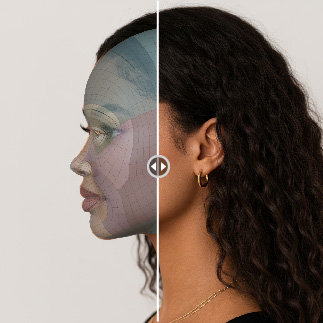
User Interface Introduction for Side Face Refinement
After completing the side face generation steps, you can fine-tune the control points using the Refine Face controls.
Refine Face Panel - Edit Control Point Mode
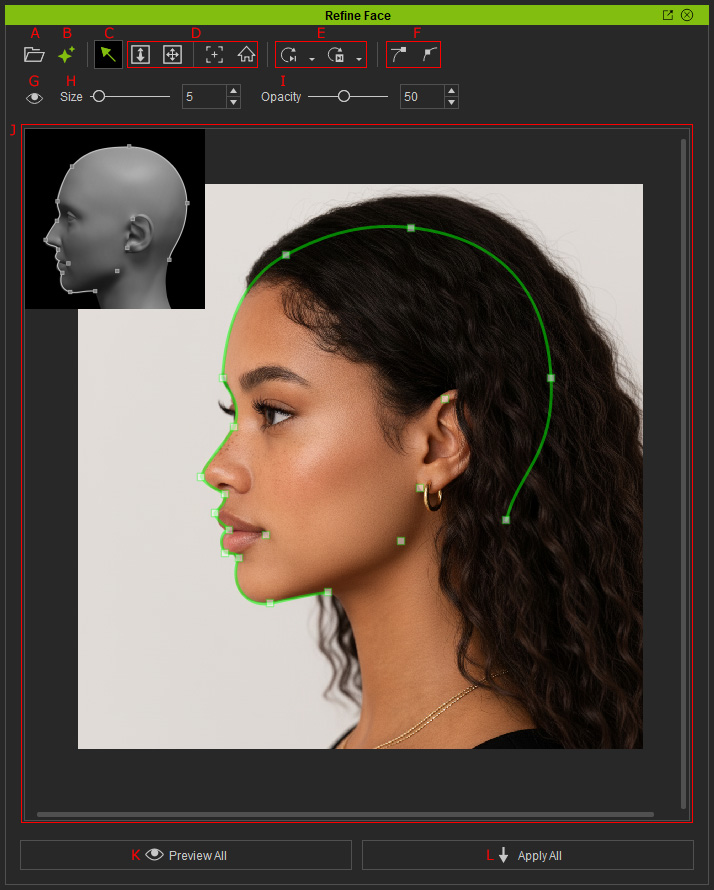
|
A |
Load Image |
Load Source Image of side face. |
|
B |
AI Image Generator |
Opens the AI Image Generator panel. |
|
C |
Selection Tool (Q) |
Switches to select mode for picking control points. |
|
D |
Camera Manipulation |
|
|
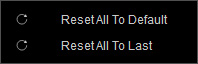
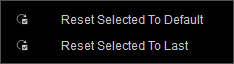
E |
Reset Tools |
|
|
F |
Bézier Tools |
|
|
G |
Show / Hide |
Show / Hide all control points. |
|
H |
Control Point Size |
Changes the size on the control points. |
|
I |
Control Point Opacity |
Changes the visibility of the control points. |
|
J |
Work Area |
|
|
K |
Preview All |
Preview the mesh with all control point modifications. |
|
L |
Apply All |
Apply the mesh with all control point modifications to the viewport. |
Refine Face Panel - Preview Mode
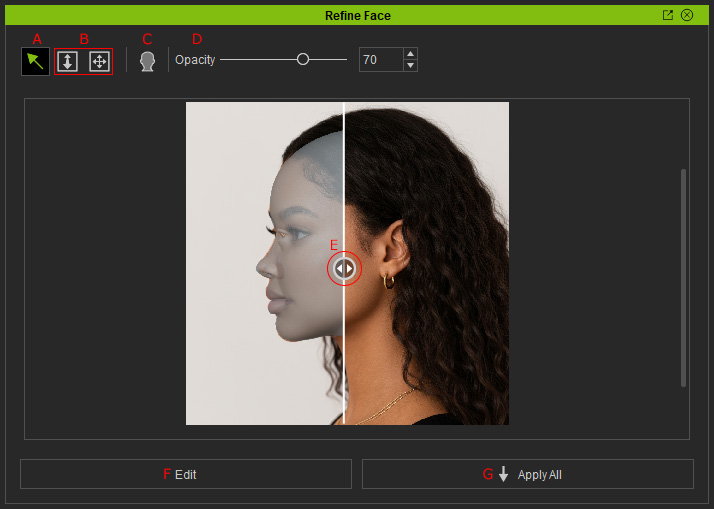
|
A |
Selection Tool (Q) |
Switches to select mode for picking control points. |
|
B |
Camera Manipulation |
|
|
C |
Render |
Render the topology reference on to the head mesh. |
|
D |
Mesh Opacity |
Adjust the opacity of generated mesh for better alignment. |
|
E |
On-Screen Visibility Area Slider |
Drag to adjust the visible area of the head mesh. |
|
F |
Edit |
Return to Refine Face Edit mode. |
|
G |
Apply All |
Apply the mesh with all control point modifications to the viewport. |