Using Preset Morph Sliders
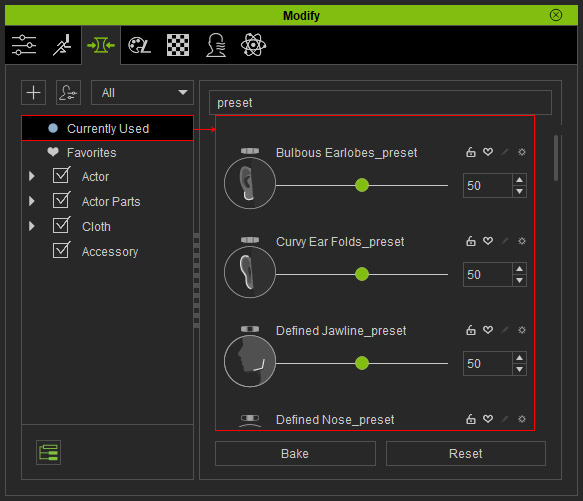
After character generation, selected preset morphs can be adjusted in the Currently Used tab, while additional presets can be added manually without regenerating the character.
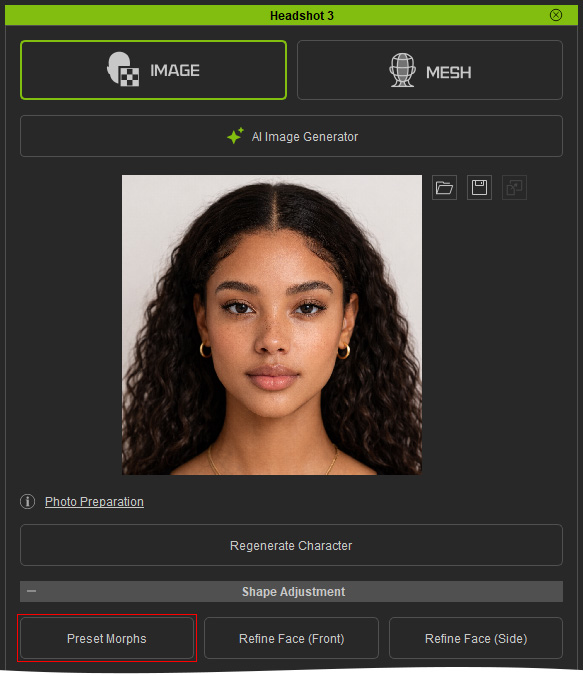
- Select your character.
- Open the Preset Morphs Sliders by clicking the Preset Morphs button under Shape Adjustment.
The Modify > Morphs tab will jump to the Actor > HeadShot node and display all preset morph sliders.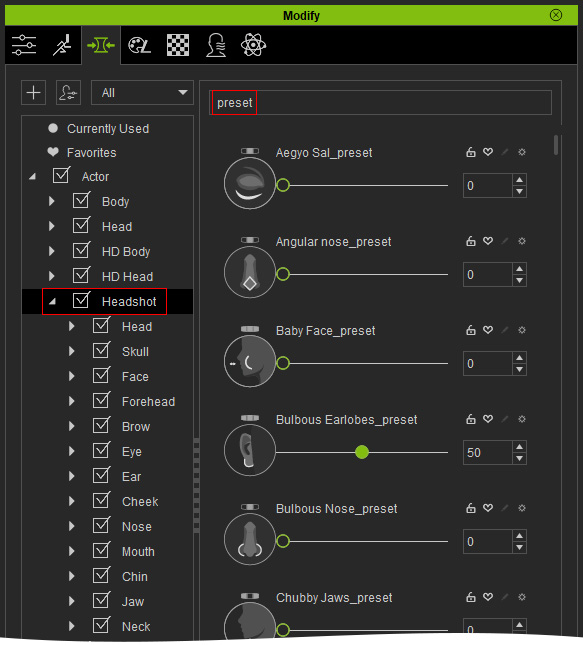
- Find the preset morph you want to add. And in this case, add Sunken Cheeks to the character: Headshot > Cheeks > Preset > Sunken_Cheeks_preset.
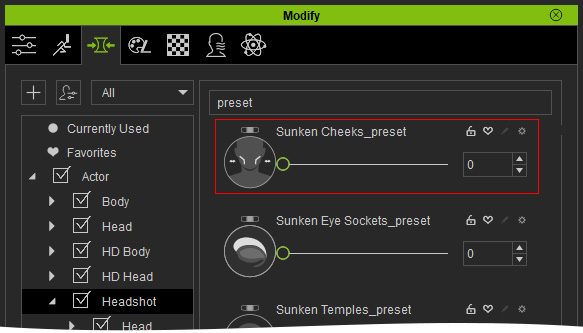
- Adjust the slider value to update the character directly in the viewport.
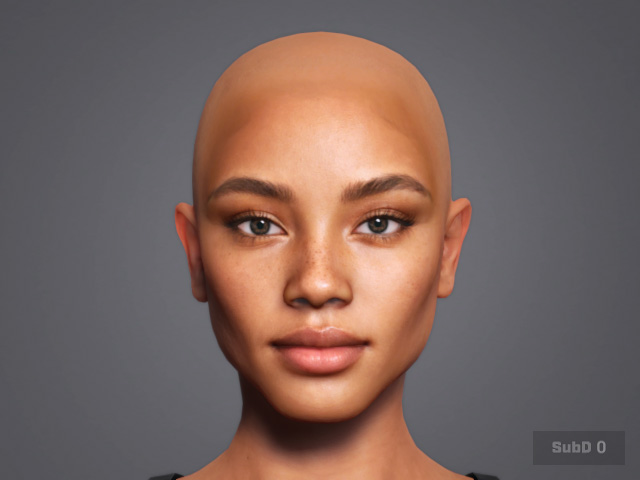
Sunken_Cheeks_preset = 0
Sunken_Cheeks_preset = 60
- Preset morphs selected during character generation automatically appear in the Currently Used folder under the Morph Panel, where their corresponding sliders can be manually adjusted to increase or reduce each preset’s effect.
Headshot 3 characters already look impressive when generated; however, fine-tuning the preset morph sliders to enhance distinctive facial features can elevate the final result further.
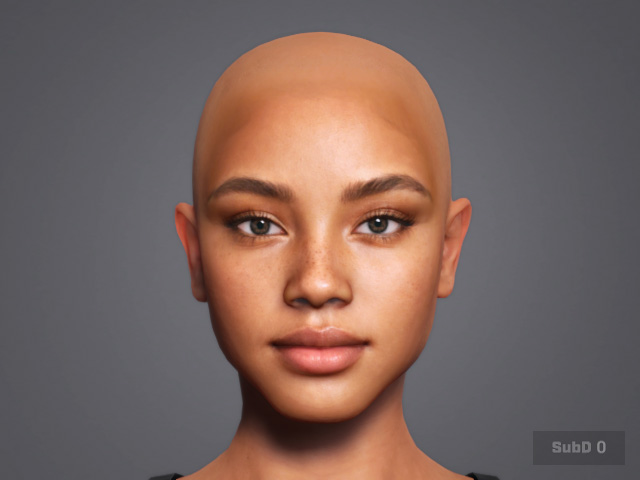
- Source Image.
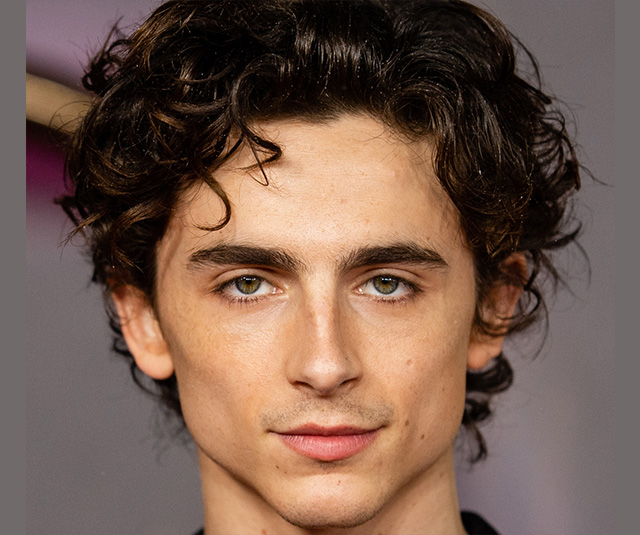
- Auto Generation Results with preset selected:
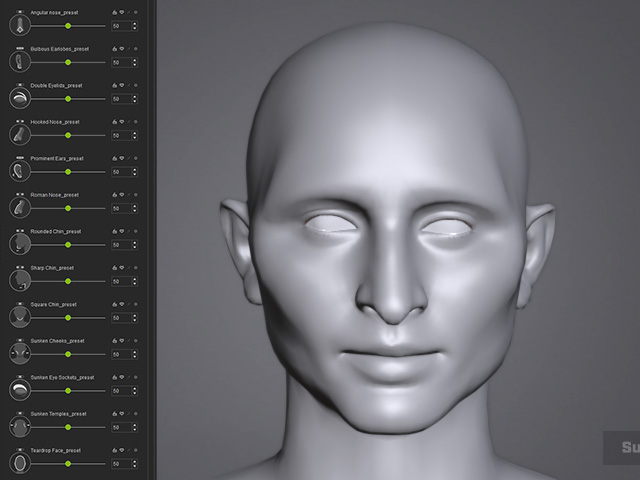
- Auto Generation results with preset selected and further tuning with the Preset Morph Sliders:
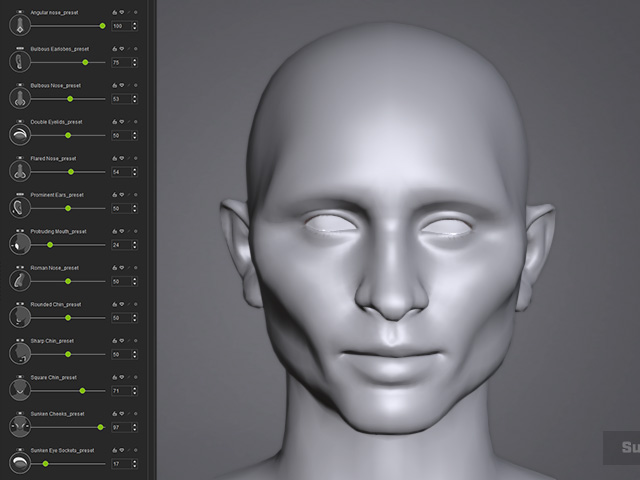
- You can freely use the available morph sliders to sculpt the character’s head and facial features to resemble the person in the photo.
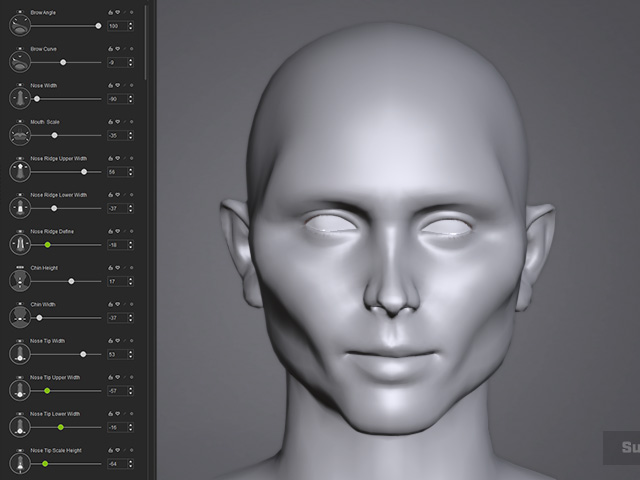
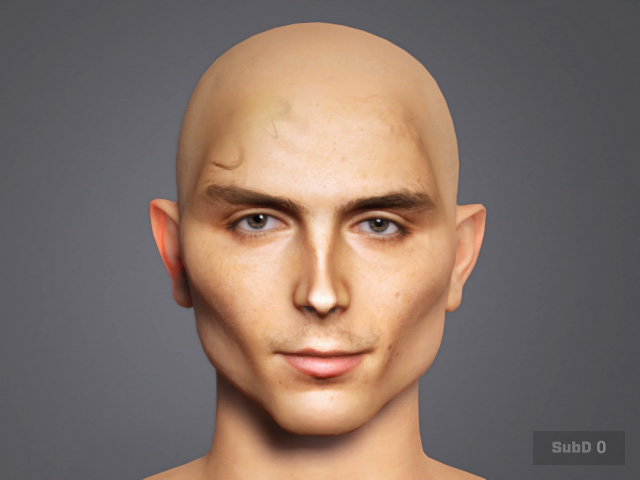
- Final Results.
To know more about Preset morphs, please refer to the page Preset Morphs.
