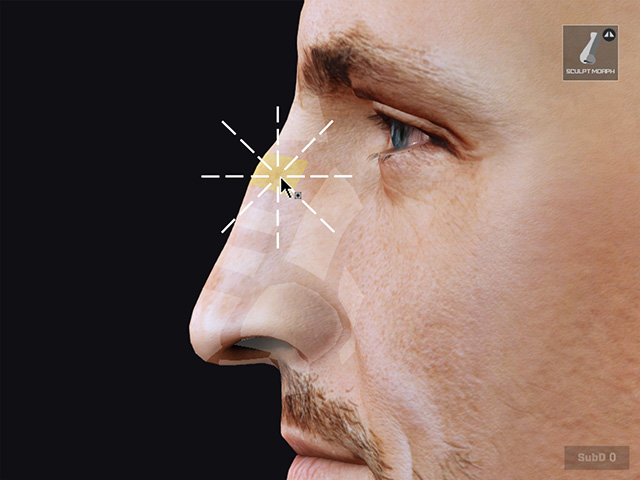
On-Screen Sculpt Morph Design - Side
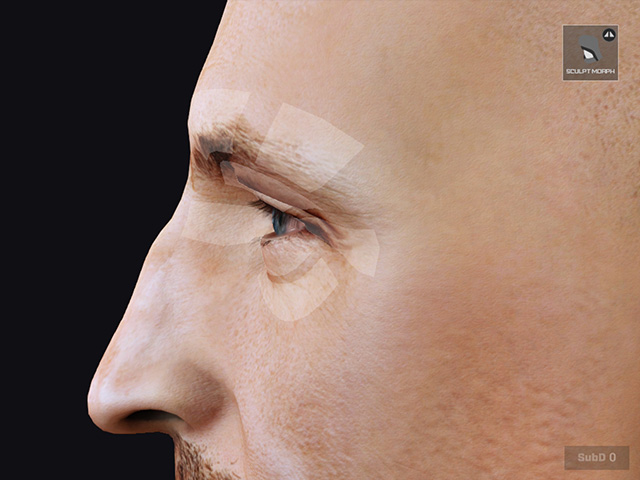
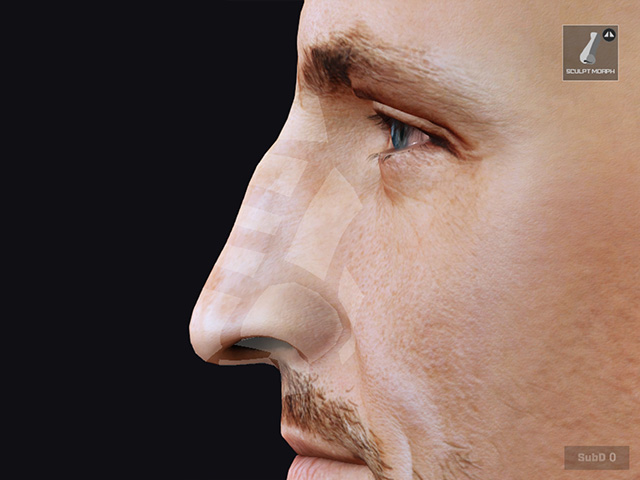
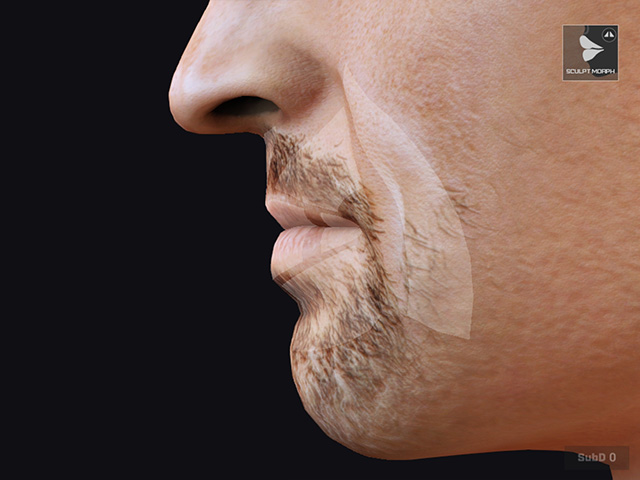
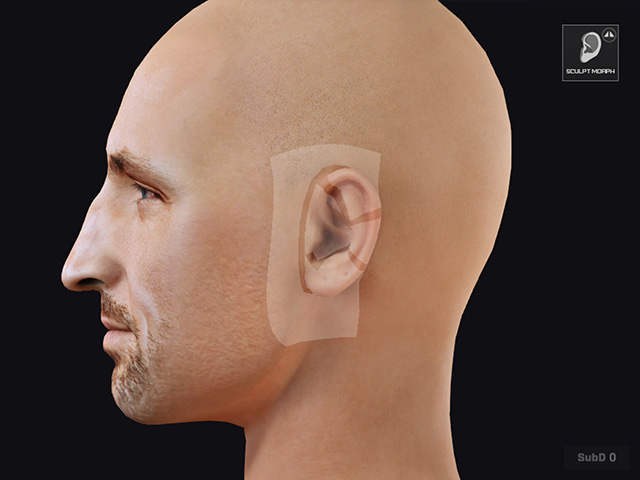
The On-screen Sculpt Morph Design works as a visual aid that allows users to edit the face and head shape directly within the viewport. It is divided into six areas representing different anatomical parts of the face and head. Each area offers both front and side editing options: the front view adjusts width, height, and depth simultaneously, while the side view affects depth only.
The six levels of the Sculpt Morph tool for side view are the same as front view: Contour, Face, Eyes, Nose, Mouth and Ears.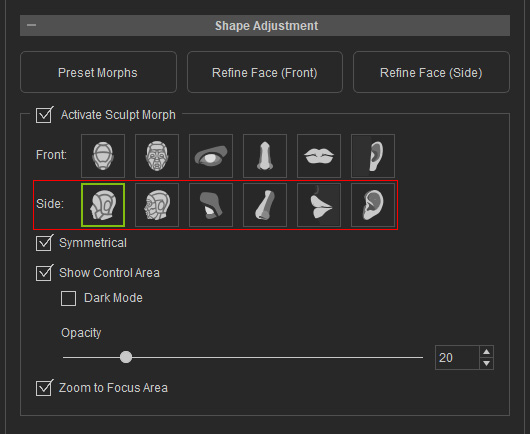
- Contour:
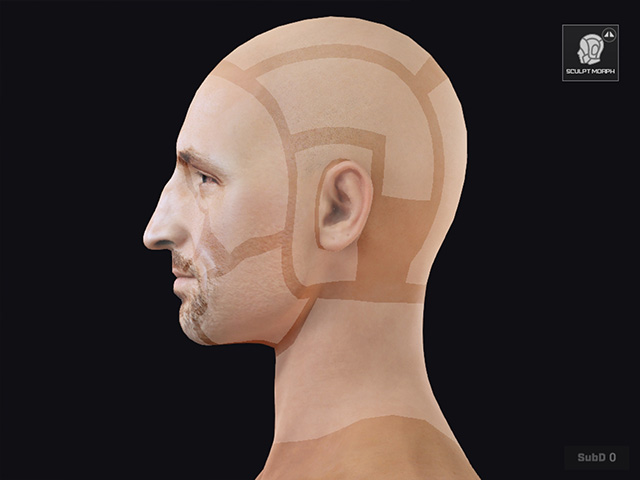
- Face:
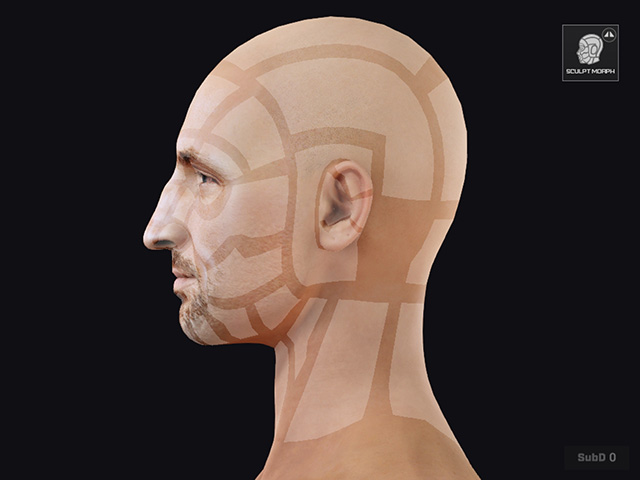
- Eyes:
- Nose:
- Mouth:
- Ears:
Basic Morphing
To enable the Sculpt Morph tool, click on Activate Sculpt Morph inside the Shape Adjustment tab. Once Sculpt Morph is activated, select one of the level regions from the Side view and move the mouse to one of the areas, hold down the left mouse button with horizontal movements to morph the mesh.
 Note:
Note:
It is advised to use the zoom to Focus Area option for a better view of the adjustment being made.
The side morphs are designed for better outlining with depth focus adjustment. Front Morphs for editing the overall look on the face, Side Morphs will then fine tune the depth of the face to make a more sculpted outlook.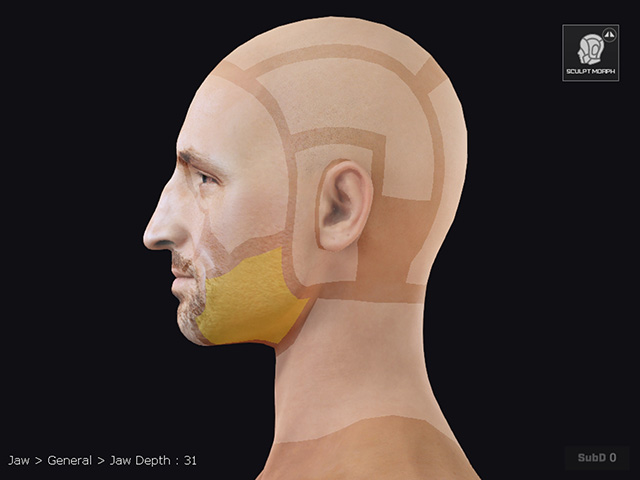
Let's have a look at the screenshot above for further description regarding the UI of Sculpt Morph. On the top right corner there is an icon indicating one of the six areas of Sculpt Morph you are currently working on. On the left down corner there are lines of texts which show the morph sliders in sync with the Sculpt Morph tool.
Below are examples of how Sculpt Morph works:
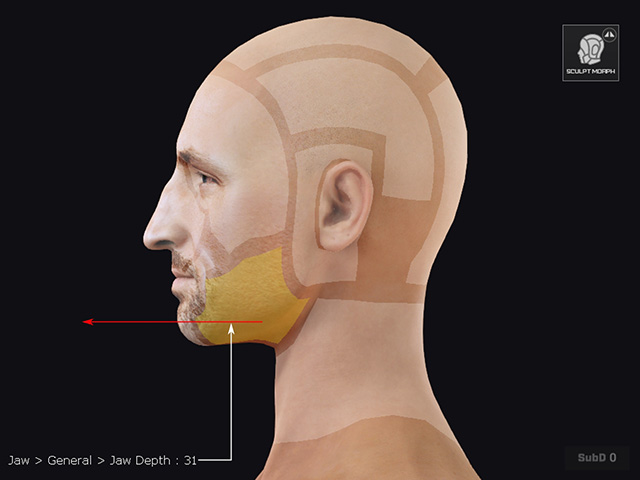
|
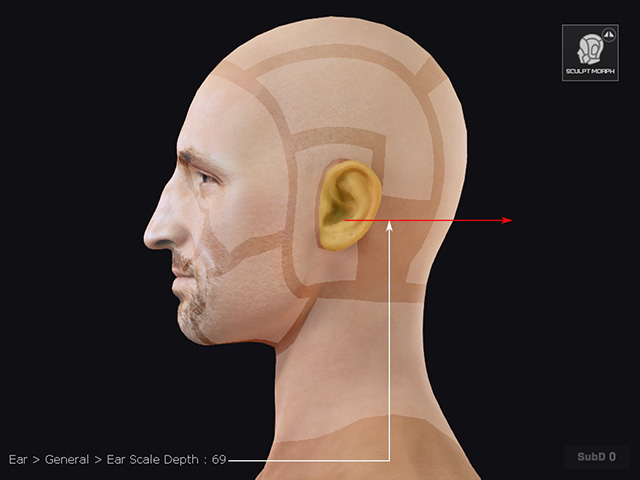
|
Advanced Morphing
Image Mode performs well on generating the head and face shape of the person in the photo. Sculpt Morph Side alone with Headshot Morph 1400+ are a fantastic combination to quickly improve the result even better. We suggest that you make adjustments on the large areas of the head first (e.g. head shape and face shape) and then focus on modifying the small details of the face features.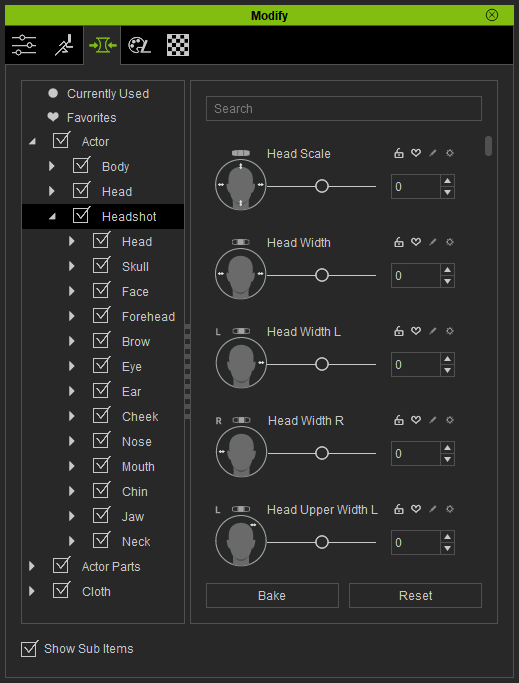
Resetting the Morphs
In order to reset the morphs, you can either:
- Double-click on the names of the morph sliders.
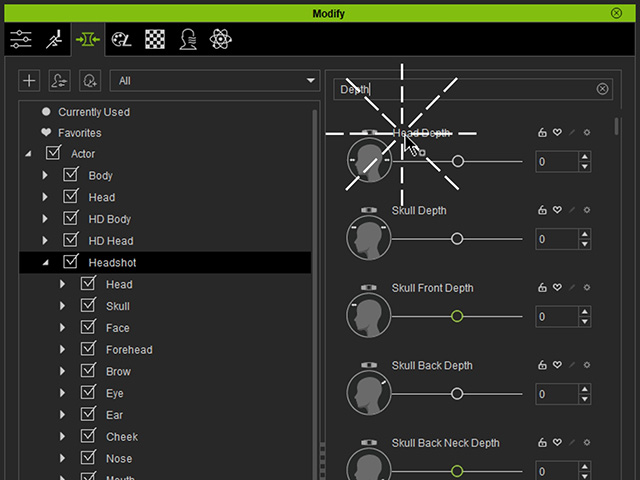
- Double-click on the morphing control areas within the view-port.