Shape Adjustment
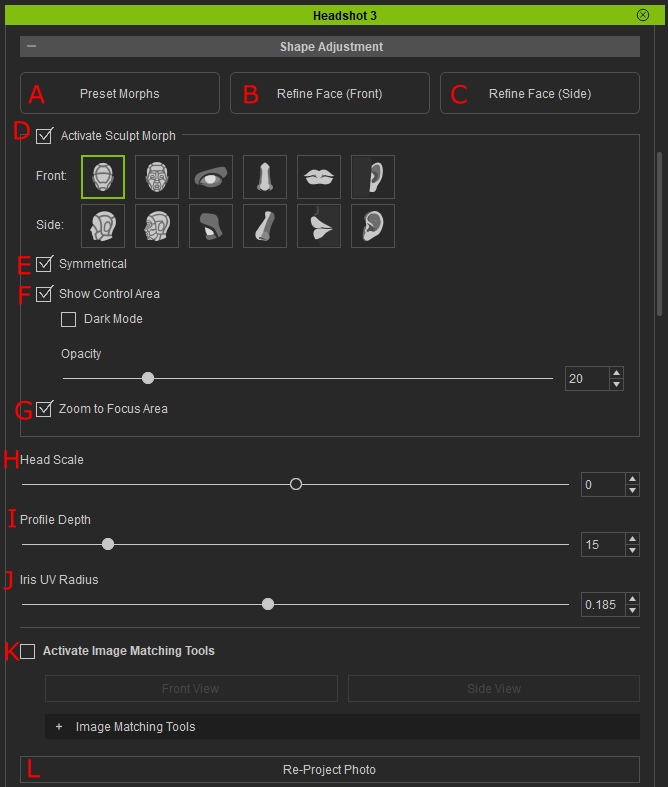
- Preset Morphs: Click to locate the Morph Sliders for facial presets in the morph panel. Please refer to the link Preset Morphs for more details.
- Refine Face: Click to open the Refine Face panel. Please refer to the link Refine Face for more details.
- Refine Face (Side): Click to open the Refine Face (Side) panel. Please refer to the link Refine Face (Side) for more details.
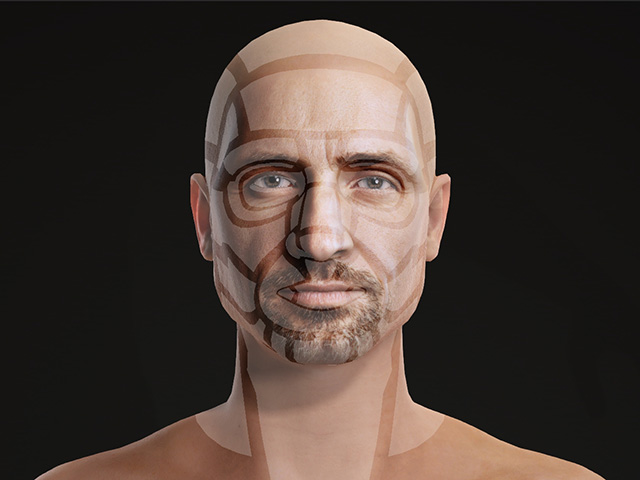
- Activate Sculpt Morph: Tick the box to activate the Sculpt Morph tool. Click on one of the six icons to edit different parts of the head. The original Character Creator morph controls are highlighted in yellow when the mouse hovers over them. Once Sculpt Morph is activated, a semi-transparent white layer is applied to the head mesh to indicate the adjustable areas. This system overwrites the original Character Creator morph controls with a more advanced yet still intuitive morphing workflow. In Side view, the six sculpting parts affect depth only, allowing precise profile refinement without altering width or height. Please refer to the link [Sculpt Morph Tool] for more details. The keyboard shortcut for Activate Sculpt Morph is Shift + S, For more information please refer to the page On-Screen Sculpt Morph - Front and Side.
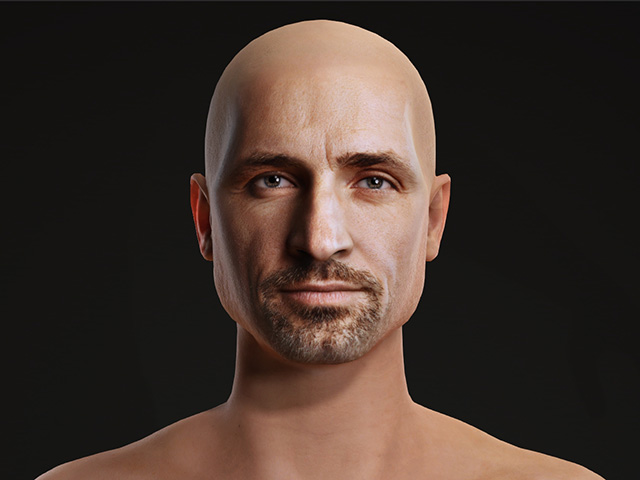
Active Sculpt Morph: Off
Active Sculpt Morph: On
- Symmetrical: Check the box for symmetrical editing. It mirrors the changes you make on one side to the other side of the face in real-time. Uncheck it for unsymmetrical face feature editing. The keyboard shortcut for switching on/off Symmetrical is Shift + A.
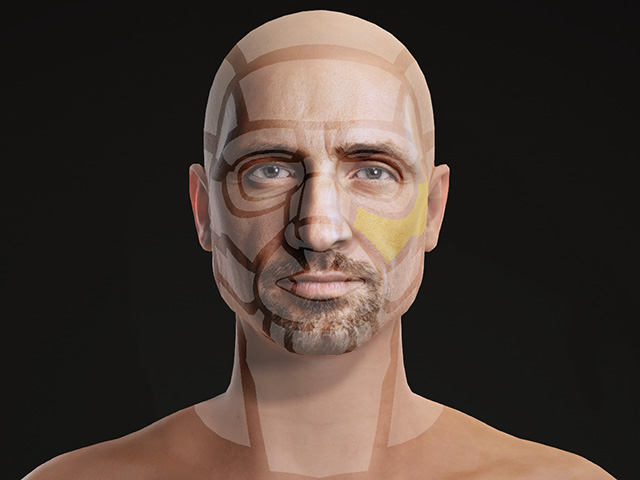
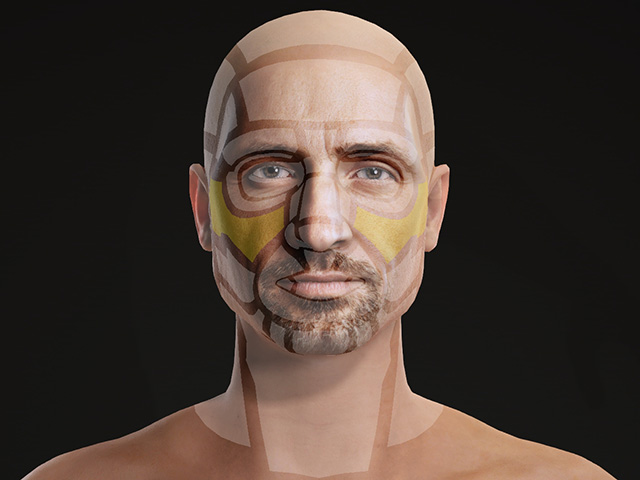
Symmetrical: Off
Symmetrical: On
- Show Control Area: Show/Hide the editable areas of the face morph. The area displayed on the viewport is based on the activated sculpt morph.
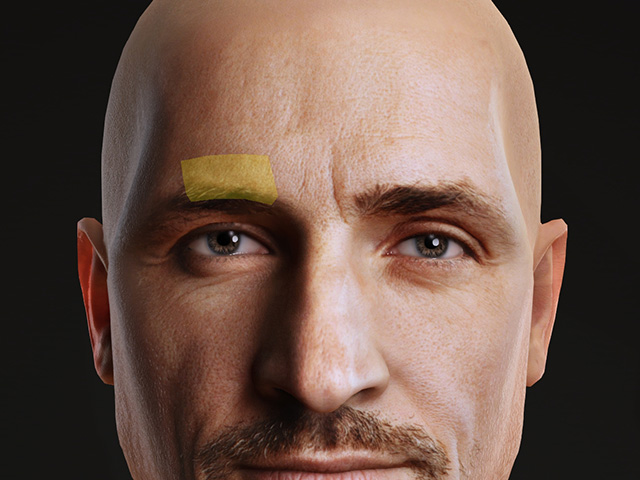
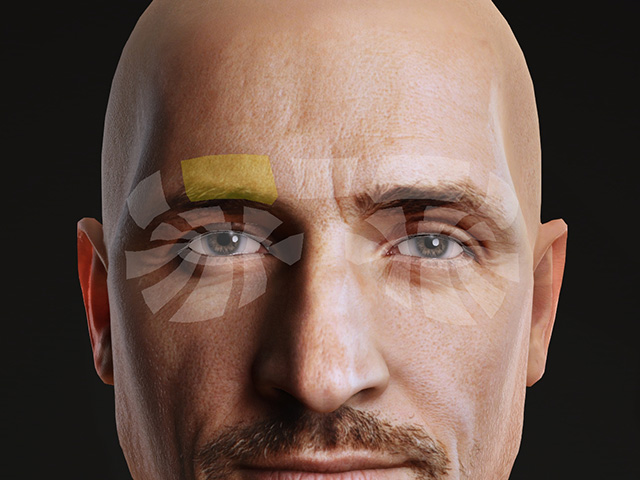
Show Control Area: Off
Show Control Area: On
- Dark Mode: If the skin color is too light and the control areas are immersed with the skin color, activate this checkbox to set the areas to a darker color.
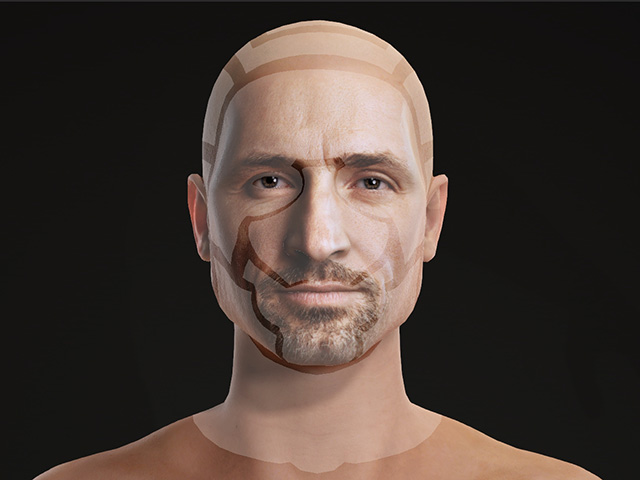
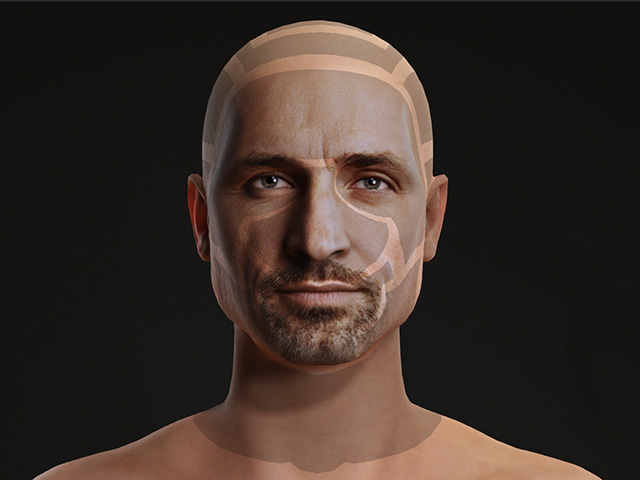
Dark Mode: Off
Dark Mode: On
- Opacity: Drag the slider to determine the opacity of the control areas.
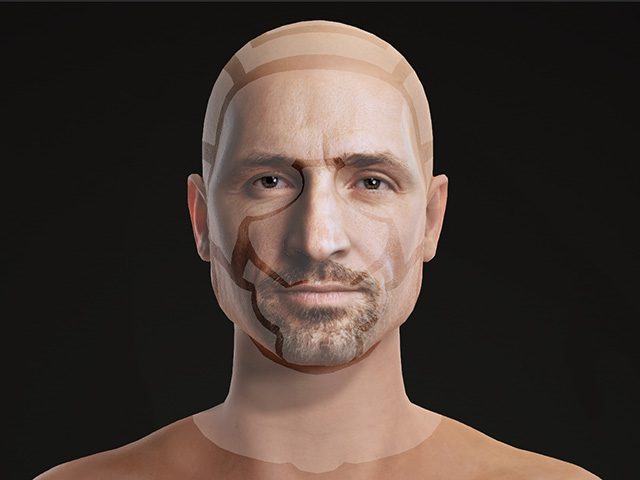
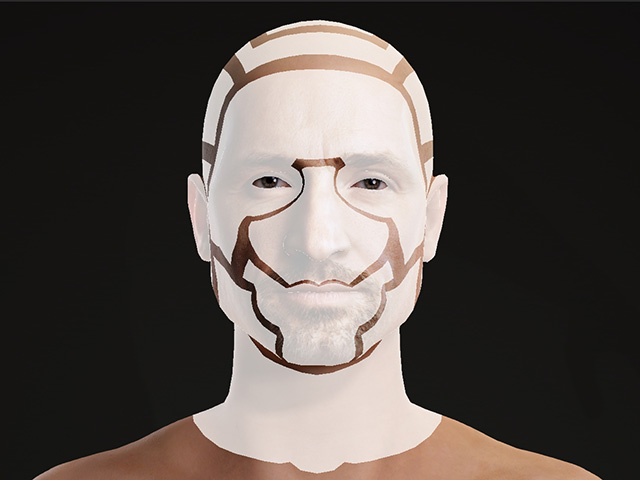
Opacity: 20 (Default)
Opacity: 100
- Dark Mode: If the skin color is too light and the control areas are immersed with the skin color, activate this checkbox to set the areas to a darker color.
- Zoom to Focus Area: If you tick the box, the viewport will automatically focus on the area of the activated sculpt morph for a better editing experience.
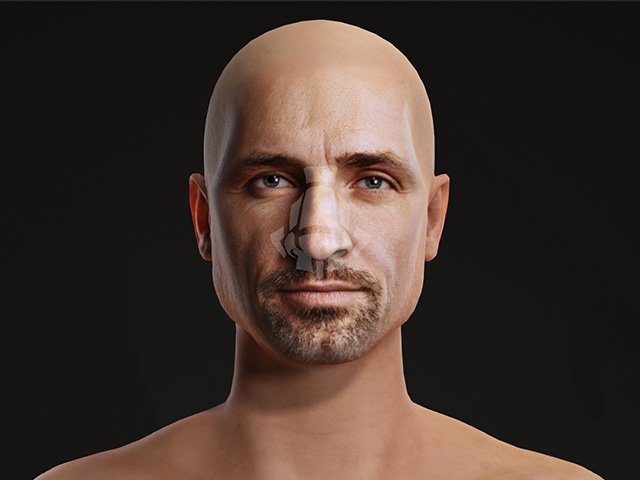
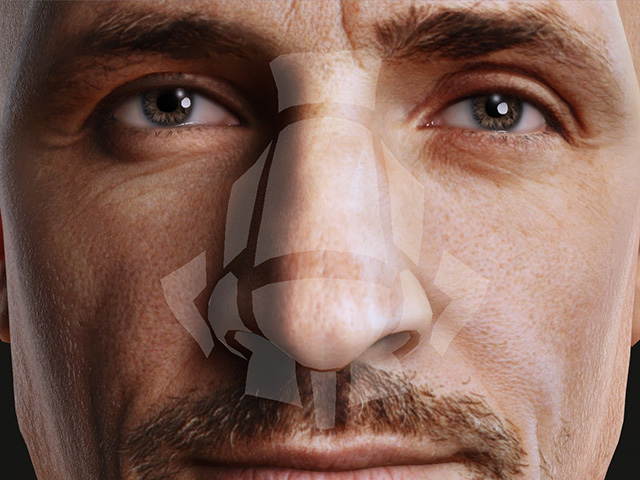
Zoom to Focus Area: Off
Zoom to Focus Area: On
- Head Scale: This slider affects the Size of the head, the values are linked to the same morph slider.
- Profile Depth: This slider affects the overall depth of the character’s face, the values are linked to the same morph slider.
- Iris UV Radius: This slider affects the iris size of the character, the values are linked to the same slider located under the digital human eye shader in material.
- Activate Image matching Tool: Tick the box to enable the Image Matching Tools in the viewport..
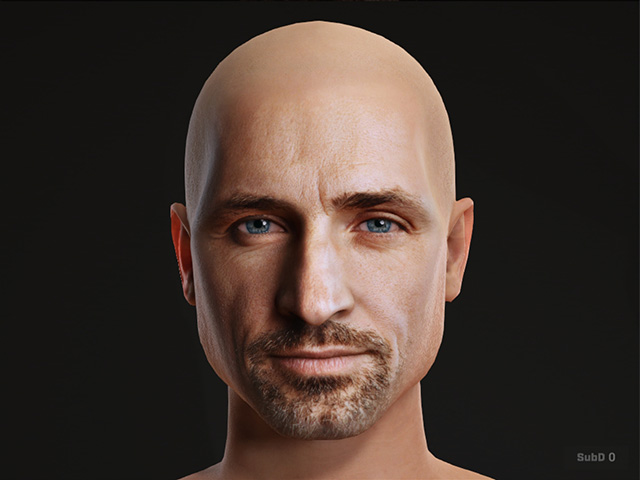
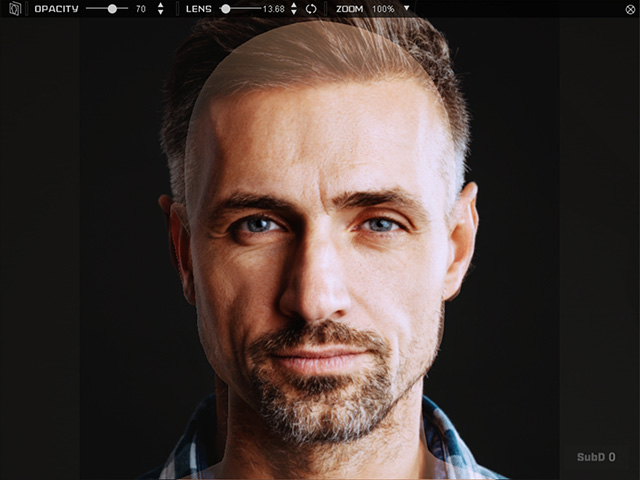
Activate Image Matching Tools: Off
Activate Image Matching Tools: On
The 3D View Port is covered with the original photo for better head-fitting procedure. - Re-Project Photo: Press the button to re-project the source photo onto the generated head mesh as texture maps.
