Texture Baking from High Poly Mesh
In the Generate Character window, the From High Poly Mesh option lets you import FBX or OBJ models with higher-resolution vertex colors or diffuse and normal maps. Do consider importing an optimized version of your high-poly model to mitigate performance issues.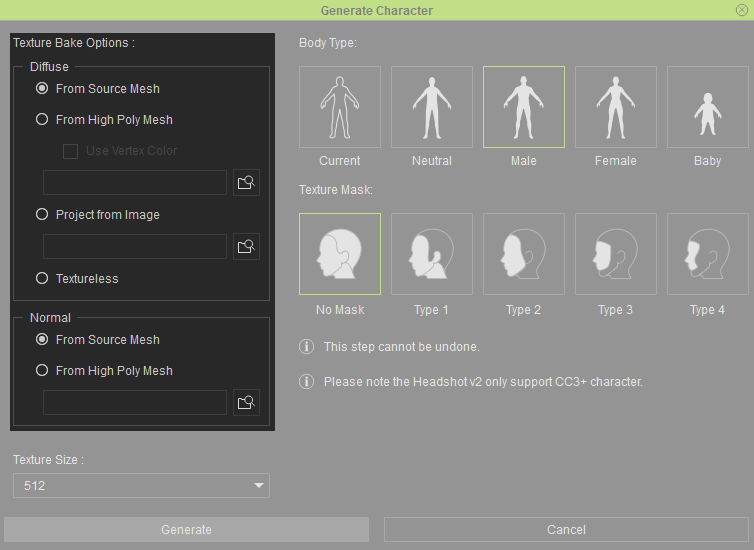
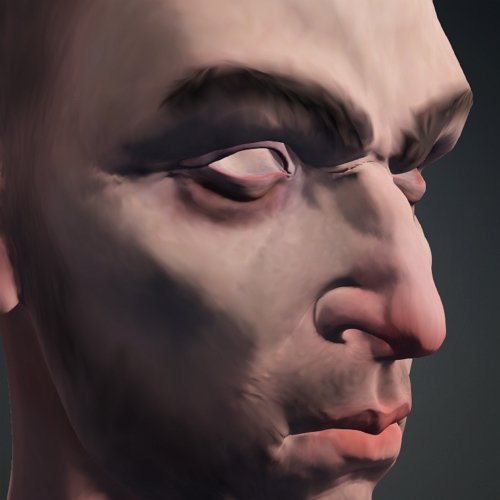
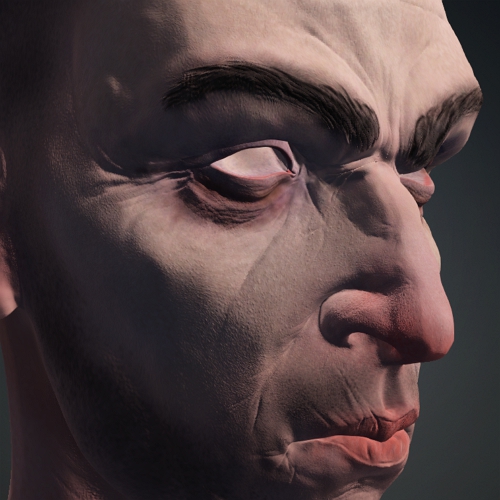
Example mesh used for the From High Poly Mesh option:
|
|
|
Optimized model in Headshot 2. |
The original high-poly model. |
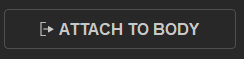
- After you have completed the editing process in REFINE MESH step, click the ATTACH TO BODY button to open the Generate Character dialog box.
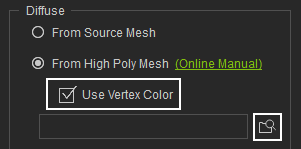
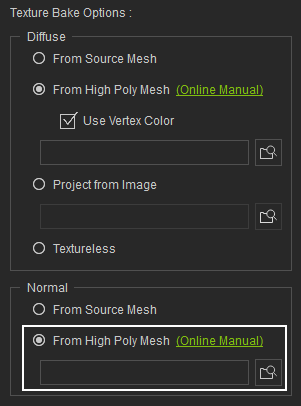
- In the Generate Character dialog box, choose Texture Bake Options: > Diffuse > From High Poly Mesh.
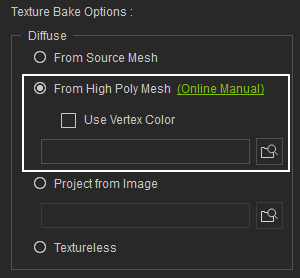
- If you wish to use the model’s vertex color as the source texture, select the Use Vertex Color option.
Otherwise, if your model has diffuse maps, click on the Open Path icon to browse and select the higher-resolution model.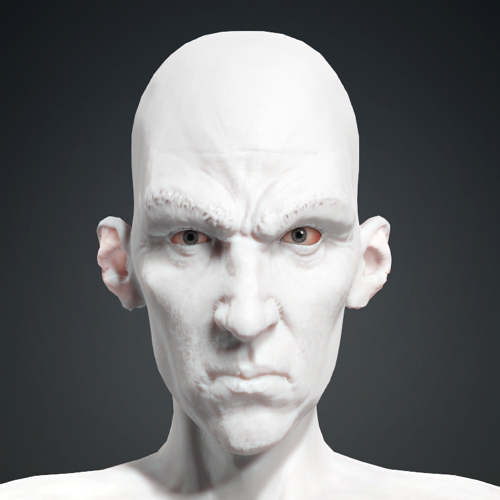
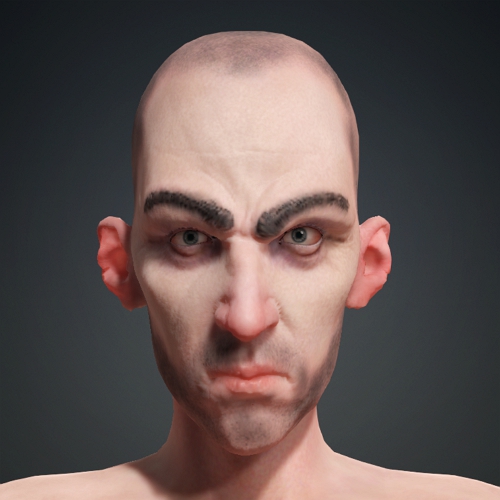
Optimized model in Headshot 2.
The original high-poly model.
- For Models that contain normal maps, choose Texture Bake Options: Normal > From High Poly Mesh.
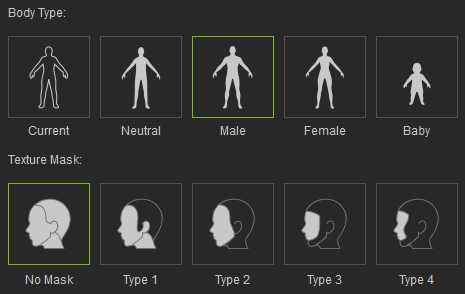
- Choose a body type and texture mask for your generated model.
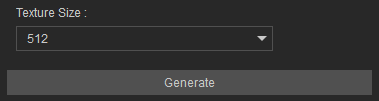
- In Texture Size, select the size you want for your model’s texture maps, then click Generate.
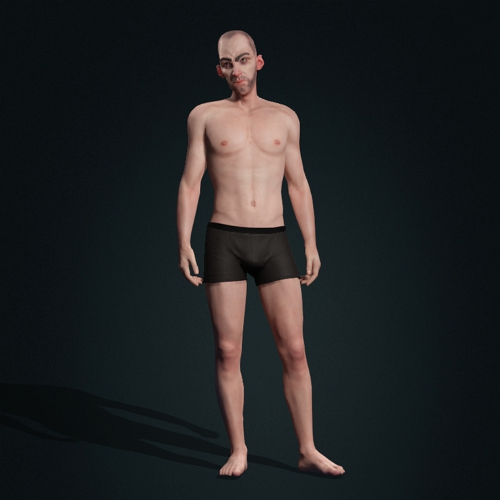
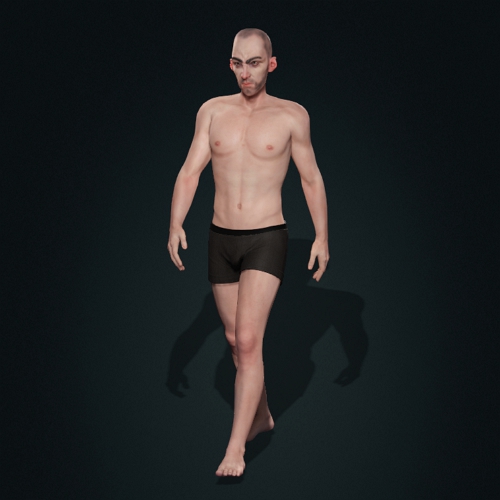
The generated character is compatible with various built-in preview motions in CC. Additionally, you can transfer the character to iClone to apply motion.
|
|
|
Standing |
Walking |
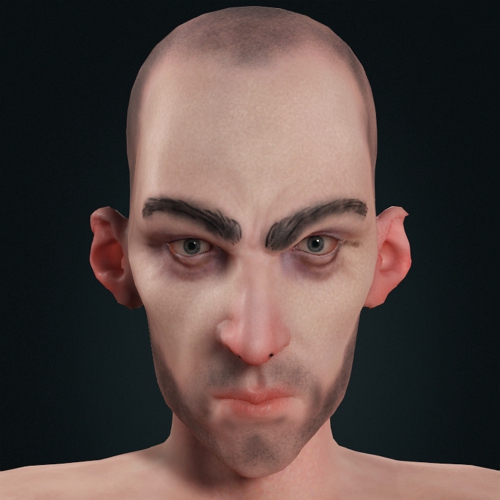
Comparison between From Source Mesh and From High Poly Mesh
The generated character examples below utilize both the From Source Mesh and From High Poly Mesh options, with a texture size of 2k resolution.
- Diffuse Map Comparison (Normal map unchanged)

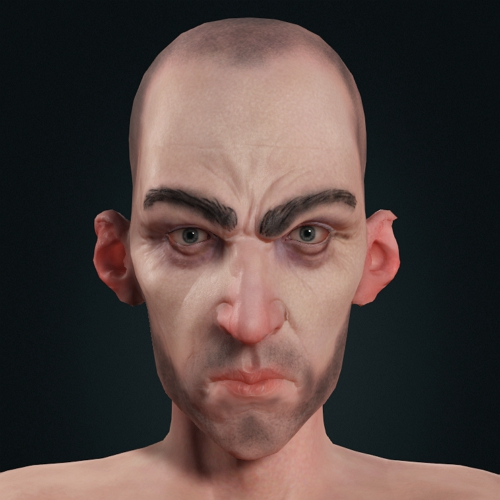
From Source Mesh
From High Poly Mesh
- Normal Map Comparison (Diffuse map unchanged)
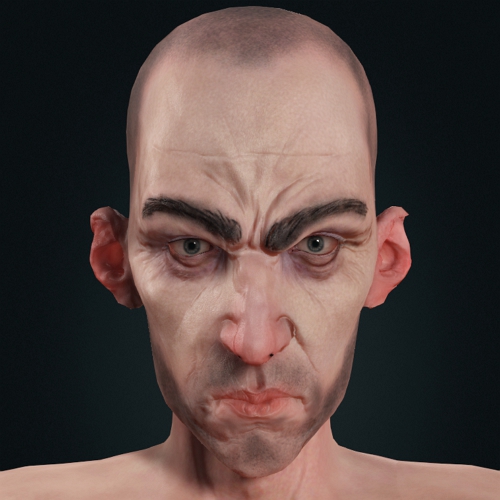
From Source Mesh
From High Poly Mesh
