Converting Expressions from iPhone Depth Capture Data to CC Characters
In addition to Converting Facial Expressions from Video to CC Characters, you can also leverage iPhone depth camera to create MetaHuman animations for CC characters.
Creating MetaHuman Identity
You can create an Unreal Identity based on two scenarios:
- The first scenario is when your character is custom-made, with facial features that may be very different from Unreal’s default head shape. In this case, follow the Unreal official documentation to create the Identity.
- The second scenario is when the character comes from Character Creator and closely resembles Unreal’s default head shape. In this case, you can follow the instructions on this page to create the Identity.
- Create a character in Character Creator.

- Import the character's FBX file exported from Character Creator. Choose the HQ Shader radio button and click the OK button.
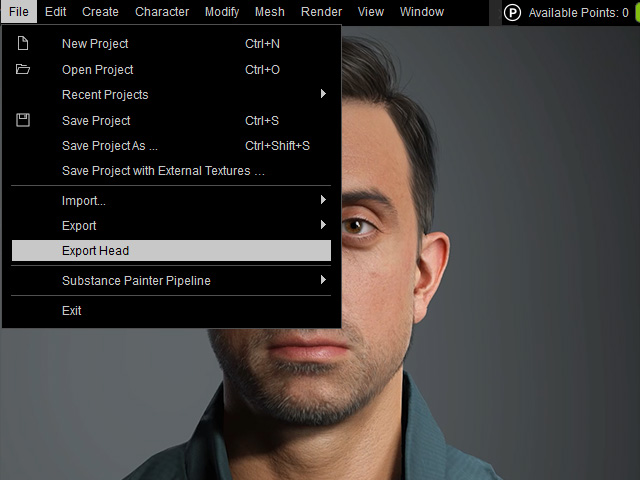
- Set the Target to Mesh to MetaHuman_Male and the Baked Texture Size to Medium. Click the Export button.
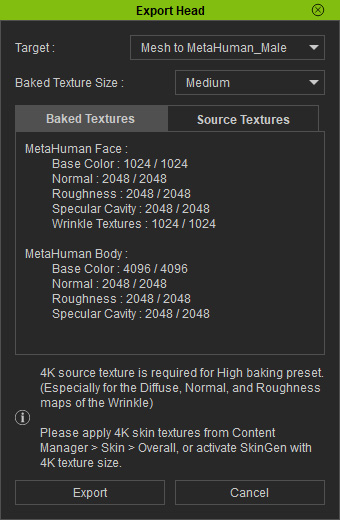
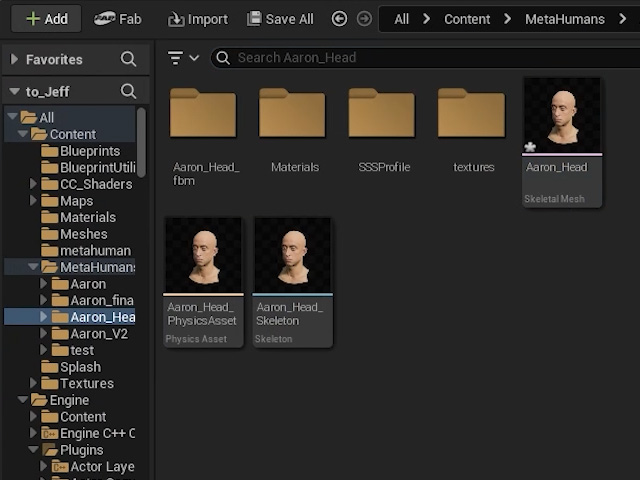
- You will get FBX and related files and folders.

- Go to Unreal Engine and import the FBX file.
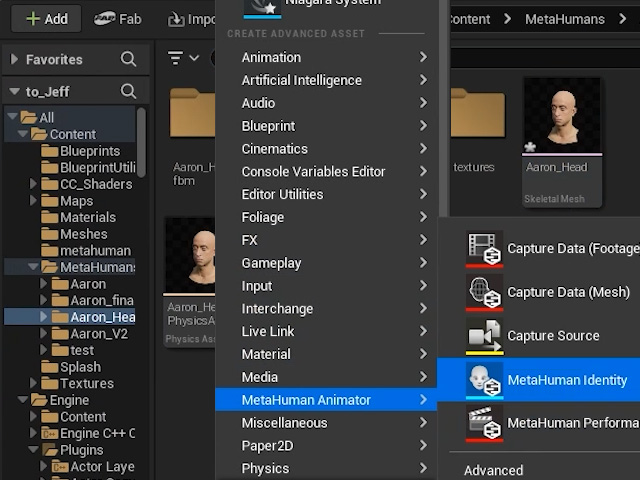
- Right-click on the space in the Content Drawer, choose MetaHumanAnimator > MetaHuman Identity command.
- Rename the new MetaHuman Identity. Notice that the name must be unique.
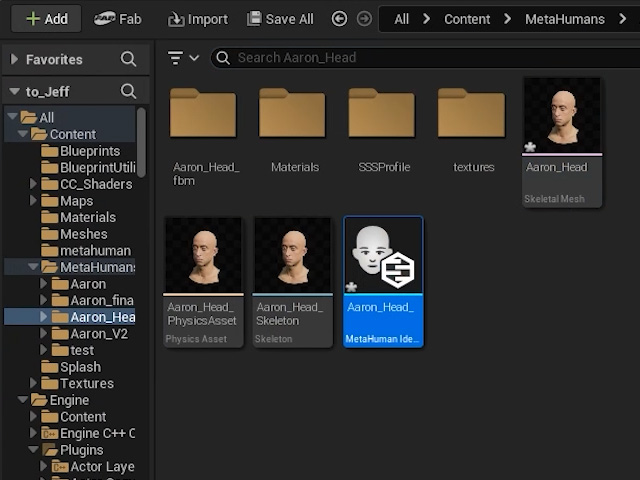
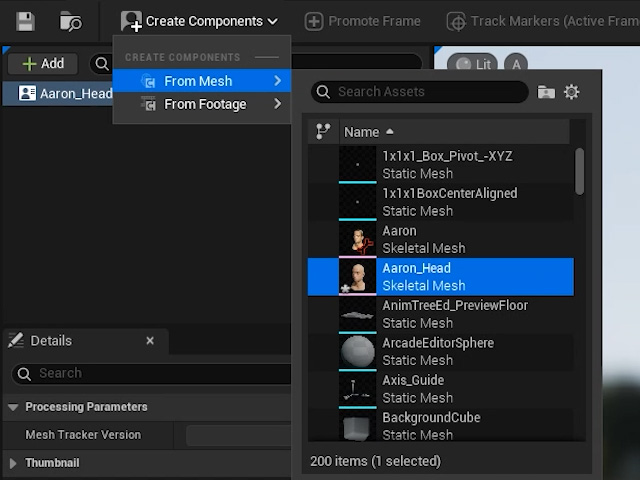
- Double-click to open the MetaHuman Identity. Go to the Create Components > From Mesh and choose the Skeletal Mesh imported in step 5.
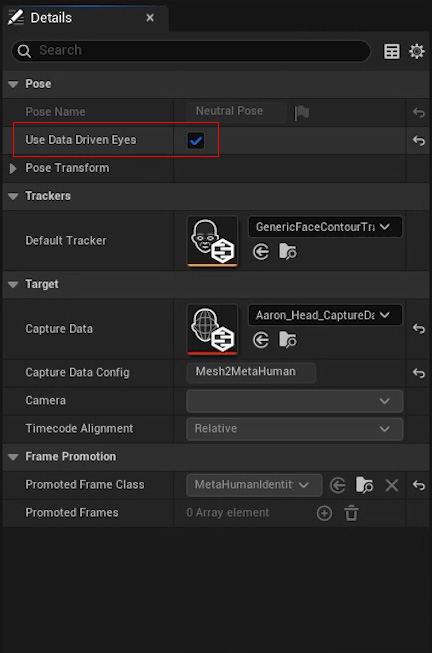
- In the Detail panel, activate the Use Data Driven Eyes.
- Make sure to set the camera view to the front face.
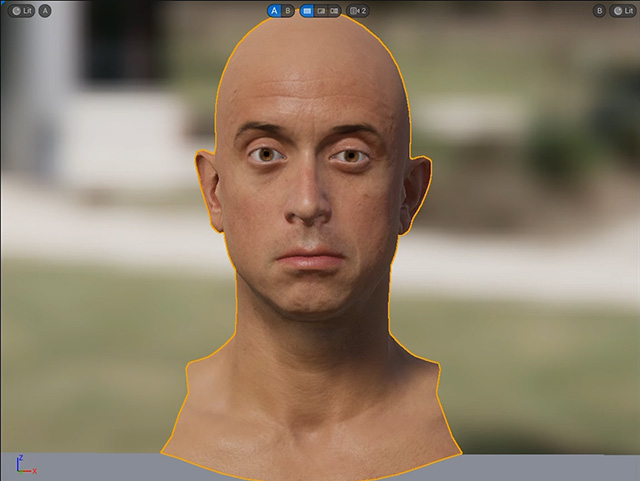
Click the Promote Frame button on the toolbar.
Click OK for the Setting the front view.
- Under the viewport, rename the frame (front, as this example).
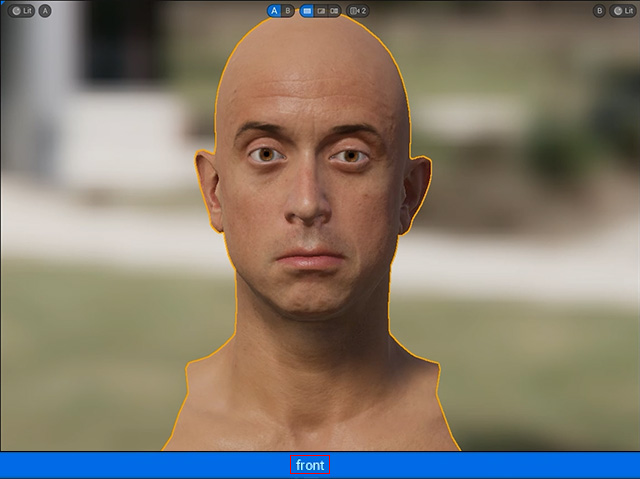
- Click the Track Markers (Active Frame) on the toolbar to locate the face with markers.
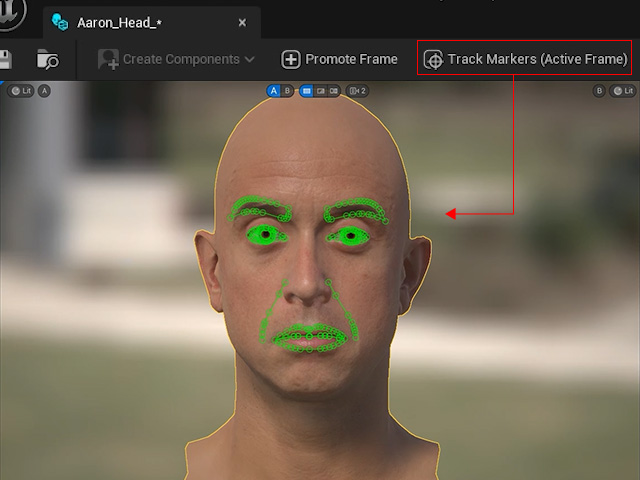
- Click the MetaHuman Identity Solve button on the toolbar to convert the CC head to a MetaHuman mesh.
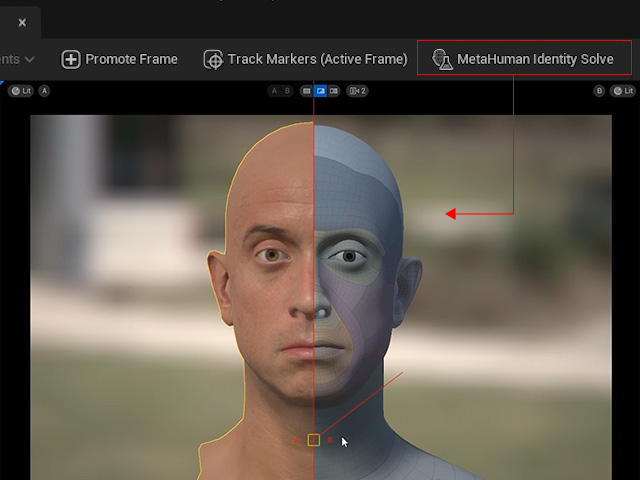
- Choose the Body from the component panel and select a compatible body template for the head.
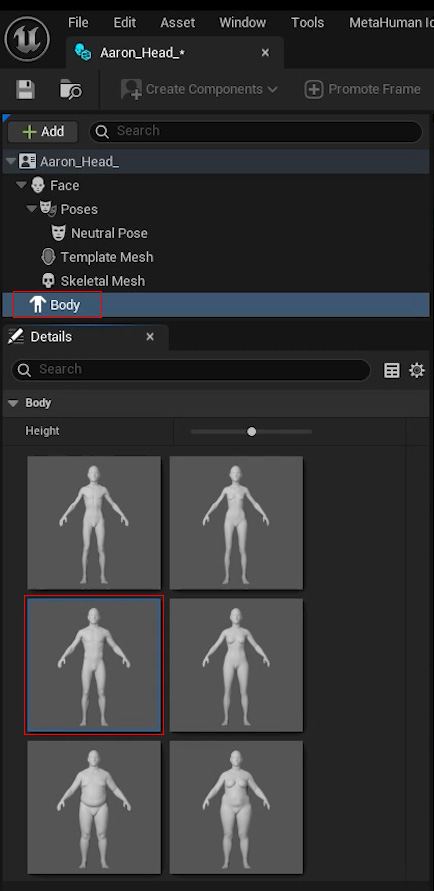
- Click the Mesh to MetaHuman on the toolbar and choose Auto-rig MetaHuman Identity (Skeletal Mesh Only) to auto-rig the character.
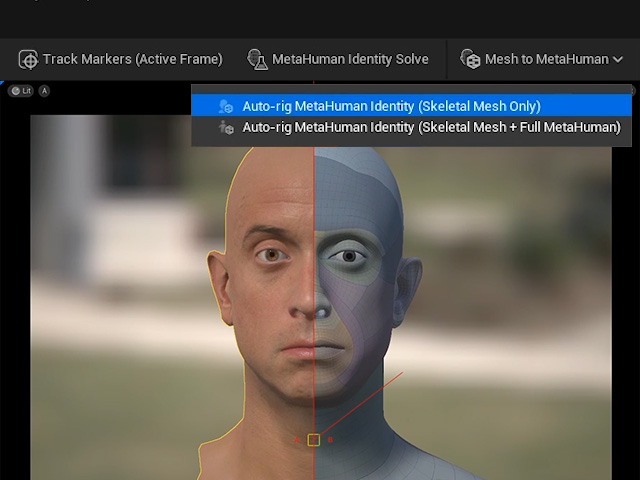
Note that you can sign into your Epic account to see the newly created MetaHuman Identity in the web browser.
Creating MetaHuman Capture Source
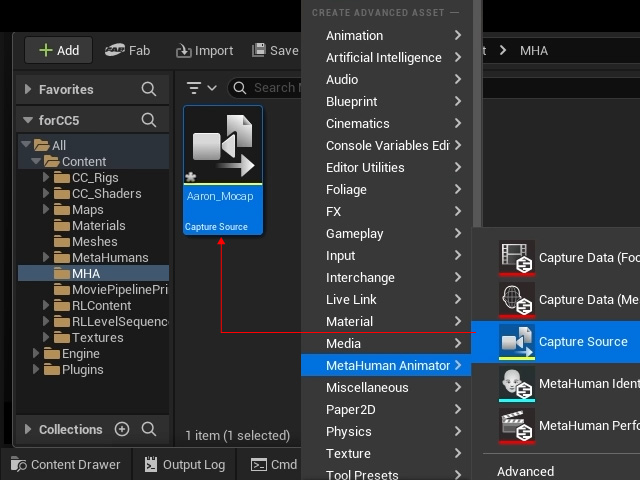
- Right-click on the Content Drawer and choose MetaHuman Animator > Capture Source command. Rename the Capture Source.
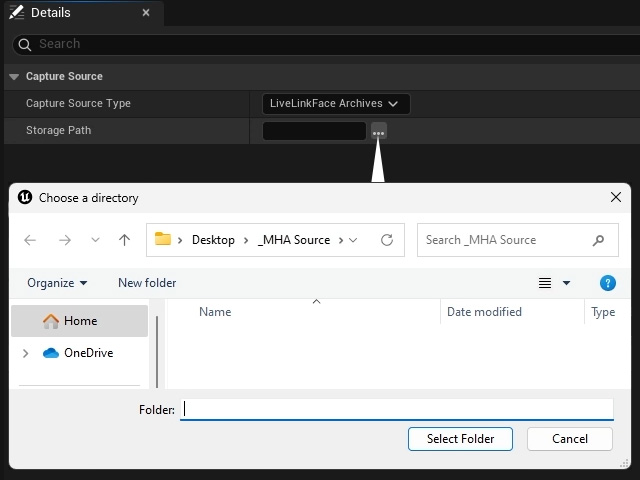
- Double-click to open the Capture Resource and set the Capture Source Type to LiveLinkFace Archives.

- Click the ... button to select the folder where your source videos are stored.
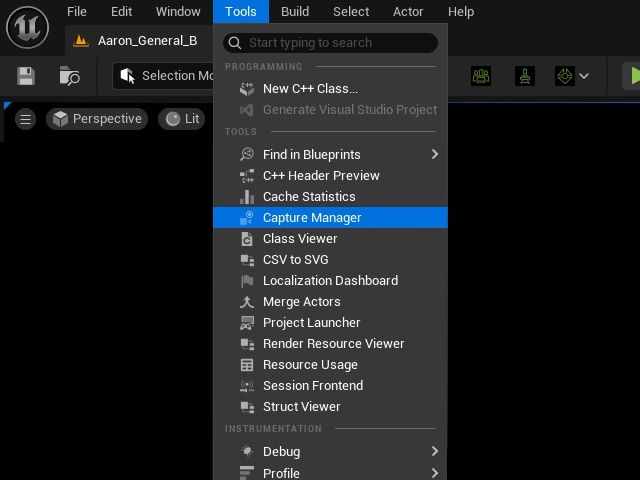
- In the Tools menu, choose the Capture Manager command.
- Select the capture source created previously. The source videos will be slotted in.
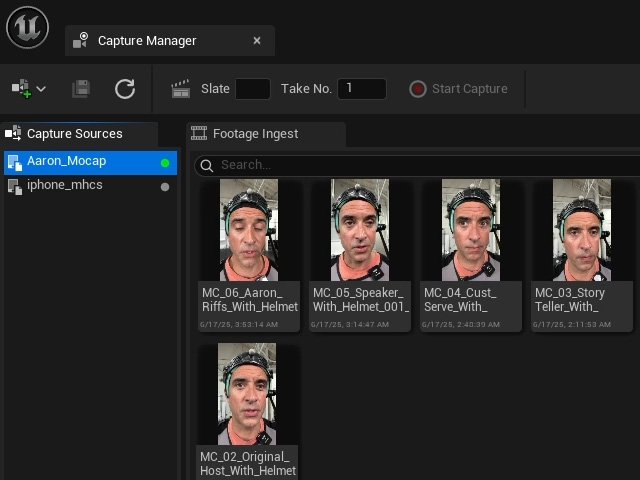
Select the videos and click the Add To Queue button.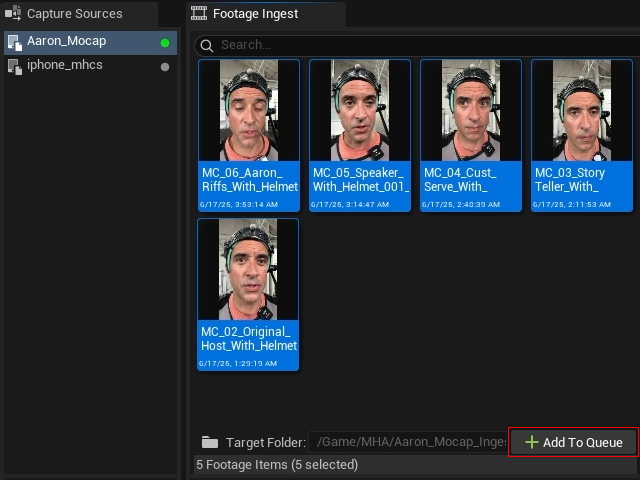
- Click the Import All button above the queue list.
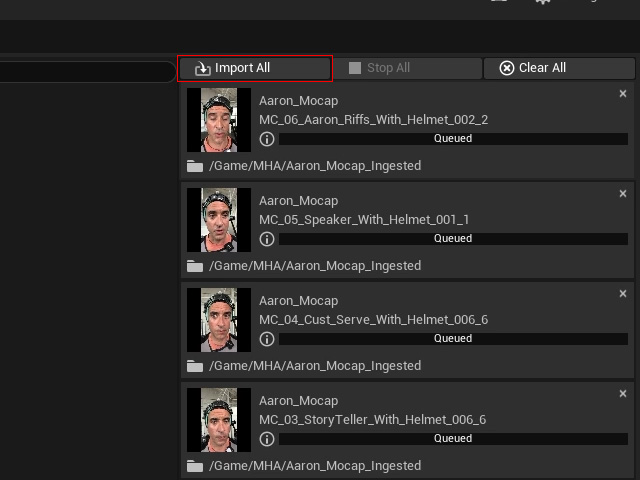
The videos will be converted into capture data.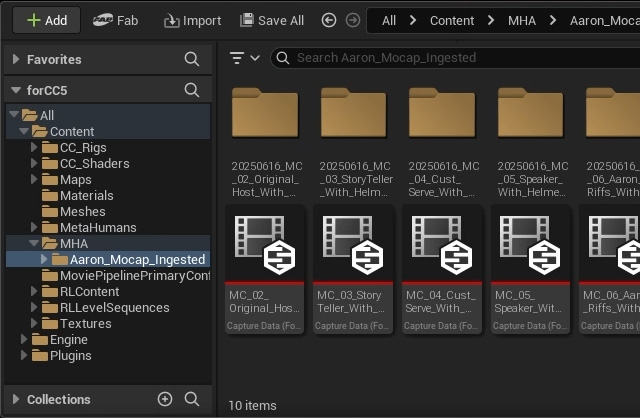
- Create a new MetaHuman Performance.
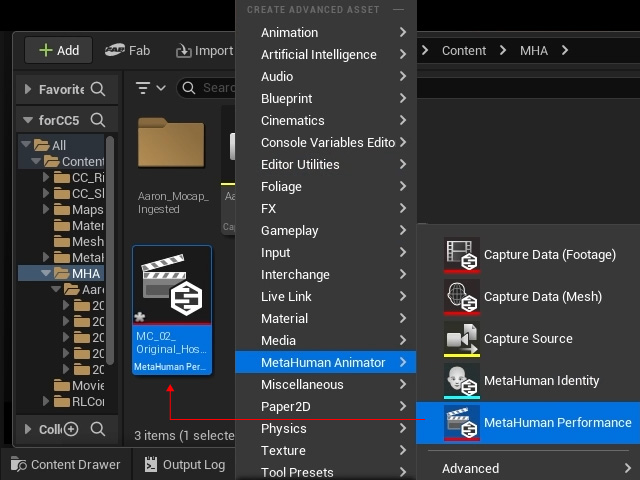
- Double-click to open the MetaHuman Performance and in the Details panel, change the Input Type to Depth Footage.
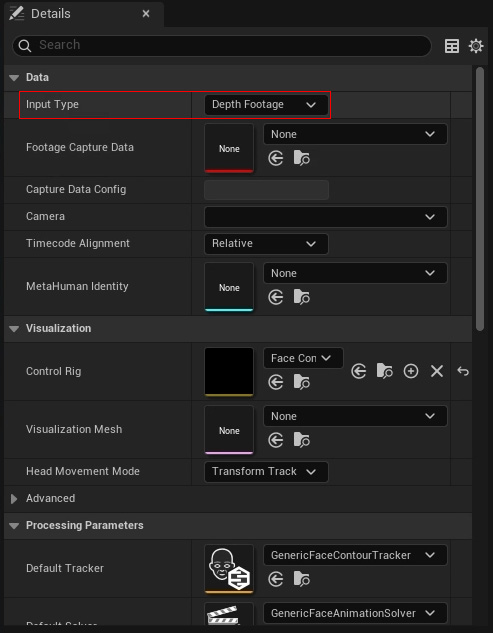
- Set the Footage Capture Data to the videos that are just imported.
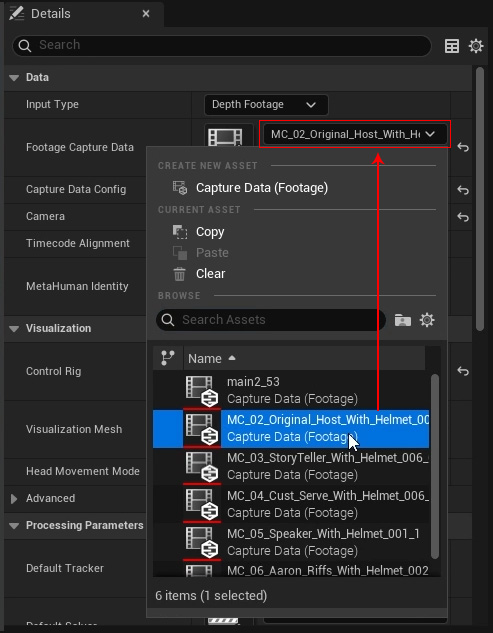
- Preview the video.
- For the MetaHuman Identity parameter, choose the mesh that is created in the previous section.
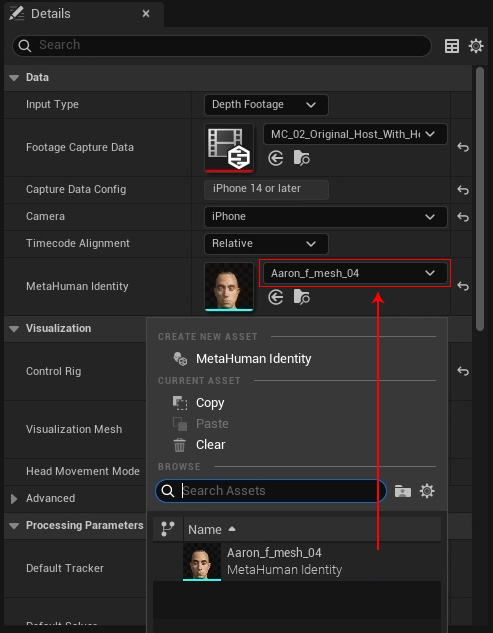
- Click the Process button on the toolbar.

* The process will run twice, the first is processing the image and the second is for processing the depth so that the animation can be accurately represented for the character. - Adjust the preview window for easier observation.
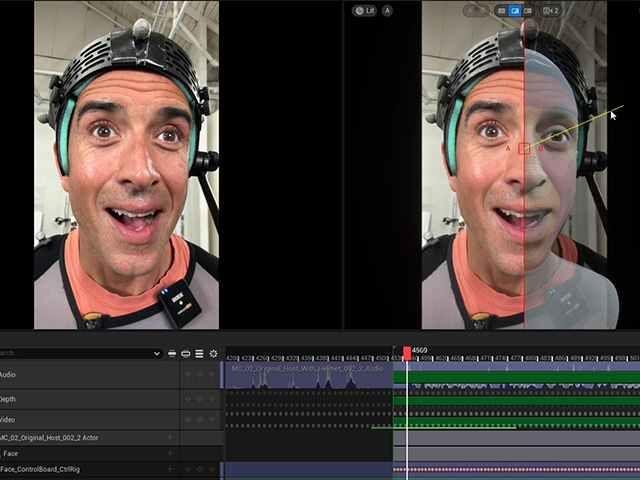
- Click the Export Animation button on the toolbar.

Select a save path for storing the animation and click the Save button.
- For the Target Skeleton or Skeletal Mesh parameter, select the same mesh source. Click the Create button.
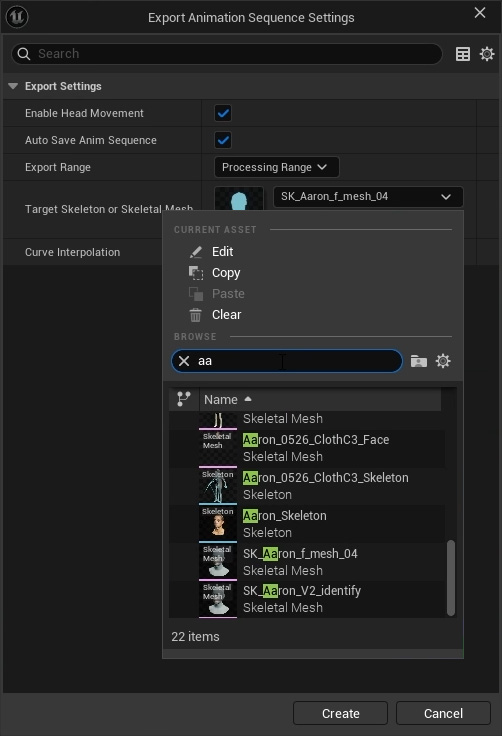
- The animation will be saved as a Animation Sequence.
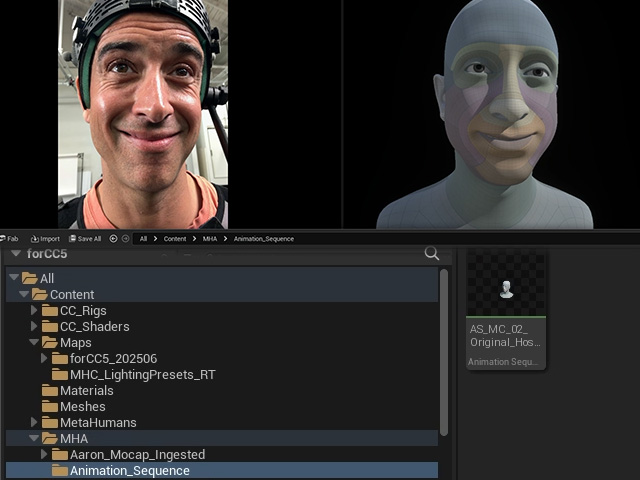
- Double-click the saved animation sequence to open it, then you can view the saved animation from depth camera.
