Using Check Zone Nodes
The Check Zone nodes can be used to verify whether a specific object (character, prop, or MD Prop) enters a zone in order to trigger actions for other objects.
** Please note that this node is best suited for scenarios involving interactions between multiple characters, or between characters and objects (props or MD Props).
- Create a project with a characters, a prop and an MD prop.
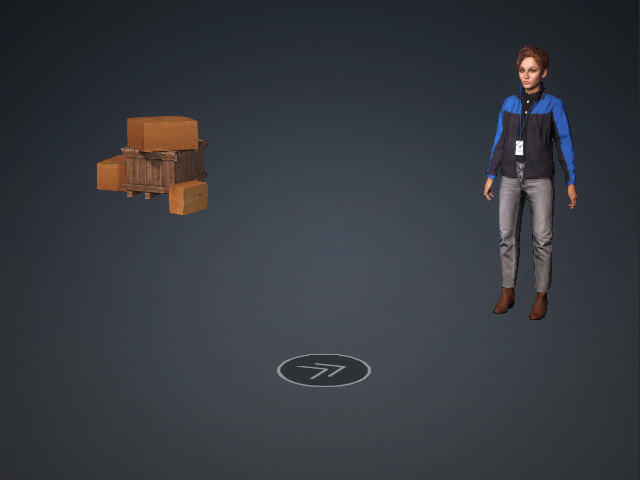
The prop has been embedded with a performing animation.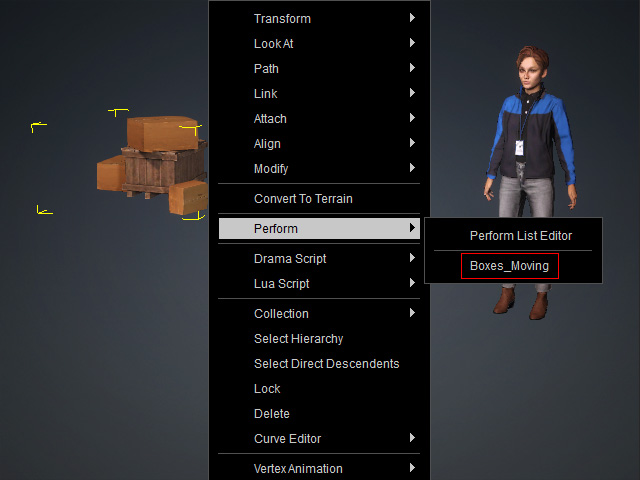
- Open the MP Node Graph panel. Right-click on the viewport space and choose Condition Node > Check Zone.
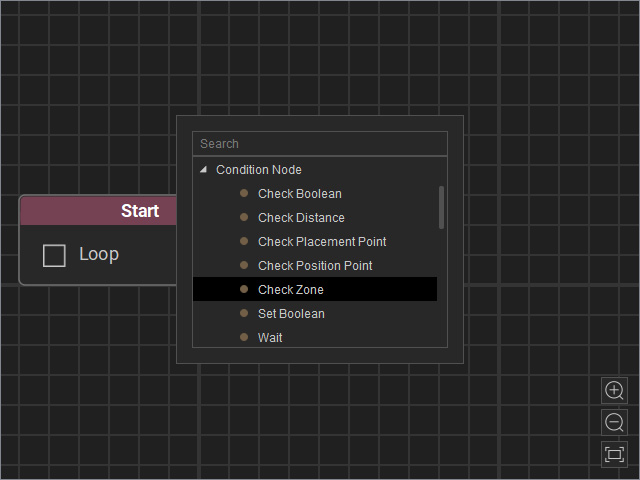
A new Check Zone node will be inserted on view.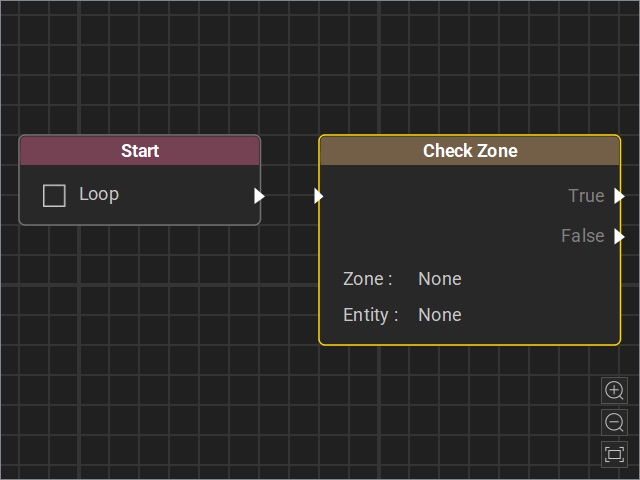
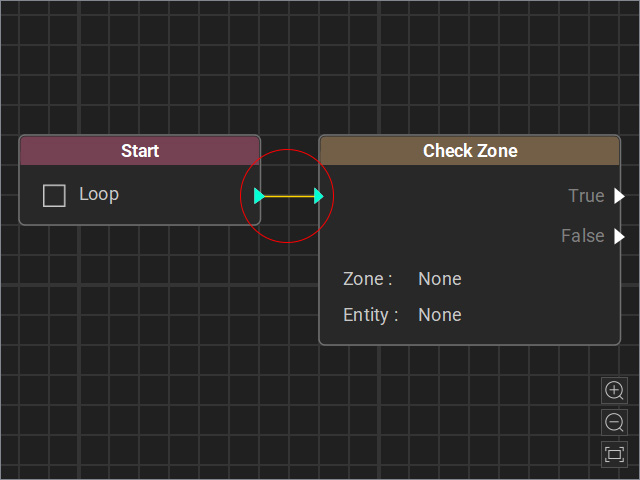
- Drag a flow line from the Start node’s output and connect it to the Check Zone node’s input.
- Select the node and adjust the settings in the Attributes page.
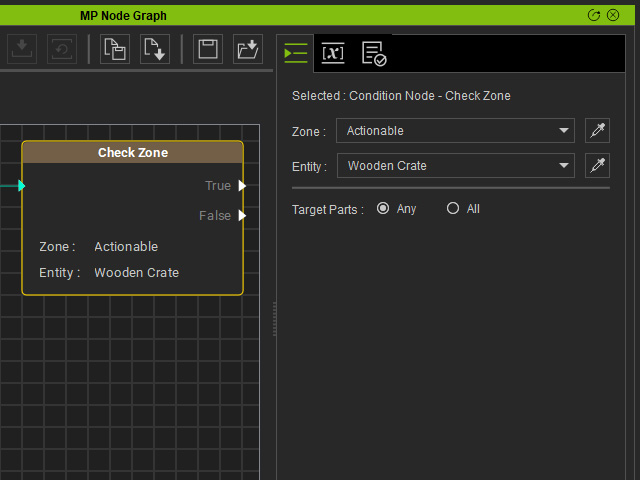
- Zone: Specify the target MD Prop for occupation status detection. If you use the dropper tool, click the waypoint marker (the flat disk with double arrows) instead of the model’s mesh.
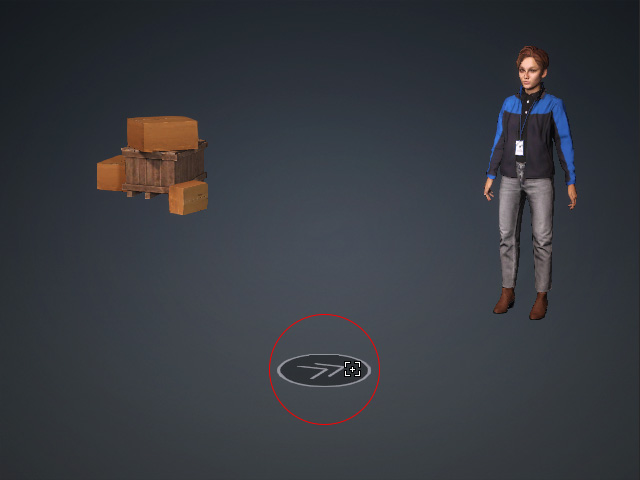
- Entity: Select a target object (character, prop, or MD prop) to detect whether it enters the zone range.
- Target Parts (for multi-element Props and MD Props only): Choose Any or All for the True / False judgment based on multiple crowd occupation points.
- Any: If any one of the sub-element of the Prop or MD Prop enters the zone, the node outputs True.
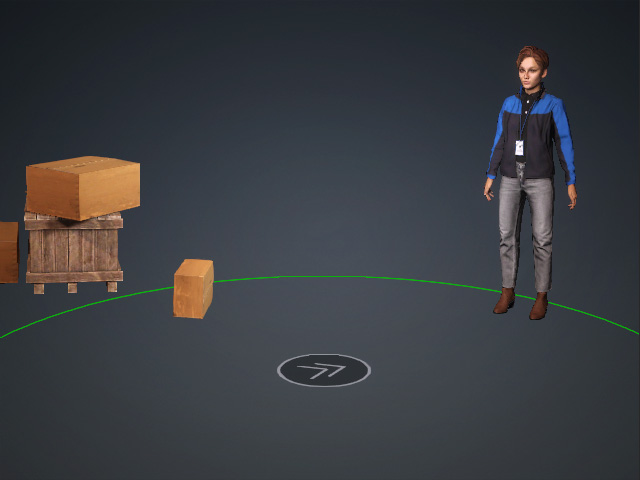
- All: Only when all elements of the prop or MD prop enter the zone, the node outputs True.
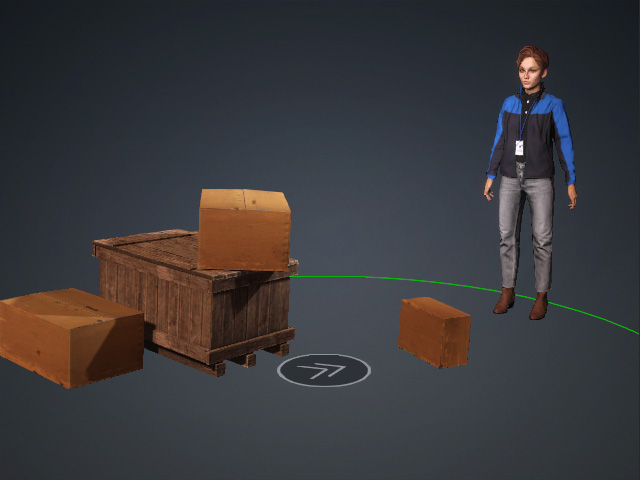
- Any: If any one of the sub-element of the Prop or MD Prop enters the zone, the node outputs True.
- Zone: Specify the target MD Prop for occupation status detection. If you use the dropper tool, click the waypoint marker (the flat disk with double arrows) instead of the model’s mesh.
- Connect events to the outputs of the Check Zone node.
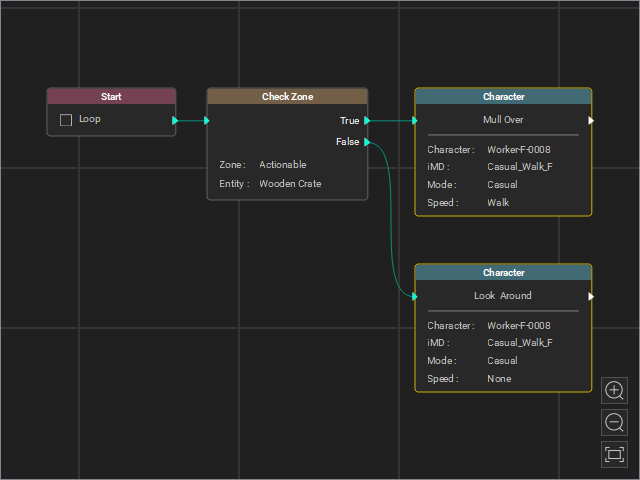
- True: Connect to a Character node, indicating that the character performs the Mull Over motion when the object enters the zone.
- False: Connect to a Character node, which causes the character to Look Around when the zone is clear.
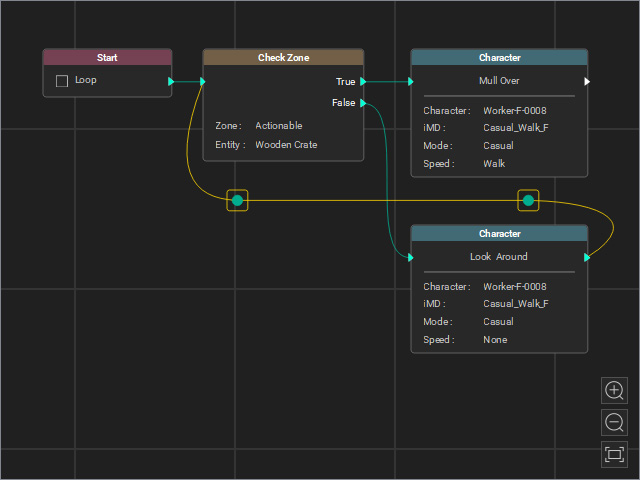
- Use joints to loop back from the False event for continuous detection.
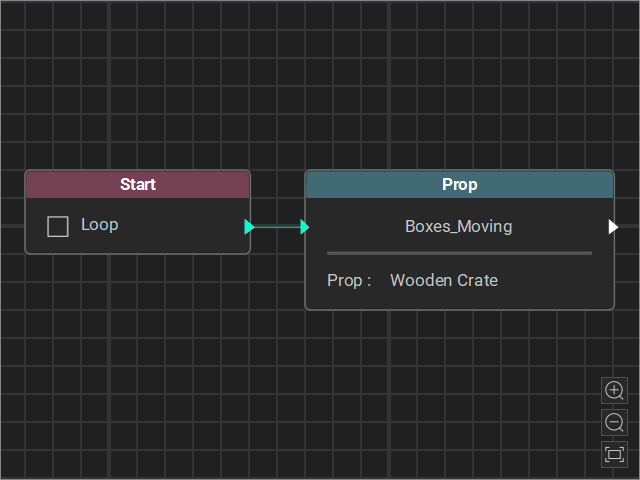
- Create another thread that drives the other object (in this case the prop) to move into the MD Prop's zone.
- Start the Go MD Mode to view the animation results.
