Creating Facial Animation and Motion Clip
After installing the Motion LIVE 2D plugin and getting familiar with it, you can connect your Cartoon Animator character to a real actor to control your CTA character's expressions.
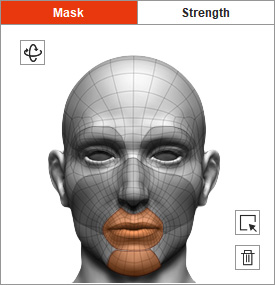
By using the Facial Mocap Controls in the mask pane, you can mask out unwanted facial features on the dummy, and extract specific facial motions.
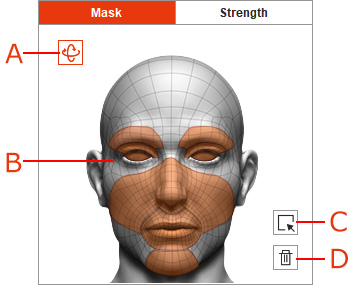
- Head Orientation: Select it for recording the head rotation.
- Facial Features Mask: Select different areas of the mask for recording movements of the corresponding facial features.
- Select All: Select all facial features of the mask, including the head orientation, for recording the movements.
- Clear: Deselect all facial features of the mask, including the head orientation, for recording the movements.
By default, all the facial features are selected for full face capturing.
-
In Cartoon Animator, apply a character and make sure it is selected.
- Go to Plugins >> Motion LIVE 2D >> Motion LIVE 2D to open the Motion LIVE 2D panel.

- Connect to a facial capture device in the Motion LIVE 2D panel. For more information about the gear connection, please refer to the Workflow for Facial Mocap section.
-
Click the Preview
 button to preview the motion pattern.
-
Click the Record
 button to start recording.


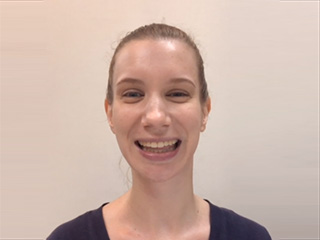
Real human expression.
All facial features can receive the movement data.
You can use the multi-layered technique to separately record facial expressions for each facial feature instead of recording with the entire face. This is especially useful when a character has a start pose and you wish to gradually add expressions to facial features for various expressions.
-
In Cartoon Animator, apply a character and make sure it is selected.

- Go to Plugins >> Motion LIVE 2D >> Motion LIVE 2D to open the Motion LIVE 2D panel.

- Connect to a facial capture device in the Motion LIVE 2D panel. For more information about the gear connection, please refer to the Workflow for Facial Mocap section.
- Activate the Blend data on next recording checkbox. If it is not activated, then each recording will overwrite the last.
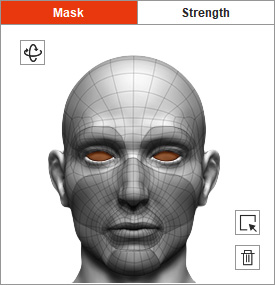
- Deselect the all facial features. Select one of the facial features for the dummy pane, in this case, the eye balls.
-
Click the Preview
 button to preview the motion pattern.
-
Click the Record
 button to start recording.
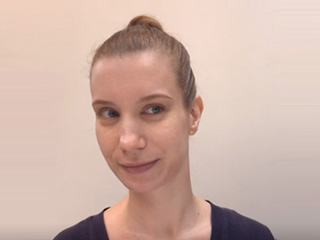

Real human expression.
Only the eye balls receive the movement data.
- Go to the start frame where you recorded the previous expression.
-
Deselect the all facial features. Select another one or several facial features from the dummy pane (in this case, the mouth and jaw).
-
Preview and record again.

Real human expression.
Only the mouth and jaw receive the movement data.
-
Repeat the same steps above to add head movements.


Real human expression.
Only the head receive the movement data.
- Repeat the same steps mentioned until the expressions are applied to the character layer by layer. You can produce custom expressions using this method.
Once the mocap recording is finished, you can collect and export the facial mocap clip in Cartoon Animator, then apply to other characters. ( Watch video )
-
Open the Timeline panel (F3) and click the Face button,
you can find the recorded facial mocap data stored in a Puppet Clip in the Facial Clip track.

-
Make sure the character or the puppet clip is selected.
Go to the Content Manager >> Animation >> Face folder and click the Add button to save the clip in *.ctFCS format under the Custom tab.

-
Drag the saved facial motion clip onto the character which you want to apply the facial mocap data.
The character will then start the facial animation.
 Note:
Note:If you want to further adjust the captured facial expression clips, then please refer to Five Approaches to Generating Facial Expressions for more information.