Using Expression Mapping Panel after Version 1.1
The Control Names (Face IDs) received from the mocap devices may be not always
be suitable for all types of characters. Sometimes, you may want to
exaggerate the expressions for cartoon characters and ease the
expressions for realistic human characters.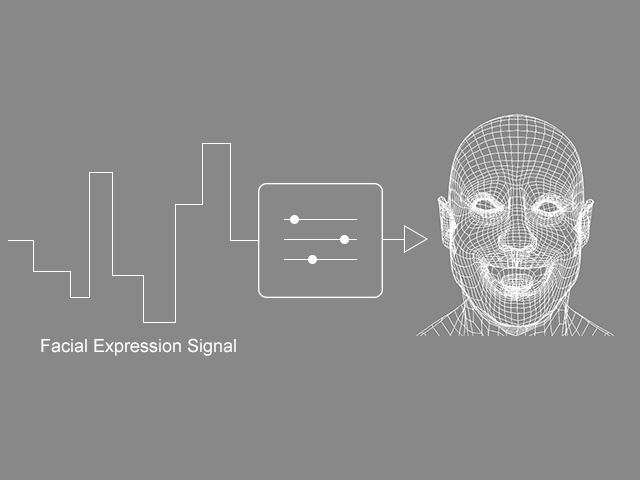
With the use of Expression Mapping Panel in Motion LIVE plugin, not only can you map the Control Names (Face IDs) to iClone's 63 facial morphs, but can also set the weight and limitations for the 63 face morphs.
The benefits are:
- Retargeting (Tracking Data to Blendshape) made easy with the new, flexible mapping UI.
- Default and ARKit 1 to1 presets provide instant retargeting for CC3+ avatars.
- Customize expressions effortlessly by blending.
- Default 63-morph capture profiles are optimized for Faceware's StaticCam and HeadCam, or iPhone's true-depth camera.
- Defined expression style with morph sliders can be saved as Custom Capture Profiles.
- Take advantage of the Search function to quickly access the needed sliders
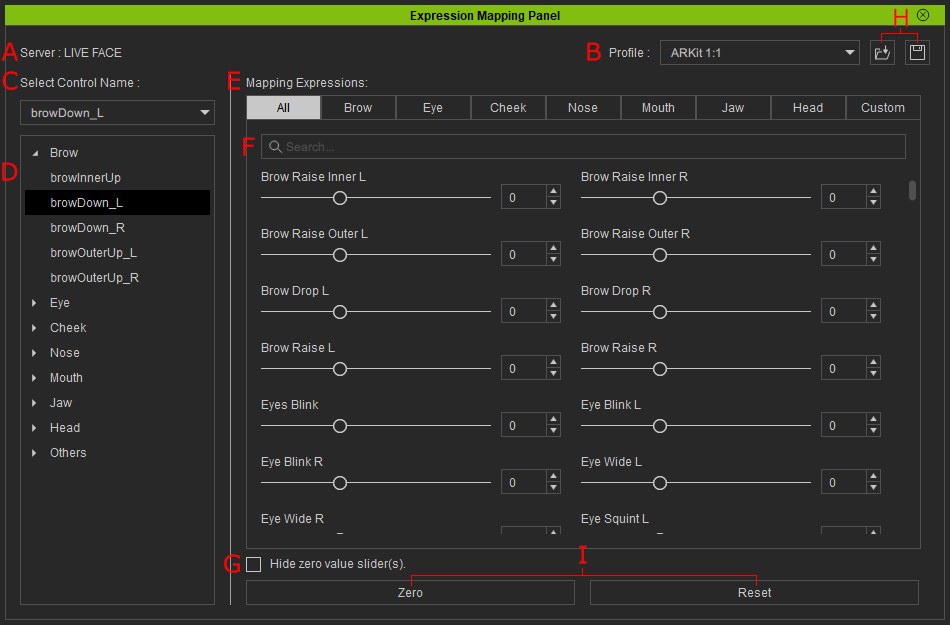
User Interface Introduction
|
A |
Gear Name |
Displays the current gear name. |
|
B |
Current Profile Name |
Displays the current profile name. When you load a new profile, then the name will be changed as well. This control is in charge of two features:
The default profile (*.json) files exist in the following
path: |
|
C |
Control Name |
Basically, these controls are used to transit facial expression signals from the mo-cap device. The 42 Control Name Stream (Face IDs) from Faceware, or the 52 Control Name Stream (Face IDs) from iPhone. |
|
D |
Control Name List |
This is a tree view for you to better view all the Control Names at once. |
|
E |
Mapping Expressions Tabs |
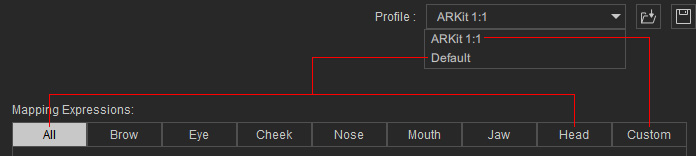
In these tabs, all the 60 Face Morphs for the Default (legacy) facial expressions and 63 for the ARKit are listed. You can then map the Control Names with the Face Morphs in these tabs. Note that the Default Face Morphs are listed in the All, Brow, Eye, Cheek, Nose, Mouth, Jaw and Head tabs, while the ARKit 1:1 Face Morphs are in the Custom tab. The difference for these two profile are as shown in the following video: |
|
F |
Search Expression |
Type in a keyword to display only the sliders whose names contain the same string as the keyword. |
|
G |
Hide Zero Value Sliders |
Activate this box to hide the sliders whose value is zero in order to have a cleaner panel to facilitate observation and adjustments. |
|
H |
Load and Save Profile |
You can click these two buttons to save or load a custom profiles with different mapping combinations of the sliders. |
|
I |
Zero all and Reset buttons |
Click the Zero button to set all slider values to 0. Click the Reset button to reinitialize slider values set when the profile was saved. |
Fine-tuning the face IDs with face morph sliders
- Prepare a character. Make sure it has neither expressions nor lipsyncs.

- Open the Motion LIVE plugin.
- Click the Expression Mapping Panel button to show the panel.

- Pick the Profile from the drop-down list, in this case, Default. Note that if you want to set the mapping results for the ARKit 1:1, then set the Profile to ARKit 1:1.
- Select one of the items from the Control Name drop-down list or the tree view. In this case, the mouth_LeftMouth_Smile.

In this case, the smile for the left side of the mouth is not ideal and there is a slight rotation to the character's head.
- Switch to the Head tab and you will find the
sliders that control the bones such as Head UpDown and Head Left/Right.
These values are also stored with the Control Name.

- Adjust the values for the sliders to rectify the imperfection in
the positioning of the bones.

- Switch to the Face tab and adjust any of the 60 morphing sliders to exaggerate or ease the expression.

In this example, the mouth, cheek and lower eyelid are adjusted for the crooked smile.
- You can repeat the same steps for the rest of the items in the Control Name
list and save the combination as your custom profile.
