Exporting USD Files to Server for Collaboration
(New for iC v. 7.93, CC v. 3.44)
Omniverse provides Create or View as a platform for collaborating works. By building a server on an intranet, all users in the same domain can send their USD files to the server and be integrated in these two applications on the server. The integrated objects in the project can then be updated simultaneously and independently from different authors.
A typical collaborative intranet setup: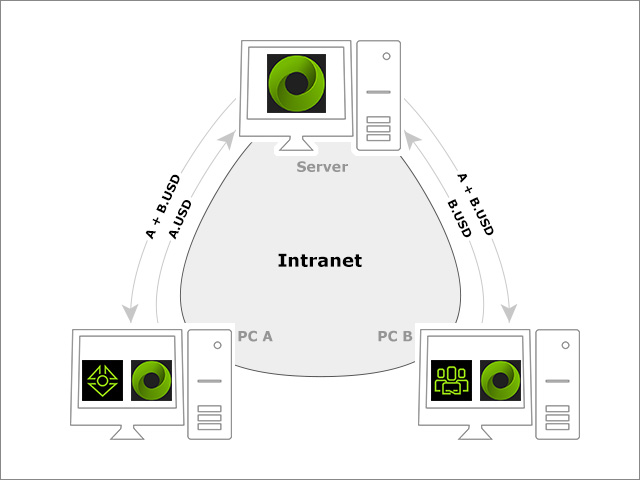
- Server:
- A hub computer that is used for gathering all USD files from other PCs on the Intranet.
- Omniverse Create, View, Drive and NUCLEUS must be installed on the server.
- PC A:
- A computer that is used as USD files provider (creator).
- iClone and/or Character Creator must be installed for exporting USD files (A.USD).
- Omniverse Create, View, Drive and NUCLEUS must be installed for viewing the result of the integrated USD (A+B.USD) on the server.
- PC B:
- A computer that is used as USD files provider (creator).
- iClone and/or Character Creator must be installed for exporting USD files (B.USD).
- Omniverse Create, View, Drive and NUCLEUS must be installed for viewing the result of the integrated USD (A+B.USD) on the server.
Server-side Work
Typical work done on the server:
-
Building a well-organized folder structure.
The server manager should build a well-organized folder structure for gathering USD files from other PCs on the intranet.
- Launch Omniverse Create or View.
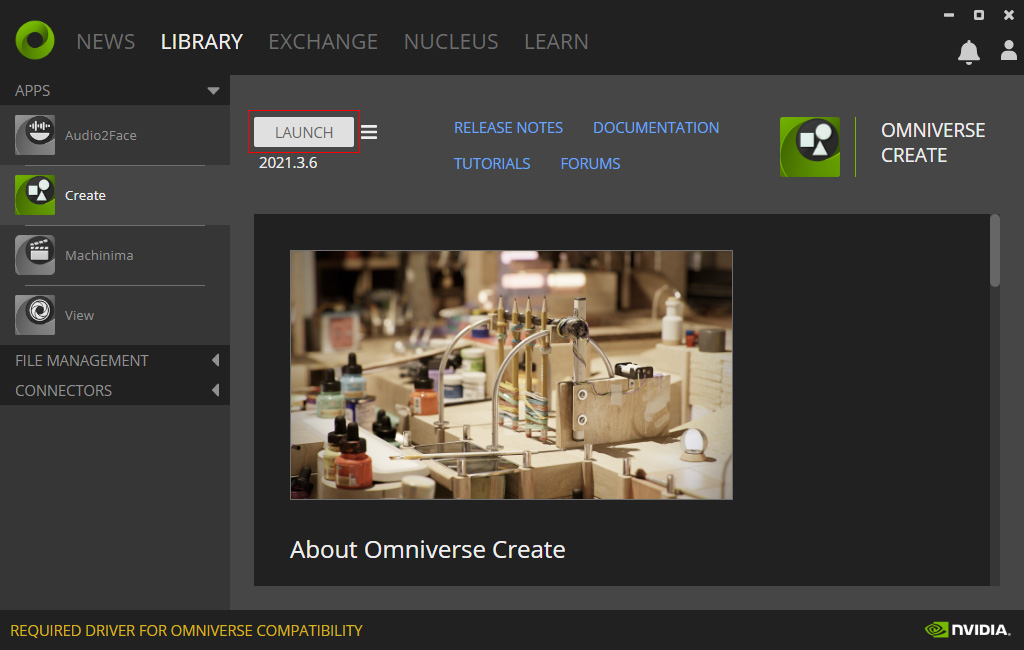
** If you are a new user of iC, CC, and Omniverse Pipeline after October 1st, 2025, please skip this step. You can simply launch USD Composer directly.
- In the Content Browser, expand the Omniverse node.
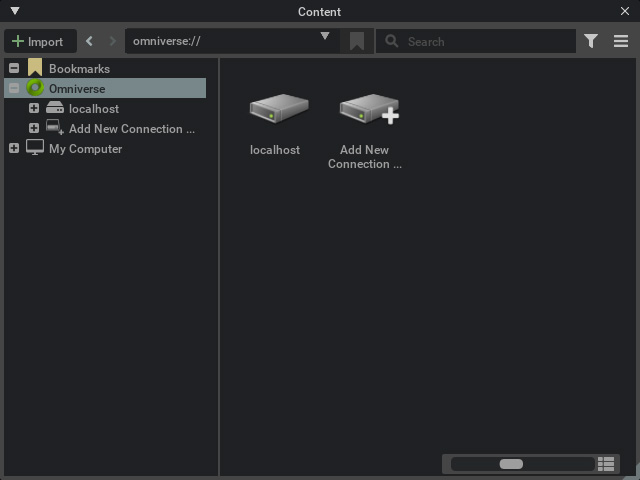
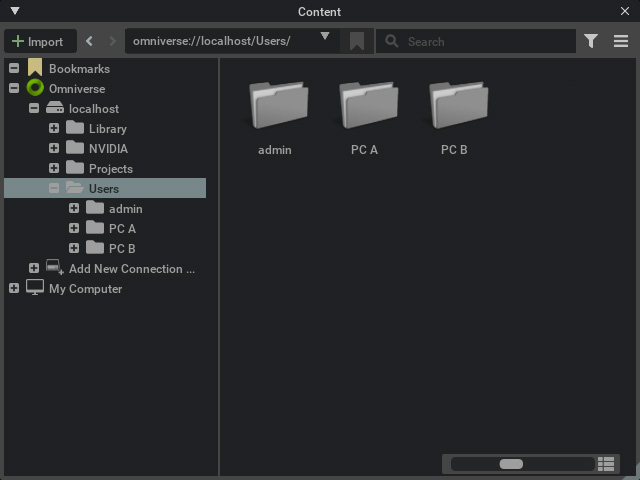
- Create a well-organized folder structure under the localhost > Users sub-folder for other
PCs on the intranet.
- Launch Omniverse Create or View.
-
Integrating USD Files
The manager of the server also needs to integrate all the USD files for the final project.
- Drag and drop the USD files from users' folders into the Stage panel. This ensures the files are imported as reference files.
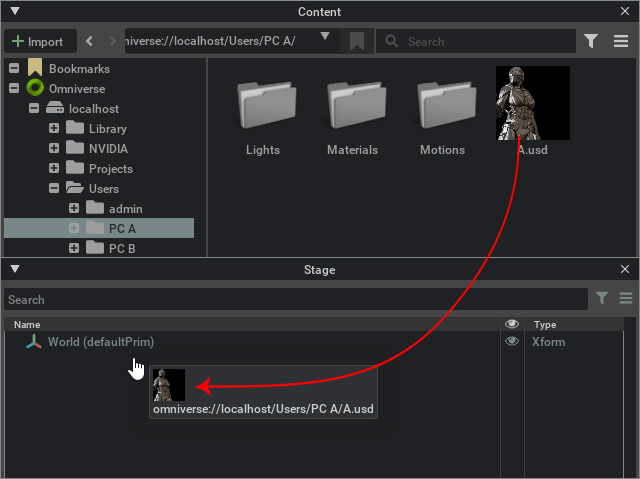
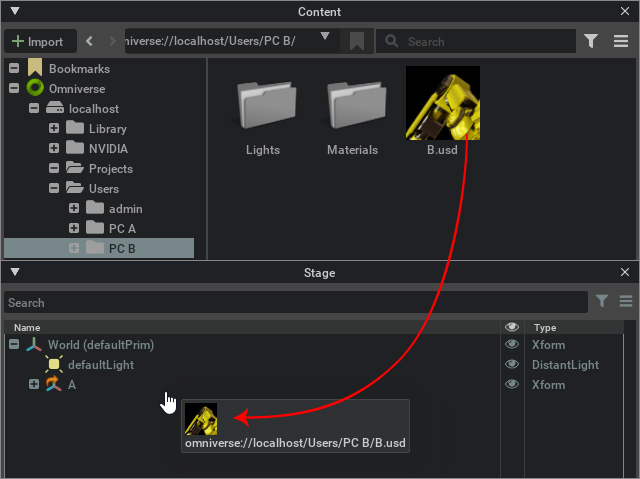
You will see the objects is marked with arrows, which indicates that they are referring to other USD files.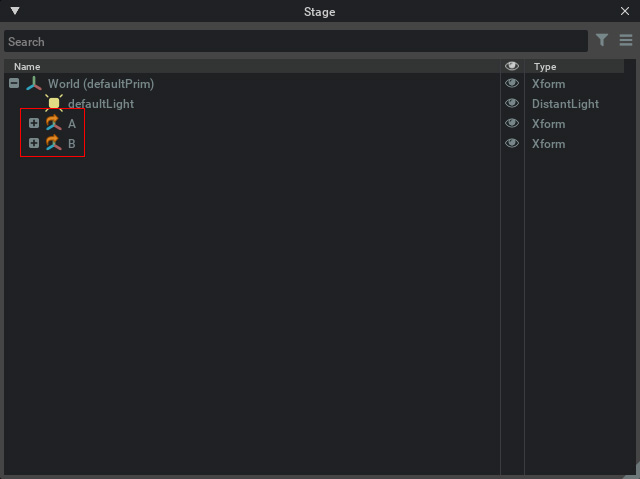
Notice that Double-click opens the USD file instead of referring to the file, so it is not applicable for collaboration. - Save the current project into the Projects folder.
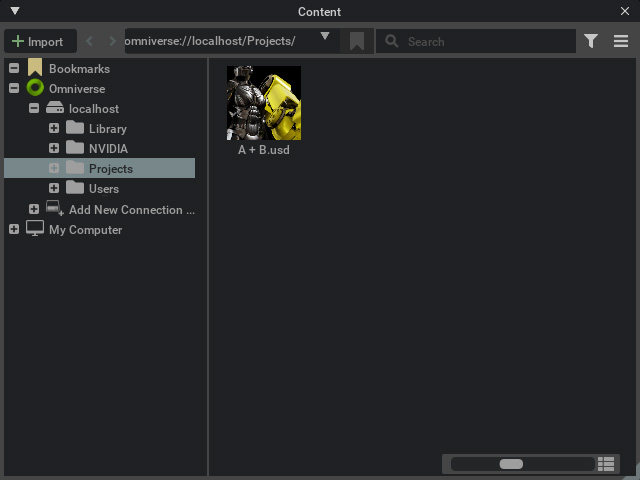
- Drag and drop the USD files from users' folders into the Stage panel. This ensures the files are imported as reference files.
Work done on PCs (USD Provider)
Typical work done on the PCs (PC A and PC B in the diagram) are:
-
Connecting to Server
On the PC, you can use the Content panel of the Omniverse Create or View to connect to the prepared folder structure on the server as the target director for exporting USD files.
- Launch Omniverse Create or View.

** If you are a new user of iC, CC, and Omniverse Pipeline after October 1st, 2025, please skip this step. You can simply launch USD Composer directly.
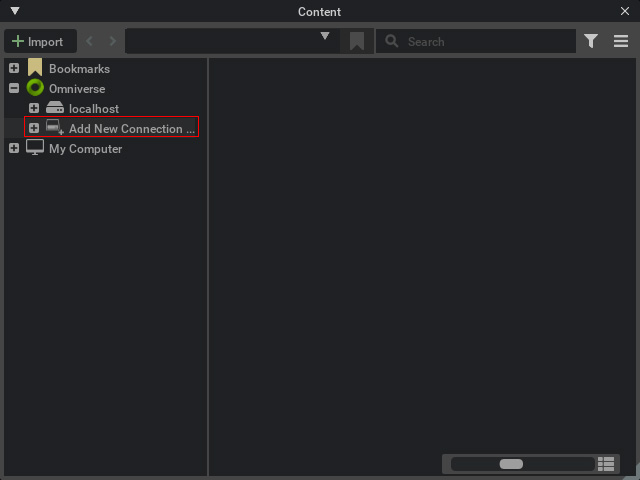
- On the Content panel, click Add New Connection ...
under the Omniverse node.
- In the coming panel, type in the IP Address and an Optional Name for the server.

You can customize the Optional Name, and you are allowed to connect to multiple PCs on the intranet as the servers. - Click the Ok button, you will be asked to login onto the server through your web browser, the account and password can be both admin,
or you can create an account.
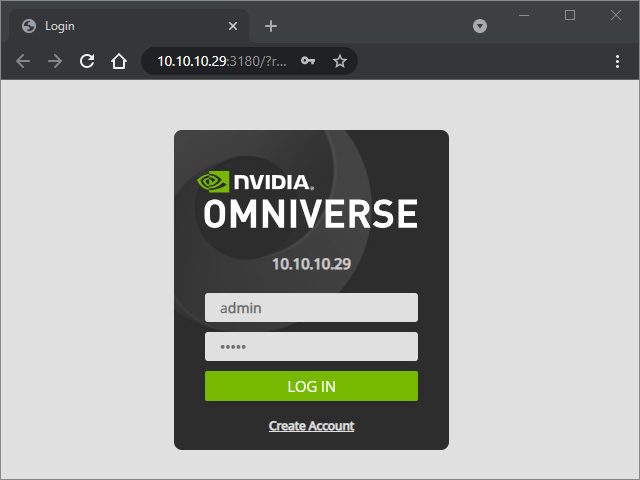
When you have successfully connected to the server, you will see the information in the web browser.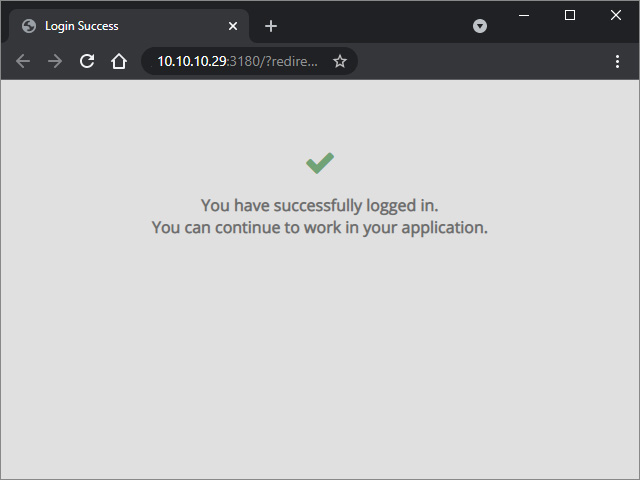
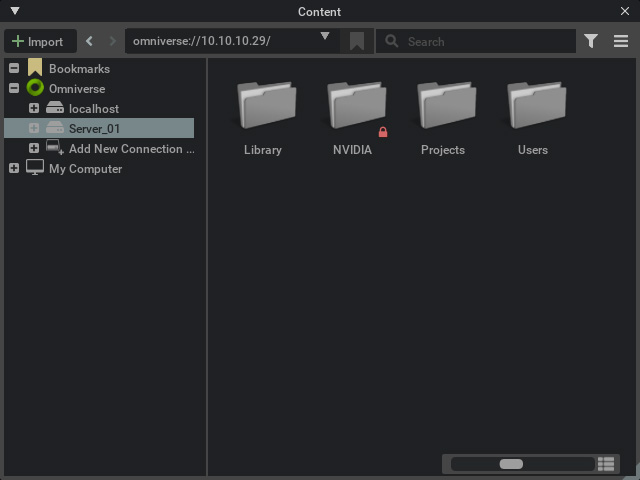
- You will see the Server listed as a new node in the Content panel.
- Launch Omniverse Create or View.
-
Providing USD Files to Server
On the PC, users can use iClone or Character Creator to generate USD files and send them to the server for project integration.
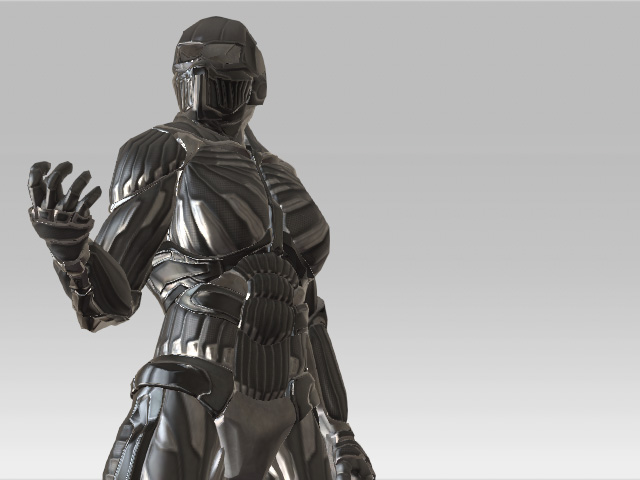
- Launch iClone or Character Creator and create a project (in this case, iClone).
- Open the Export USD panel and adjust the settings.
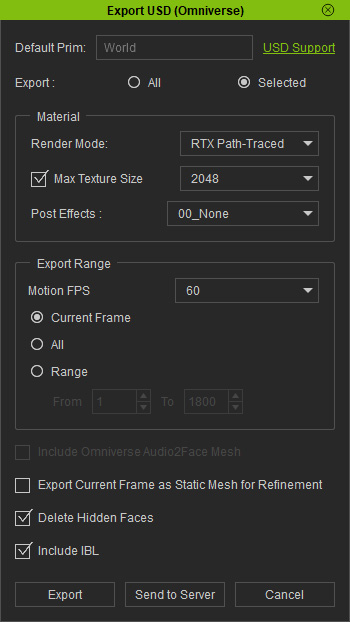
- Click the Send to Server button and the Export to Omniverse Server panel pops up.
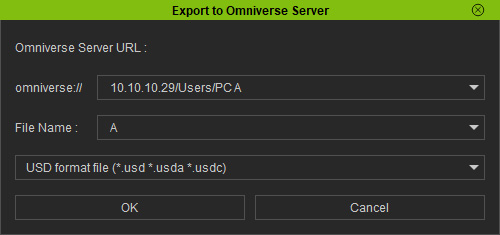
- omniverse://: Type in the IP Address / Users / [Target Folder Name].
- File Name: Type in the file name.
- USD format file: Choose a format for export USD.
- Click the OK button. The USD files will be export and upload to the specified server.
- You can then browse to the server and find the exported USD files in the specific folder via the Content panel of Omniverse Create or View.
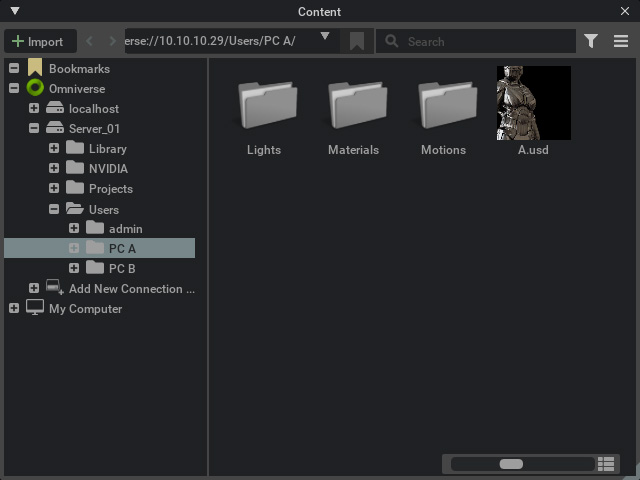
- Repeat the same steps for other projects on any PCs on the intranet.
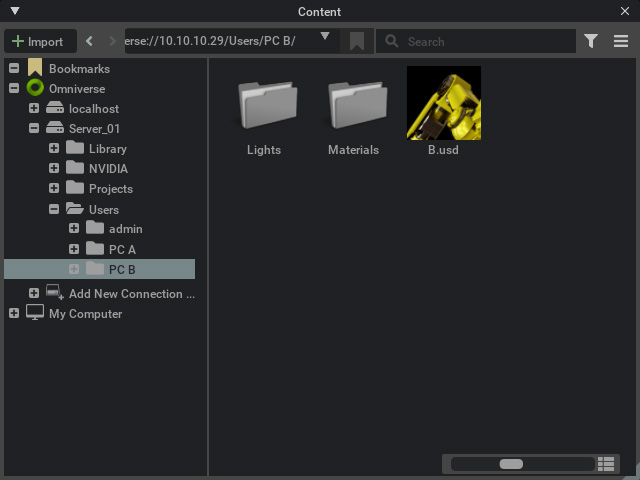
- Launch iClone or Character Creator and create a project (in this case, iClone).
-
Collaborating with Other Members
When the settings on the server and local machines are completed, you can start to collaborate with other members for the projects on the server.
- Launch the iClone or Character Creator project (in this case, iClone project created in
the previous section).

- Launch Omniverse Create or View. Browse to the integrated USD project file via the Content panel.
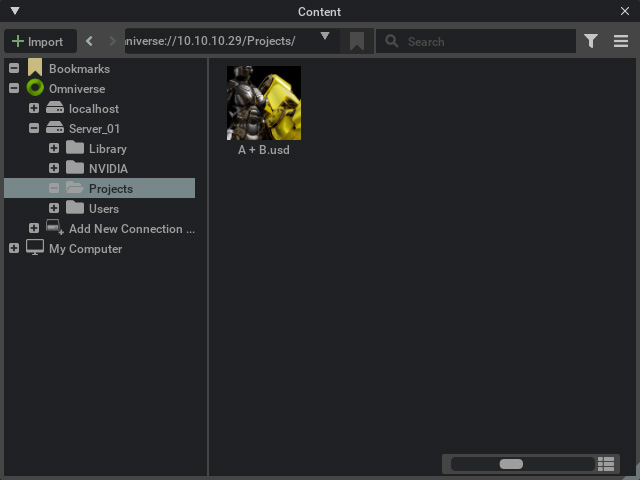
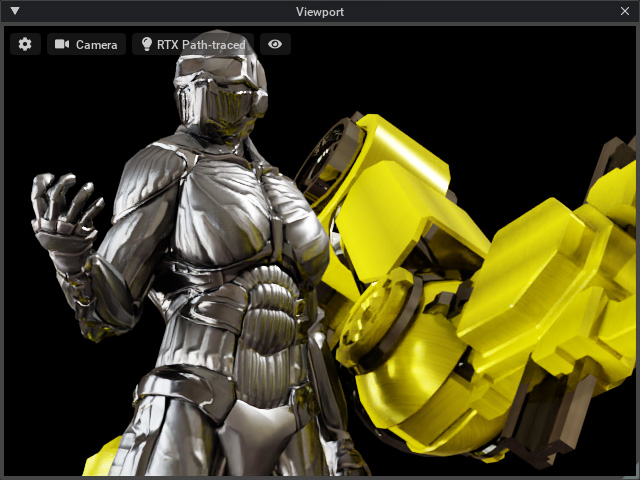
- Doubl-click to open the integrated project on the Server.
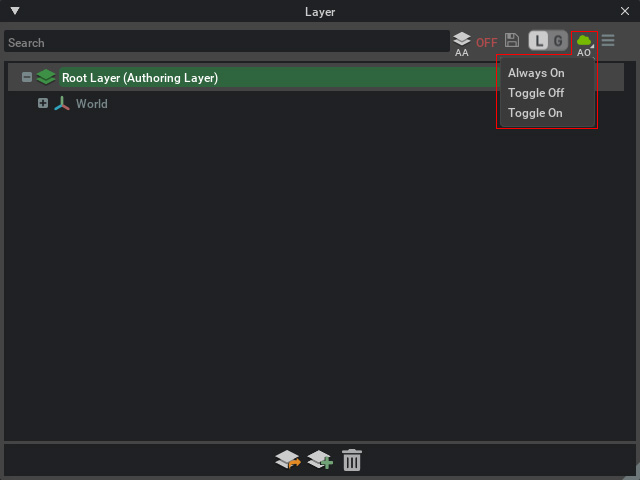
- Click the AO button and set it to Always On on the Layer panel.
- Go back to iClone or Character Creator, edit the objects in the project (in this case, the Roughness texture is set to black).
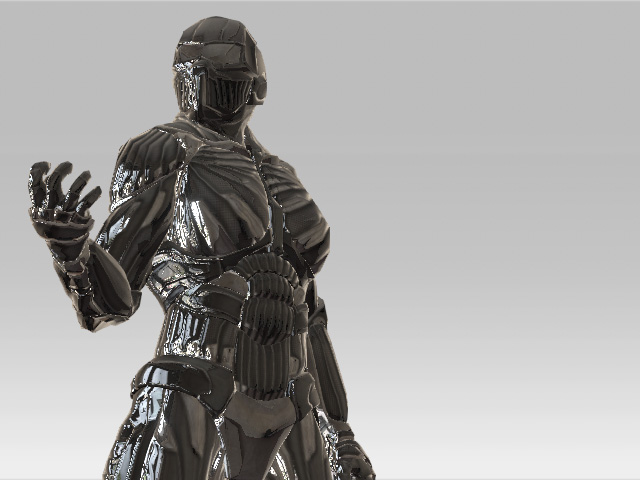
- Click the Send to Server button in the Export USD panel.

Type in the same path and USD name on the server in order to overwrite the original one.
- Click the OK button and the Omniverse project on the server will be updated instantly.
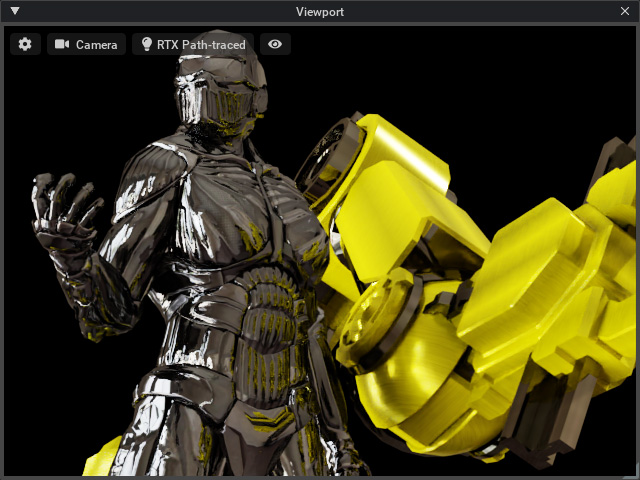
- Launch the iClone or Character Creator project (in this case, iClone project created in
the previous section).
