Render Settings in Omniverse
(New for iC v. 7.93, CC v. 3.44)
There are several render settings in Omniverse that can be manually adjusted to enhance and influence the real-time or final render quality.
-
Using Denoising Feature
For rendering a photorealistic image or video, the Path Tracing Sample per Pixel setting can be increased. However, the higher the value is, the longer it takes to render the image. By using the Denoising feature in Omniverse, you can use a somewhat lower sample value while getting a fairly decent render.
- Create an iClone project.
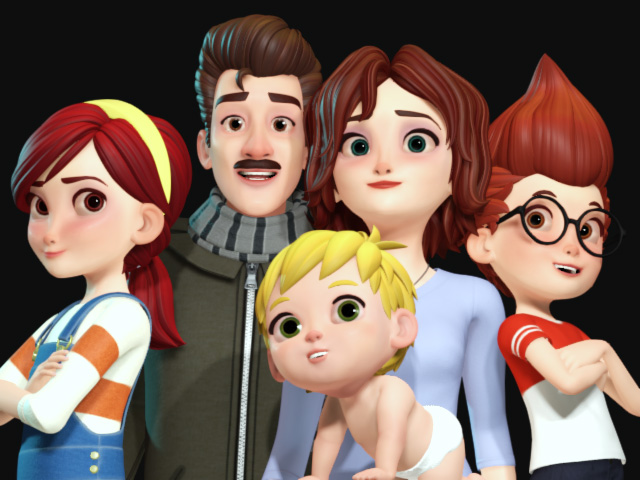
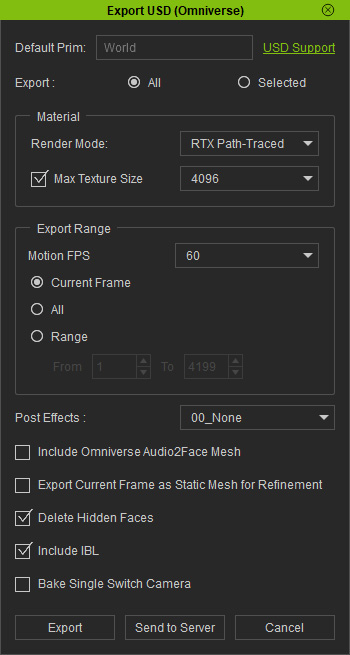
- Export the entire project via Export USD panel.
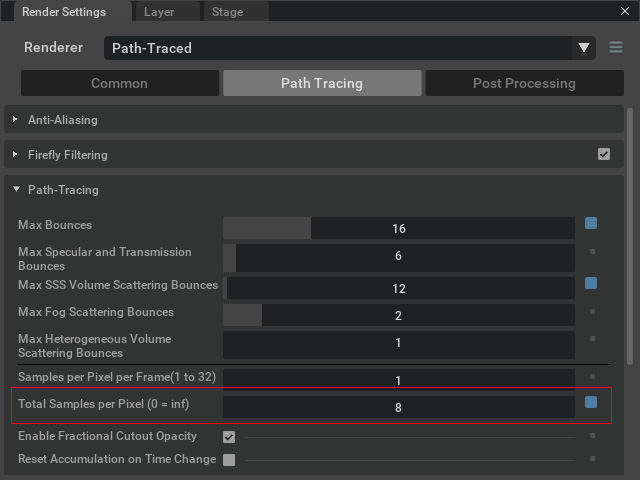
- Open the USD file and set the Total Samples per Pixel in the Render Settings panel to 8.
The viewport rendering is grainy with the low value.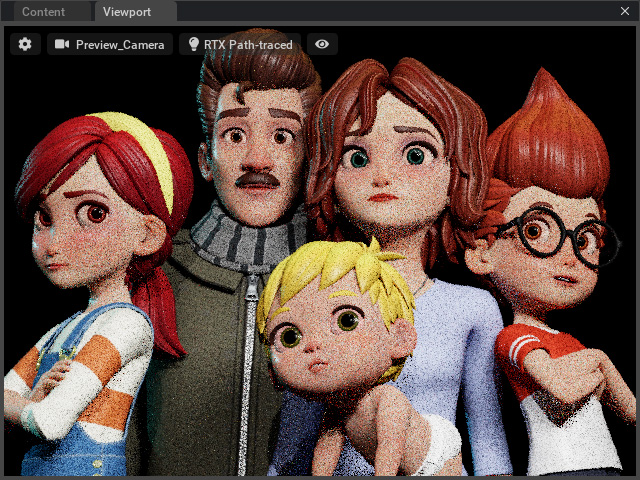
- Activate the Denoising checkbox in the Render Settings panel.
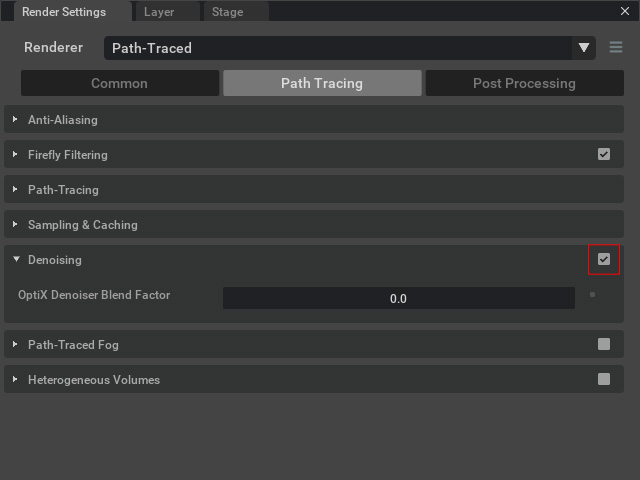
The real-time and/or final render becomes more polished.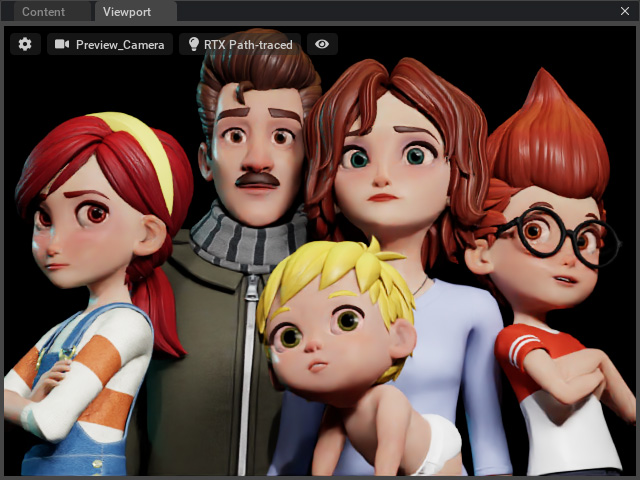
- Create an iClone project.
-
Applying Path-traced Fog
When you create a project with broad space, applying Fog effect can increase the spatial feeling to the entire environment. The dust in the air can also enhance the depth for the entire scene instead of using the DOF of the camera.
- Create an iClone project.

- Transfer the project to Omniverse Create.
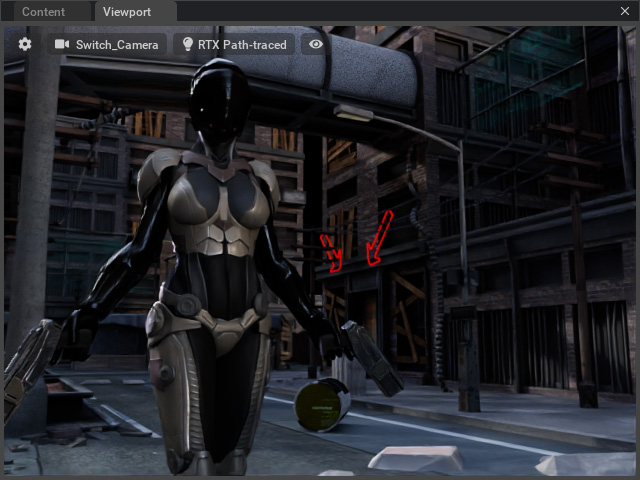
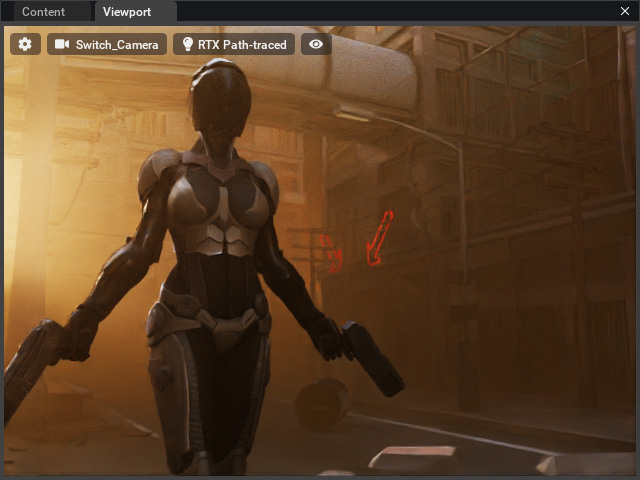
- In the Render Setting panel, activate the Path-Traced Fog and Use +Z Axis for Height checkboxes.
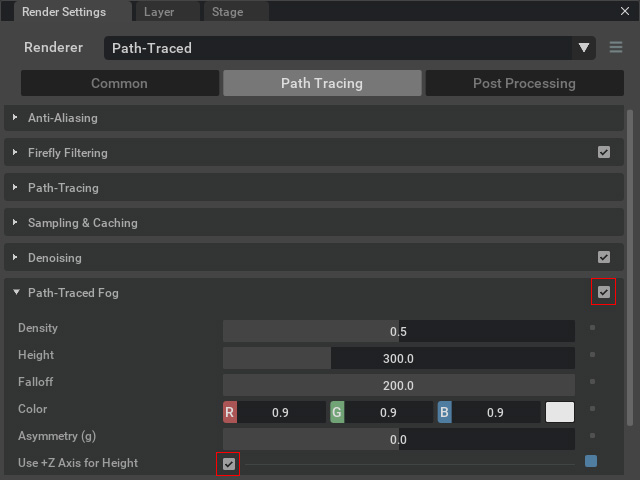
The sense of depth increases.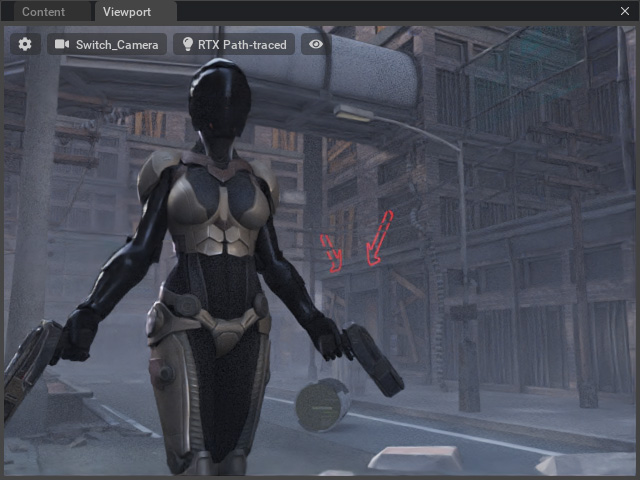
- You can change the rest of the settings in this
section to strengthen the fog effect.
- Create an iClone project.
-
Settings for Final Rendering
The final rendering in Omniverse refer to both Render Settings and the settings in the Movie Capture. Open the Rendering > Movie Capture panel and adjust the settings for export video.
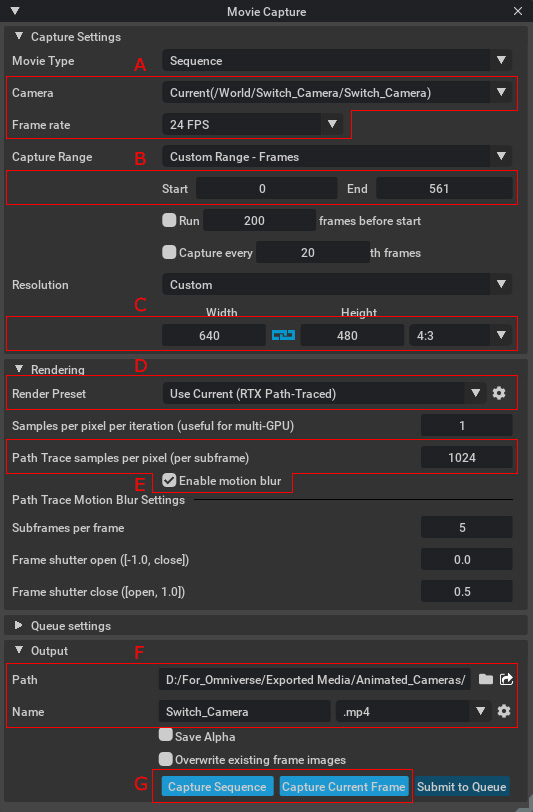
- Choose the camera (in this case, the Switch_Camera) and frame rate for rendering.
- Set the time range for rendering.
- Adjust the resolution, the resolution ratio items in the drop-down list are 16:9 or 4:3. You can set the width and length based on this ratio.
- Choose the render mode, RTX Real-time or RTX Path-Traced.
- Set the path trace samples per pixel for each frame of rendering. The Enable Motion Blur checkbox can upgrade the visual quality for animated objects by trading off the rendering time.
- Set the directory for saving the exported videos. Also set the export format to mp4.
- Click the Capture Sequence button to start exporting video.
