Make sure the performers have worn the Perception Neuron correctly.
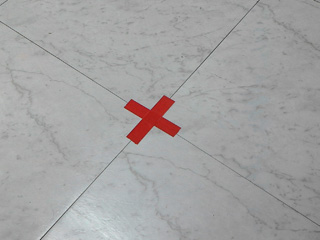
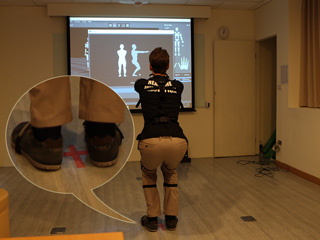
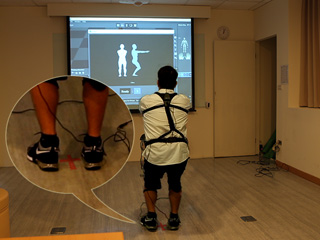
First, Make a mark on the floor.
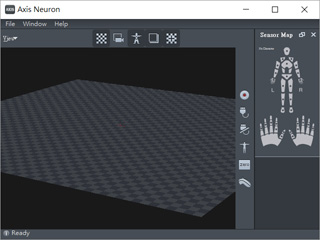
Start the Axis Neuron standalone
application. You can
download and install the application from the Noitom
(the manufacture of Perception Neuron) Official
Web Site.
Click the Connect button.
You will see the panel as shown below. Click one of the Connect buttons to connect
the Perception Neuron (the device)
to Axis Neuron (the application):
Click the Connect button
again.
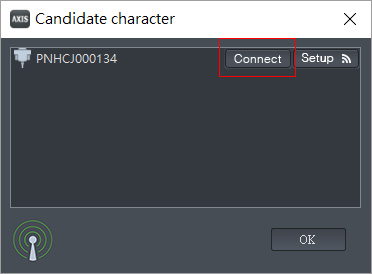
You will see the panel as shown below. Click the Connect button to connect
the rest to the Perception Neuron (the device)
to Axis Neuron (the application):
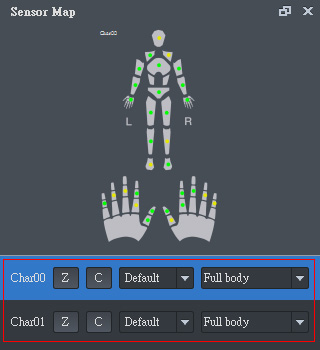
Select the character at the right side to make sure the lights on the
Perception Neuron are activated in green, yellow
or at least red. If any
of the light is in grey, then check the device to make sure it is worn
correctly.
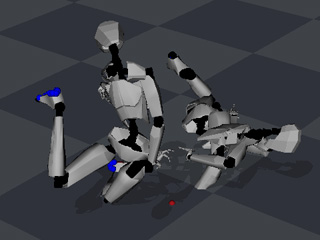
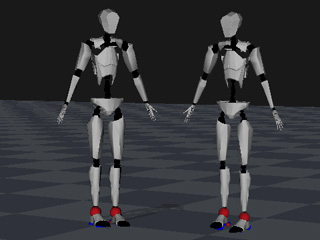
You will see that the dummies in the Preview window are not
constructed correctly.
Before Axis Neuron receives correct data from the
Perception Neuron, you need to do the calibration
first. Please have one of the performers to stand on the mark.
Click on the C button of one of the characters to start the calibration procedure.
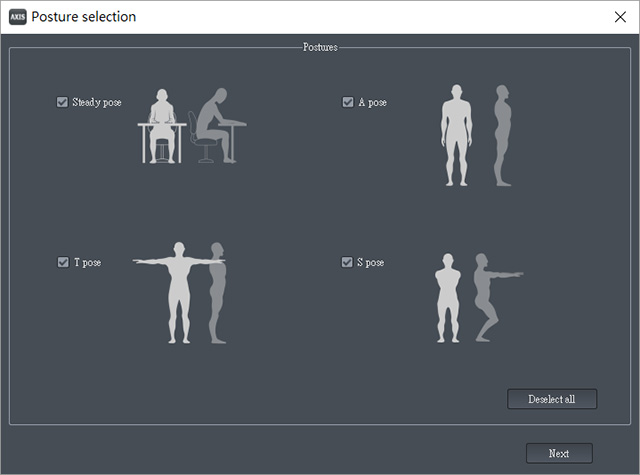
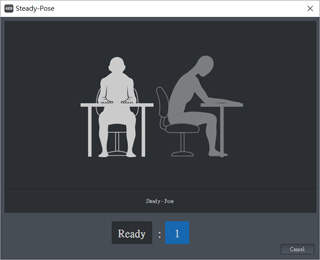
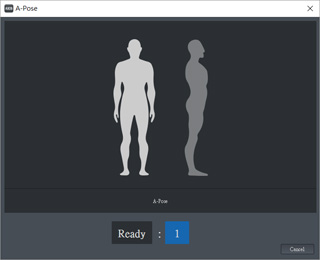
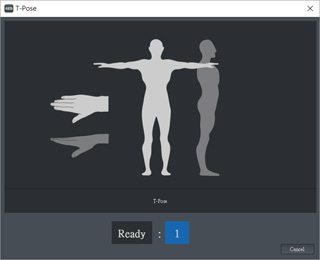
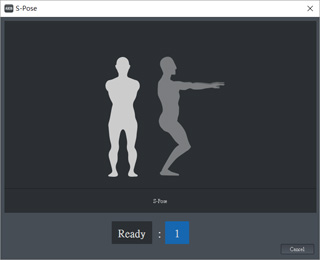
Axis Neuron will direct you to do four poses for calibration.
Click the Next button to start to calibrate.
Have the performer hold the poses on the screen for each phase of the
calibration and wait until Axis Neuron finishes the
countdowns.
Make sure you have selected the other character on the list at the right
side of the Axis Neuron. Then have the second performer stand on the mark and do the calibration to.
Now the dummies in the Preview window stand up and your motions can be correctly received from the
Axis Neuron.
Step 2. Receiving Data by Perception Neuron Console - Duo
If you have installed the Perception Neuron Console Plug-in - Duo onto your iClone,
then please read this section for receiving data from Axis Neuron.
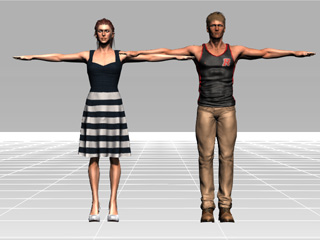
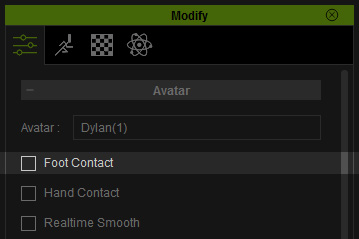
Apply two characters in iClone. It is highly recommended that you Deactivate the Foot Contact
feature of the characters in order to get the best foot motions from the
Perception Neuron Console.
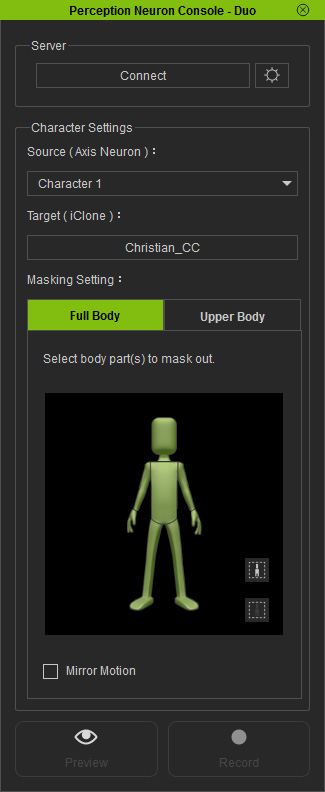
Execute the command Plugins >> Perception Neuron >> Perception Neuron
Duo
to open the Perception Neuron Console panel.
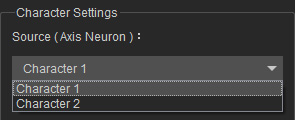
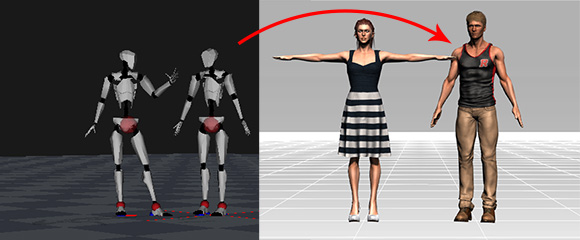
Select one of the characters of the Axis Neuron by picking it in the Source (Axis Neuron) drop-down list.
Click the Pick Character From Scene button and then click on
one of the characters in the 3D preview window.
These two steps ensure that the motions captured from character 1 in the Axis Neuron will be
passed to the character
you pick from the 3D preview window.
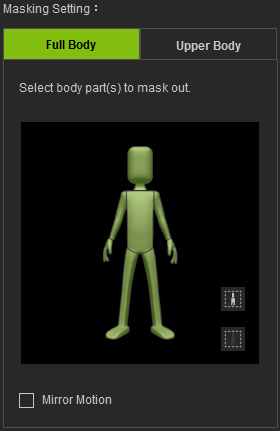
From the dummy panel, select the body parts that you intend to capture motions from. Please refer to the
Multi-layer Capturing section for more information.
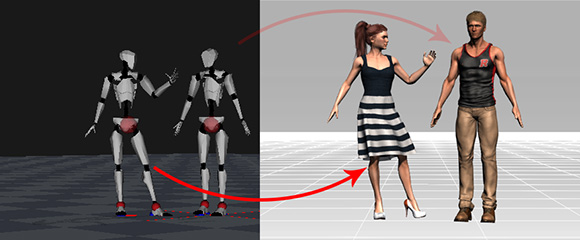
Repeat Steps 3 to 5, in order to map the other character from the Axis Neuron
to the other character in iClone.
Click the Preview button, and press the Space Bar to
preview your real human motions on the virtual
character (Shortcut: Space bar).
Click the Record button and press the Space Bar to
start recording.
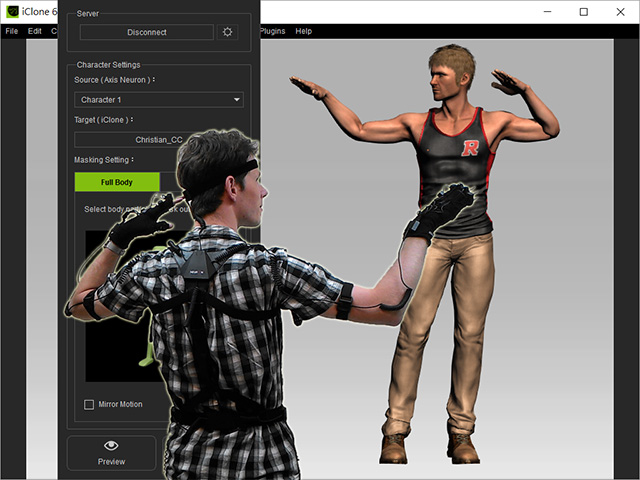
Using the Perception Neuron Plug-ins with Mirror Mode
By default, the character's body parts use the motion input from your body to move. Therefore, when the character is facing you
and you move your right hand, the character will also moves its right hand, which can sometimes be confusing,
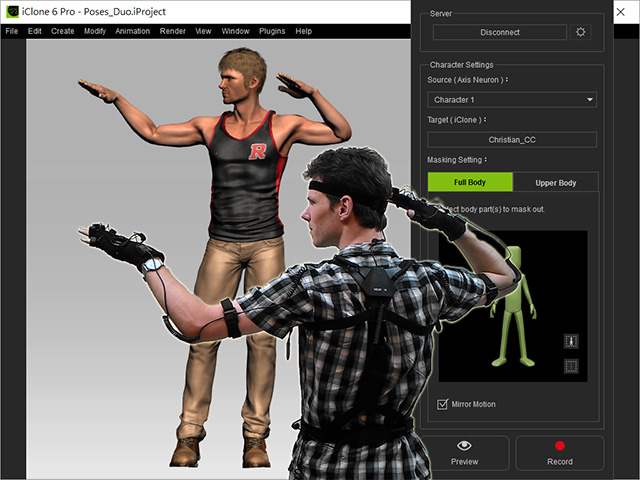
especially when you need to interact with the props inside of the scene. For this you can work with the Mirror function.
Mirror = Off
Activate the Mirror box and then you may control the character as if using a mirror.
 button.
You will see the panel as shown below. Click one of the Connect buttons to connect
the Perception Neuron (the device)
to Axis Neuron (the application):
button.
You will see the panel as shown below. Click one of the Connect buttons to connect
the Perception Neuron (the device)
to Axis Neuron (the application):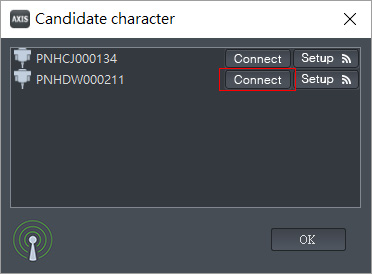

 button and then click on
one of the characters in the 3D preview window.
button and then click on
one of the characters in the 3D preview window.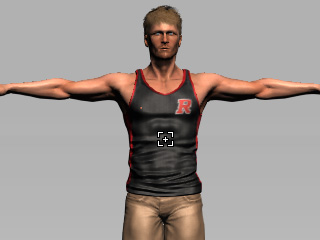
 button, and press the Space Bar to
preview your real human motions on the virtual
character (Shortcut: Space bar).
button, and press the Space Bar to
preview your real human motions on the virtual
character (Shortcut: Space bar).
 button and press the Space Bar to
start recording.
button and press the Space Bar to
start recording.