Masking Layer Out
The layer effects, in addition to be strengthened or weakened by the Opacity settings, can be mask out by an image to determine the area of effect.
- Create a project and apply a skin or makeup template to the character.
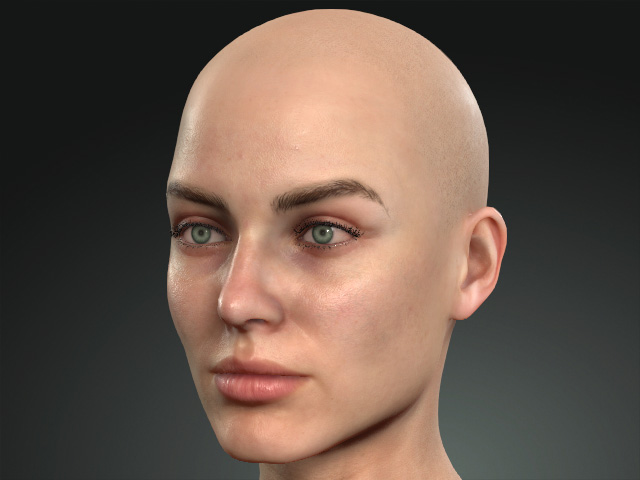
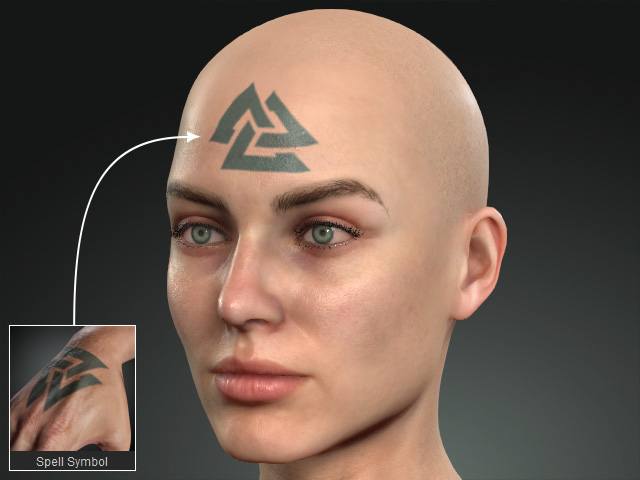
Initial look
Template applied
(refer to the Moving Layers between Materials for more information
about moving the tattoo from the hand to the head) - Select the target layer you want to mask out.
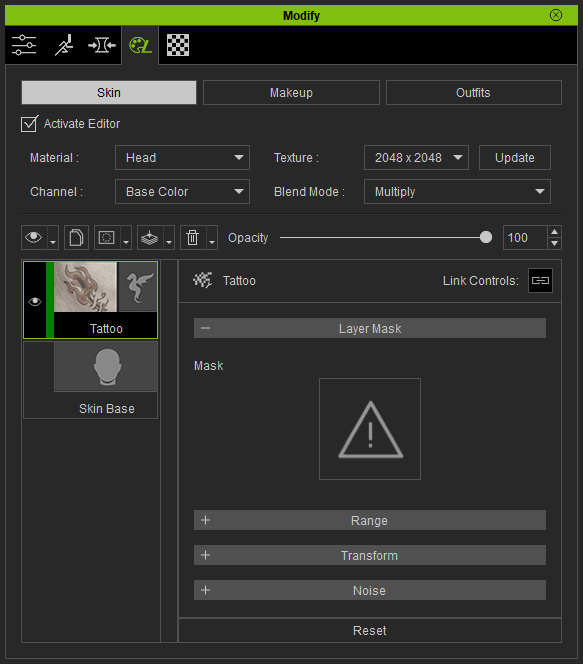
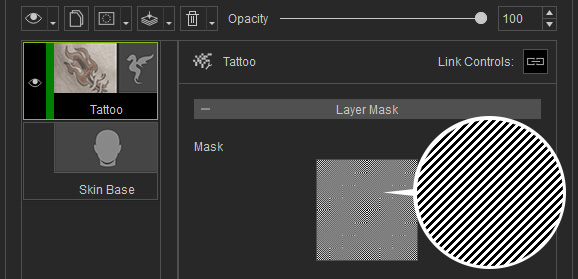
- Click the Mask button above the layer pane.

- Load Image: Choose this command to load a grayscale image to mask the layer's result.
- Fill with White: Choose this command to keep the entire effect of the layer.
- Fill with Black: Choose this command to mask out the entire effect of the layer.
- Launch: Open the mask image with image editor for further editing.
- In this case, choose the Fill with Black command to mask out the wrinkles of the character.
You will see the channel in the Layer Mask section of the layer is loaded with a black texture.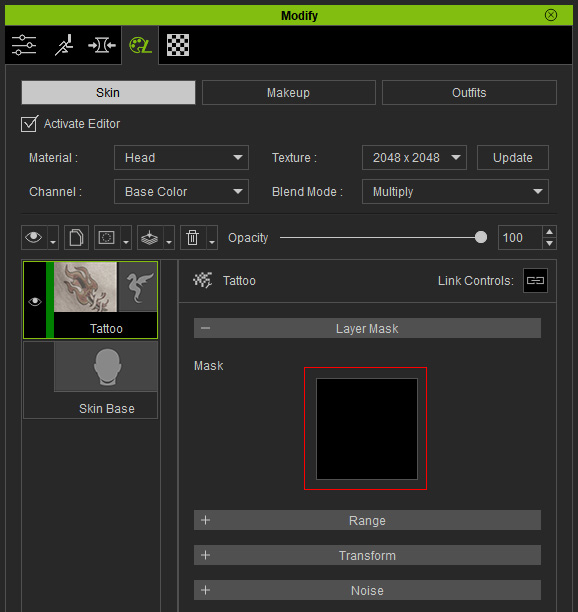
- Click the Mask button again. Choose the Launch command to load this black texture into your image editor.
- You will see this texture and a topology uv map opened in the image editor.
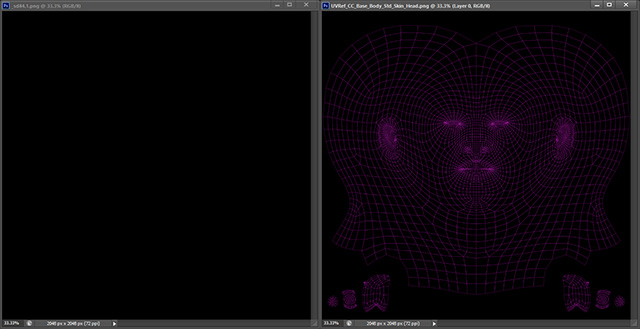
- Edit the texture by referring to the topology map.
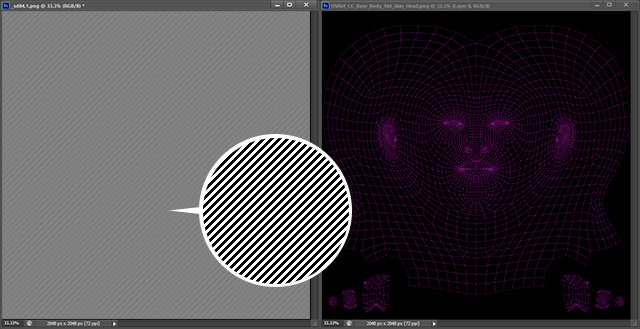
- Save the edited texture. The layer result in Character Creator will be auto-updated.
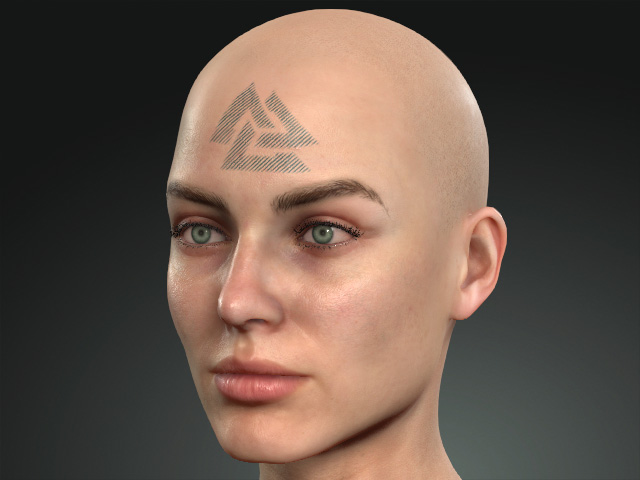
The texture in the Layer Mask channel is also updated.