Basic Steps of Using UV Transfer Tools
The UV Transfer Tool focus on transferring the DAZ Acquired Skin Conditions onto CC3+ characters skin. With these tools, you do not need to be aware of the UV coordinate differences between the characters from DAZ or Character Creator. You only need to load the necessary textures and the effects can be completely re-generated onto the CC3+ character skin.
- Search for a character from the DAZ shop.
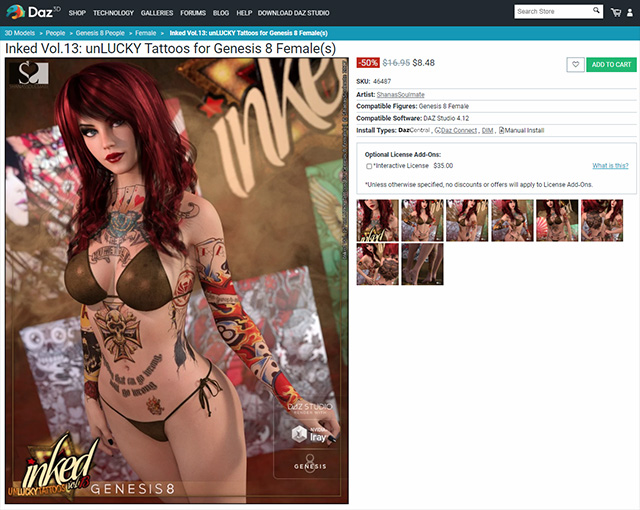
The character is applied with numerous tattoos.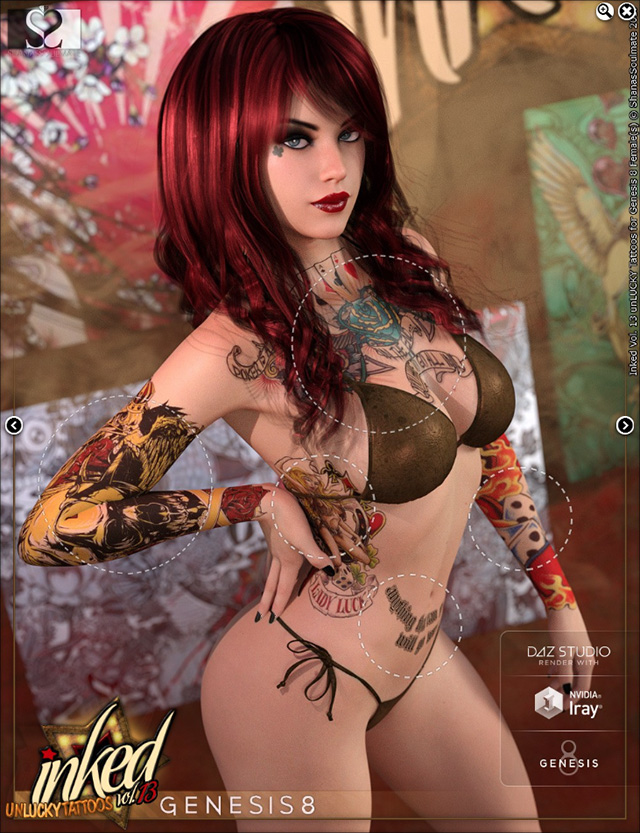
- Install and apply any of the template to the DAZ
character to check the designated positions and color tones of the effect.
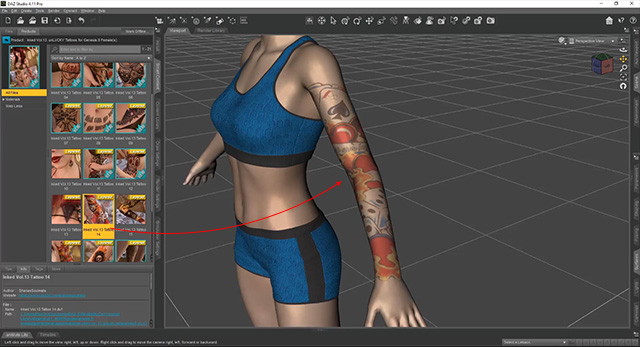
- Right click on the content applied in the previous step and choose the Browse to File Location... command from the context menu.
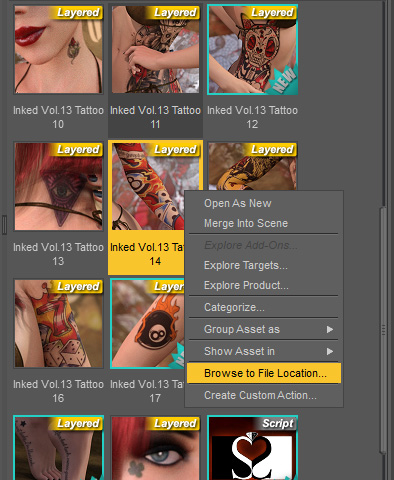
You can find the conten here, and be sure to remember its name.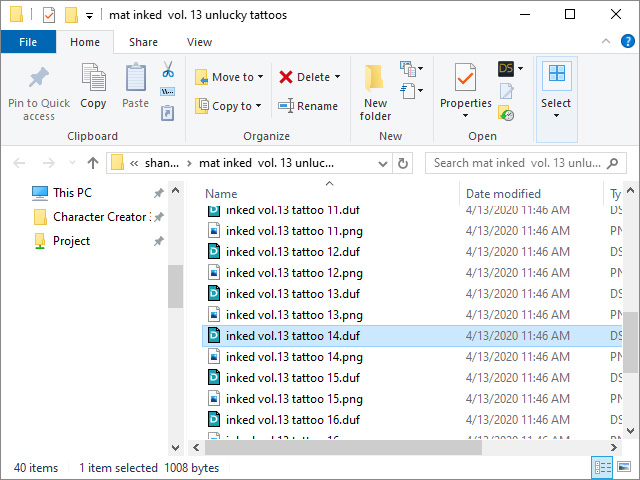
- Go to the texture folder of content and find the texture of the name kept in the previous step. The texture in this case is located in
C:\Users\[User Name]\Documents\DAZ 3D\Studio\My Daz Connect Library\data\cloud\1_46487\people\genesis 8 female\materials\shanassoulmate\mat inked vol. 13 unlucky tattoos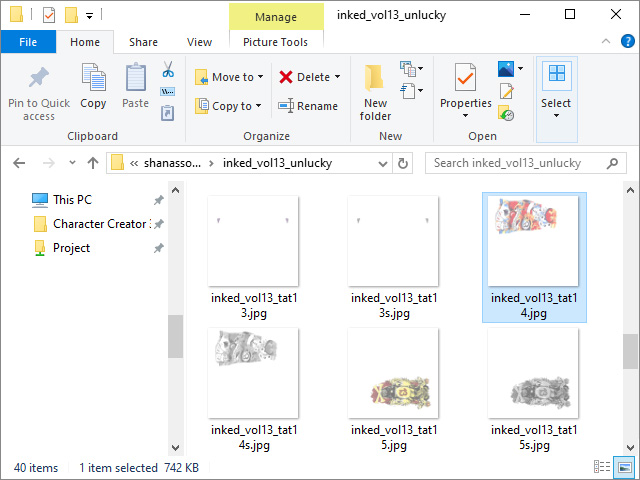
Determining Suitable Tools
- Identify the application region of the original effect, in this case, the Arm. Refer to the choosing tool section for more information.
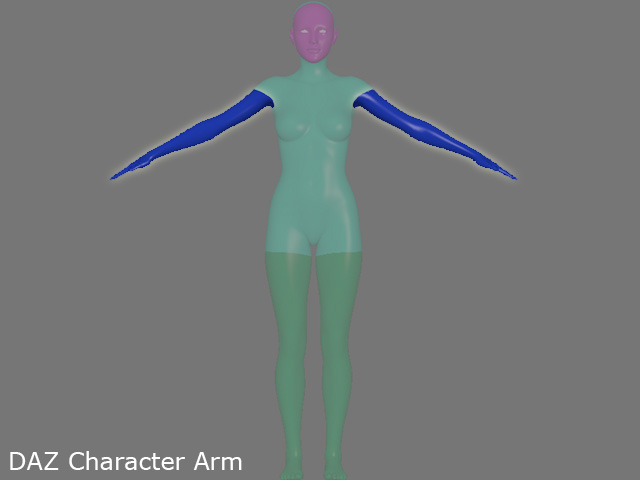
- Choose the proper UV transfer tool to the corresponding material.
- According to step 1, the DAZ character is Genesis 8, Female.
- According to previous step, the skin effect is applied to DAZ character's arm.
- Therefore, the suitable tool is the DazG8F_Arm.
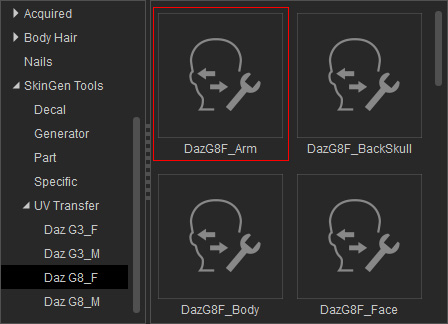
Specifying Correct Target Material
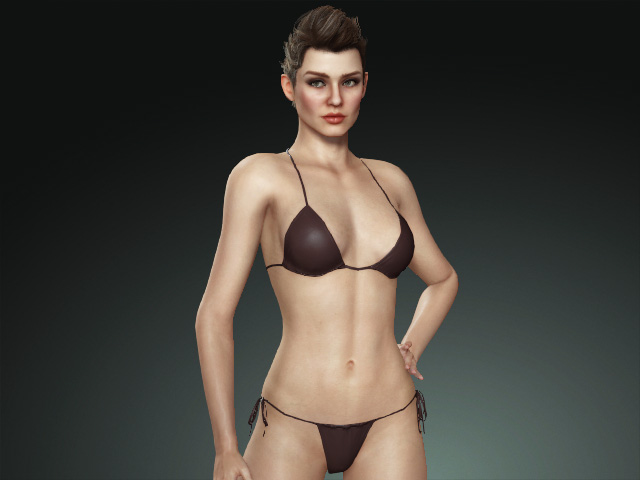
- In Character Creator, create a new project and make sure the character is CC3+.
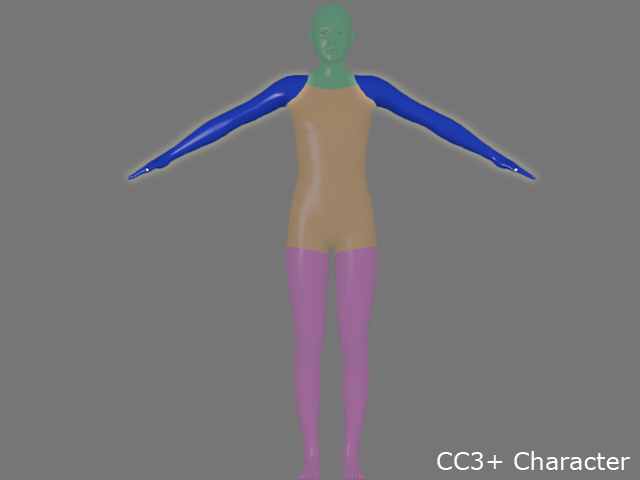
- According to the original skin effect on DAZ character, specifying the proper target material region for the effect (in this case, the Arm).
- Select the correct target material and apply the tool determined in step 6.
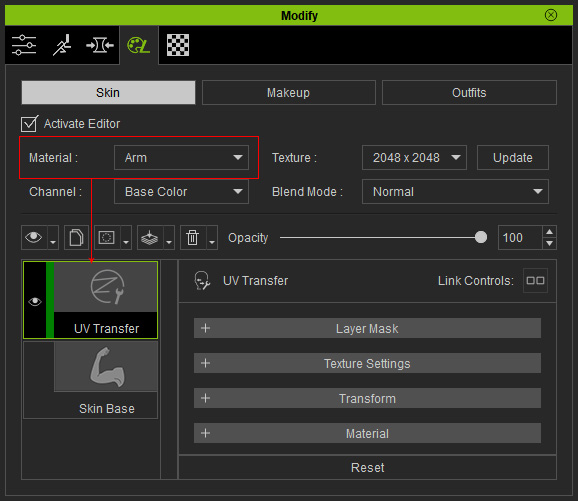
Loading Textures to UV Transfer Tools
- Drag and drop the texture found in step 4 to the Base Color channel of the tool.
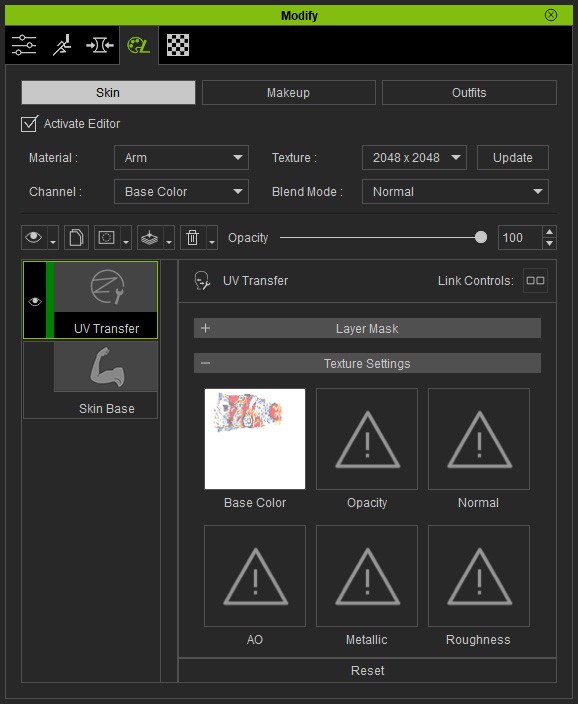
- The skin effect will be deployed at the same position as the one for the DAZ character.
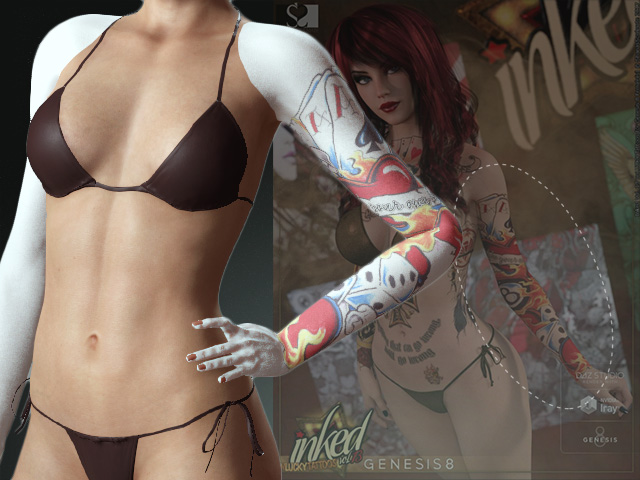
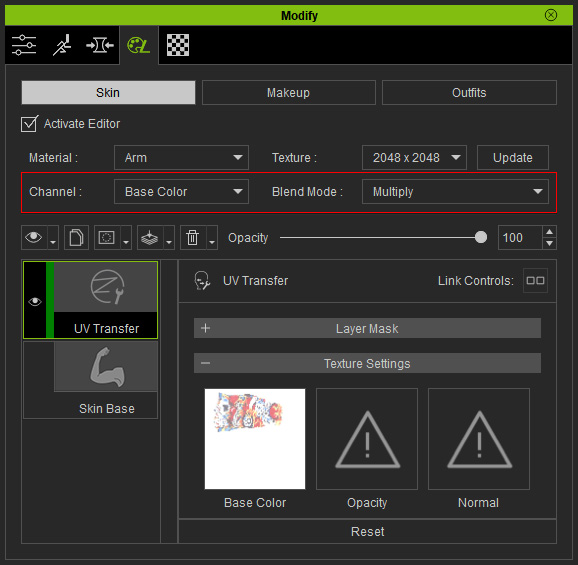
- Make sure the layer is selected and select the Base Color from the channel drop-down list and set the Blend Mode to Multiply.
The skin effect then shows correctly.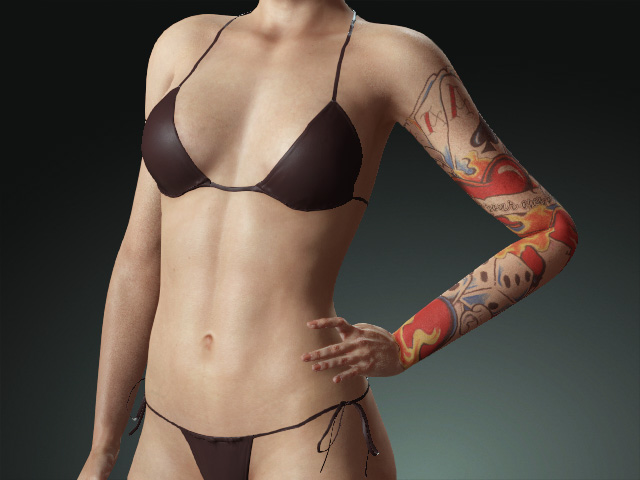
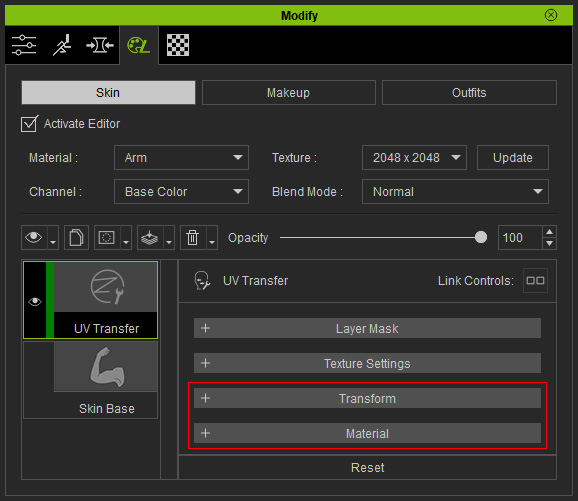
- You can then transform or adjust the color of the effect.
