Customizing Character Skin Effects with SkinGen Tools
In addition to using the embedded SkinGen templates from the Content Manager, you can also create custom skin or makeups with SkinGen Tools
Creating Custom Character Look
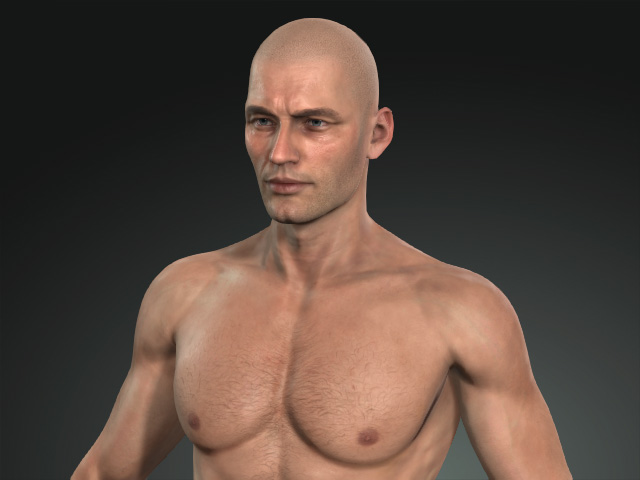
- Create a new project.
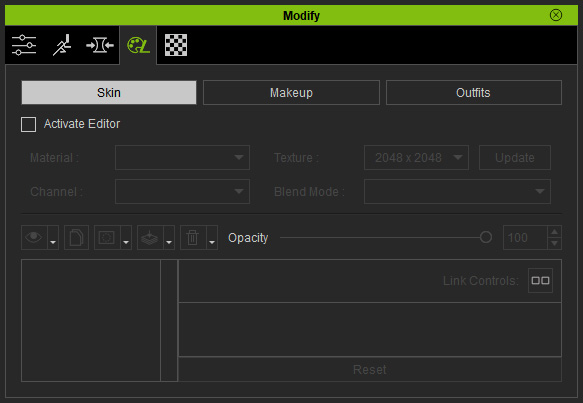
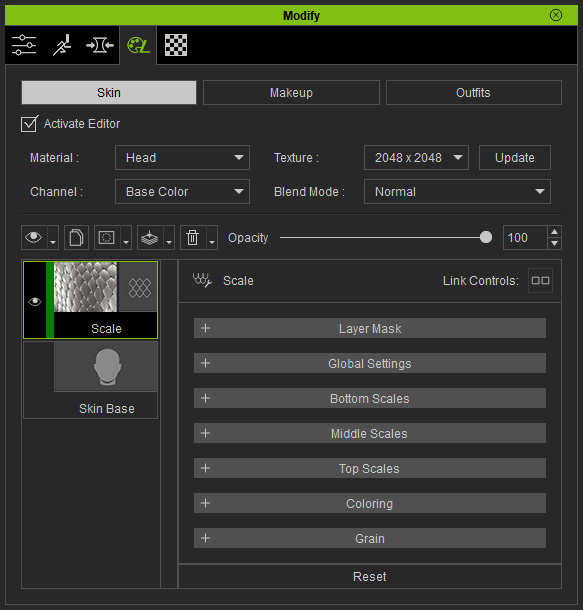
- Make sure the character is selected and switch to Appearance tab in the Modify panel. And click the Skin or Makeup button for apply the SkinGen tools; in this case, the Skin button.
- Check the Activate Editor checkbox and select the target material to which you want to apply the tool. Choose the Use SkinGen Settings radio button and click the OK button.
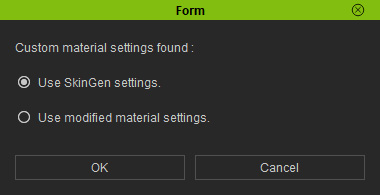
Choose the target material for applying the SkinGen tool.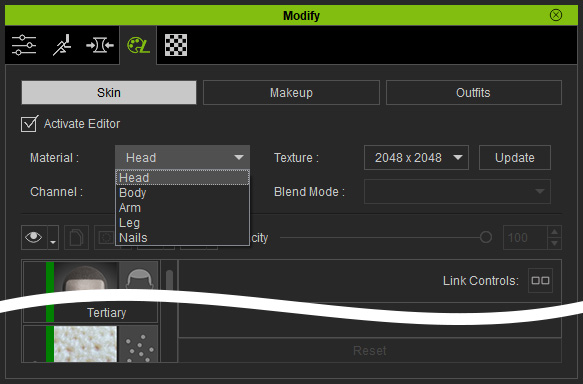
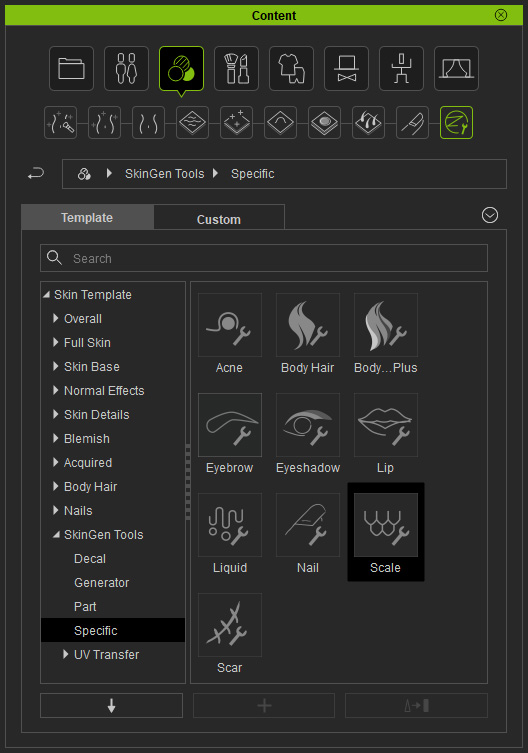
- In the Content Manager, switch to the SkinGen Tools library under the Skin or Makeup categories in accordance with the mode you've selected in step 3.
 Note
NoteYou will encounter a dialog box. If you want to apply the tool to any one of the materials simultaneously, then activate the checkboxes listed and click the Apply button.

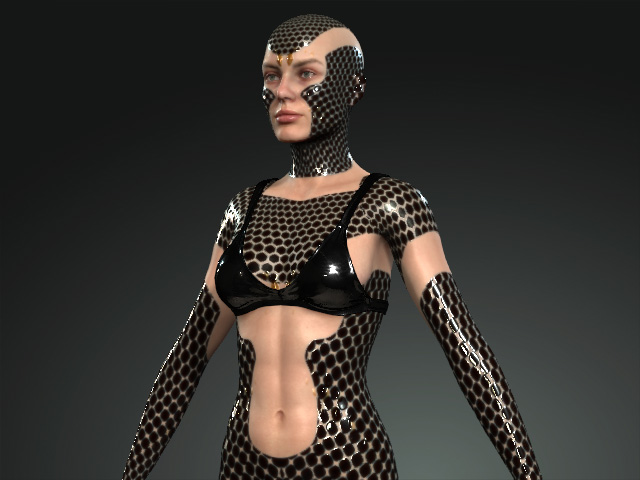
- Apply one of the SkinGen tools, in this case, Scale.
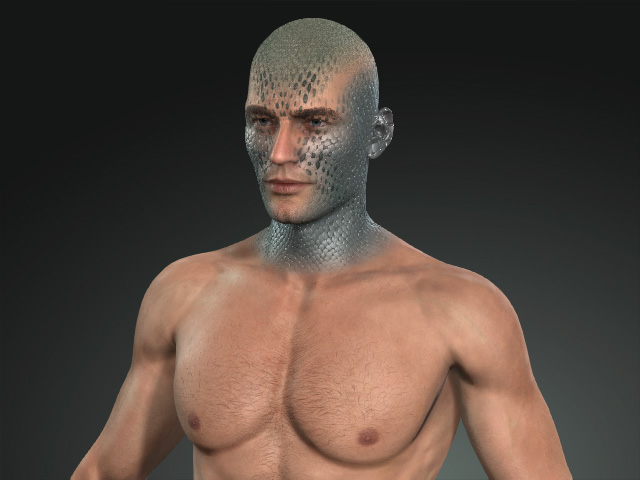
- Modify the attributes provided by this tool.
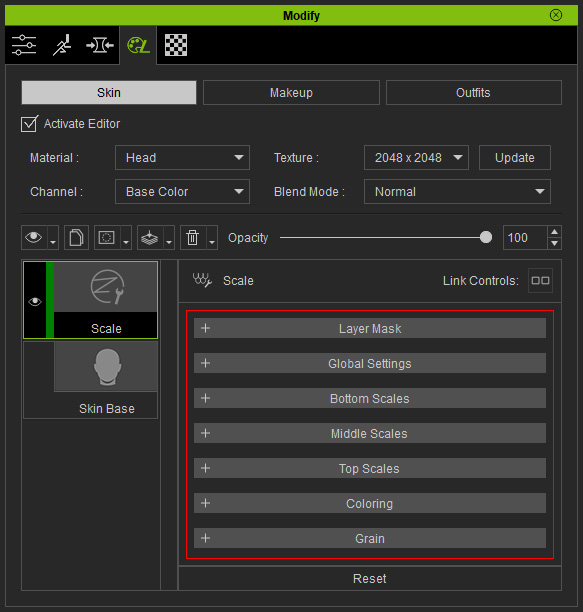
Adjust the settings to create a custom effect.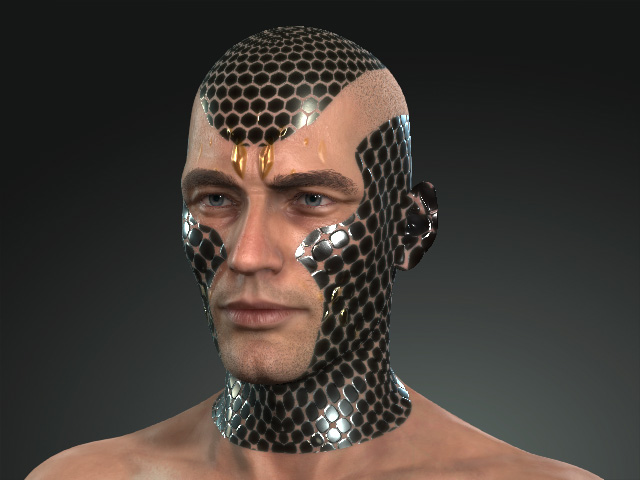
Creating Custom SkinGen Template
- After the character's look is complete, right click on the tool layer.
- Use the Set Effect Category command to define the category of the effect.
- Click the Add button at the bottom of the Content Manager to add this new effect to the Custom Library.

- The new custom template can then be applied to any other character
or other materials.