Setting Effect Category
After having used any one of the Skin Tool templates to create custom layers, you can properly categorize them for better identification. The categorized layers will then be applied with an appropriate image.
- Create a new project.
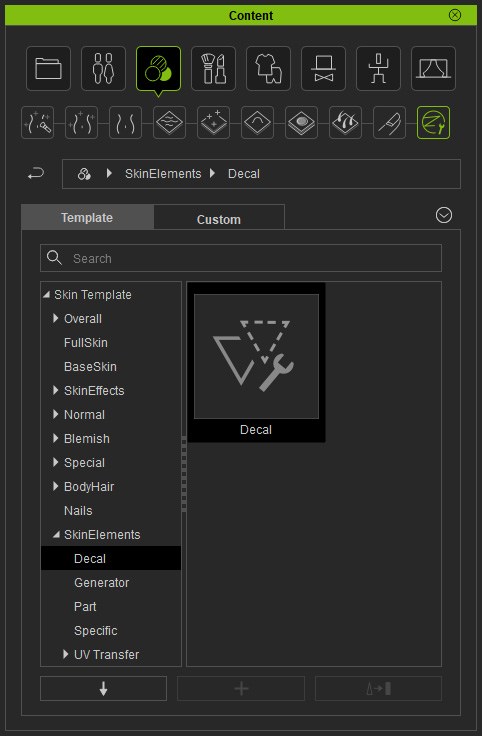
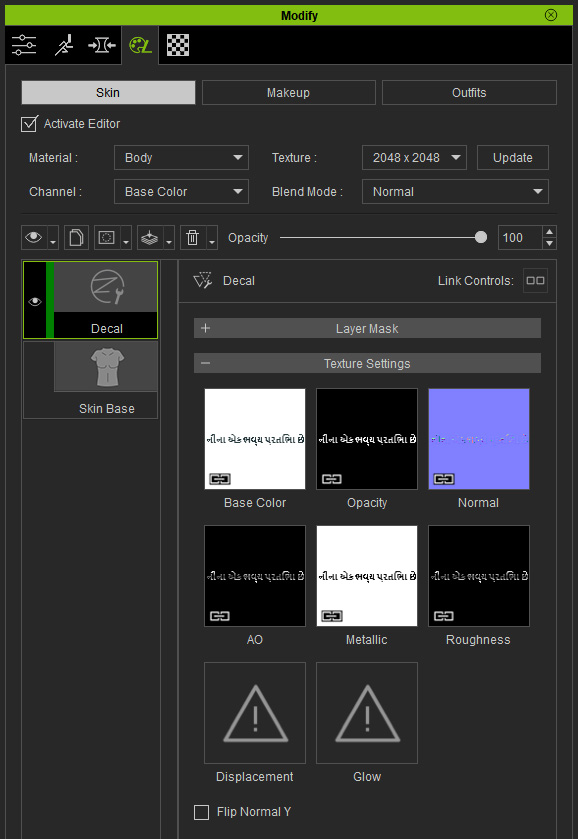
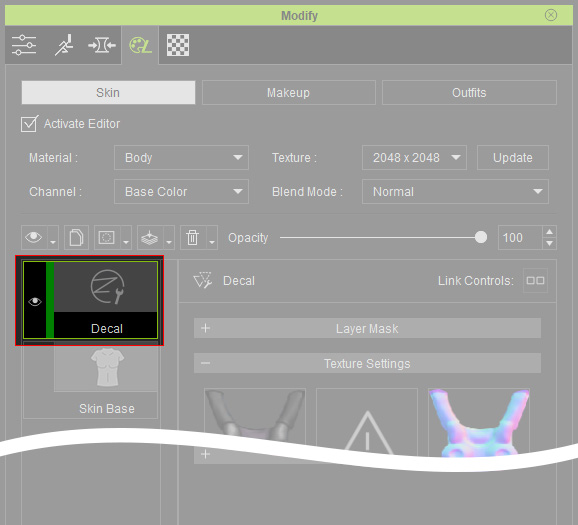
- Apply one of the templates from Skin Tools of the Skin or Makeup category (in this case, the Skin Elements > Decal).
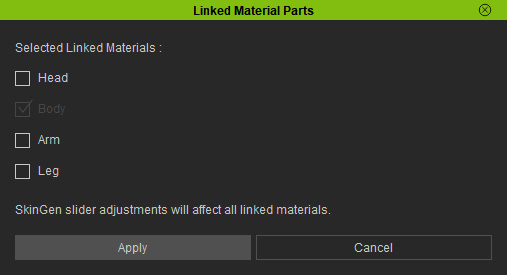
- You will be asked if you want to simultaneously create the same layer for other materials and link them together. In this case, only the Body checkbox is activated.
- A new layer with default textures will be added into the layer stack without effectin the character's skin.
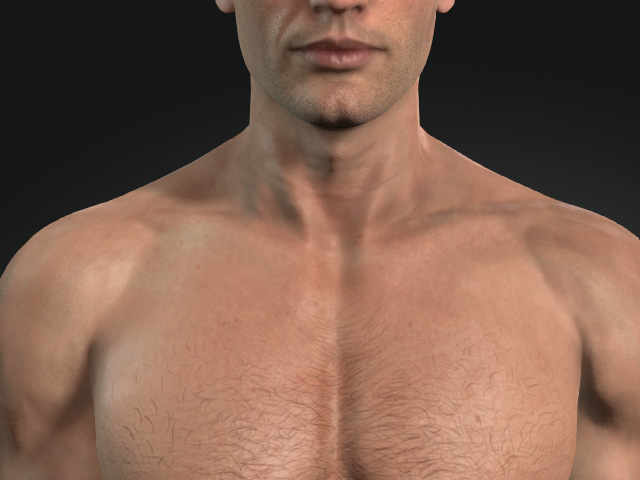
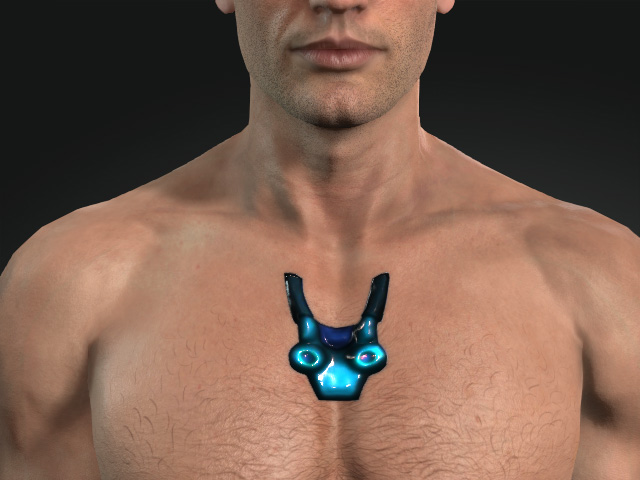
The effect of the layer is added as in the following illustration.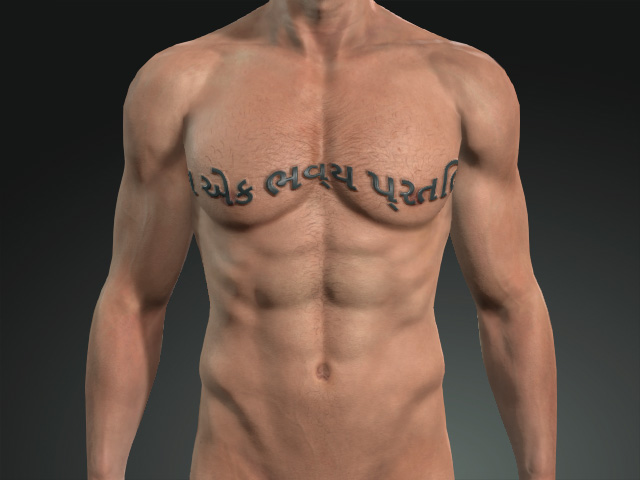
- Drag and drop textures into the channels of the layer.
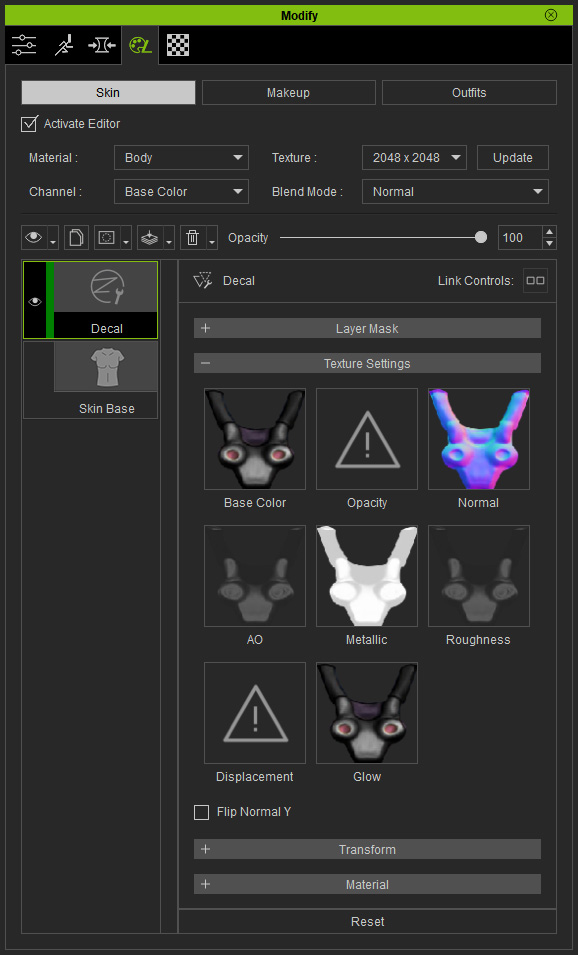
The effect is then customized.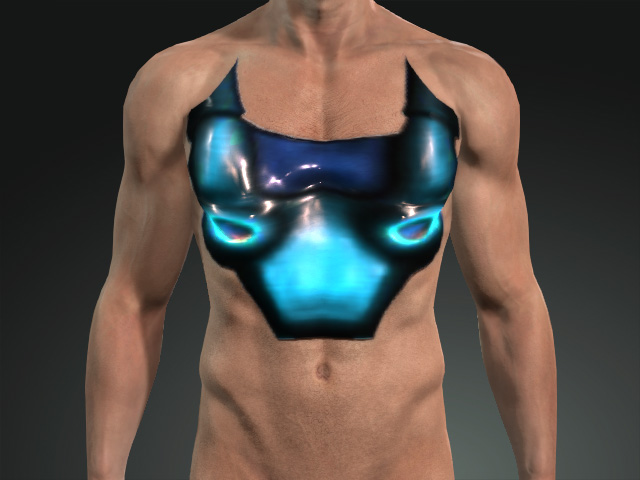
- Adjust the settings in the Transform and Material sections.
If you add this layer into the Custom library, you will encounter an error message that allows for adding a layer thumbnail, before it is added into the Custom library.
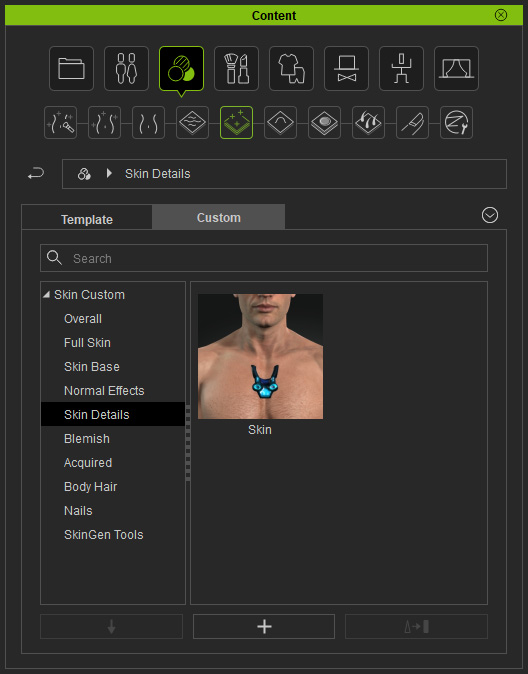
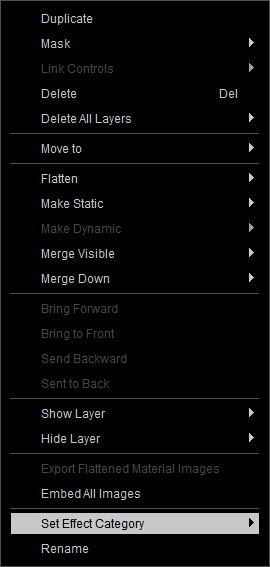
- Right-click on the layer and execute the Set Effect Category command.
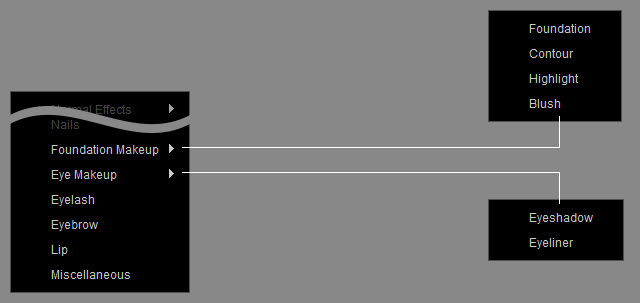
- Skin Categories:

- Makeup Categories:
 Note
NoteRefer to the Layer Thumbnails section for more information about the look of the assigned thumbnails for each different layer.
- Skin Categories:
- You can freely specify the category to which the layer effect belongs; in this case, Skin Details > Other Decal.
- The thumbnail of the layer becomes the one of the corresponding category.
- You can then save the layer into the Custom Library. The Content will be automatically added into the adequate library in accordance with the sub-menus under the Set Effect Category context menu.