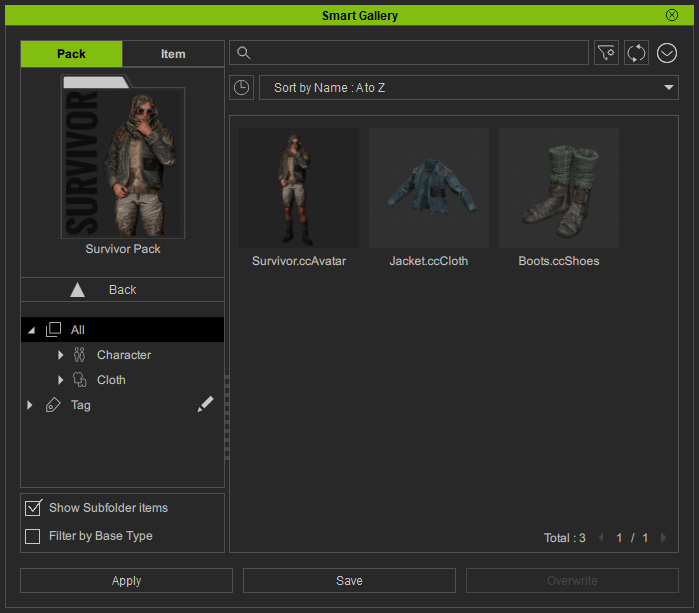
Modifying Items in Custom Pack on Marketplace via Smart Gallery (New for v. 1.3)
You are allowed to use Smart Gallery to continuously modify the custom pack that has been uploaded.
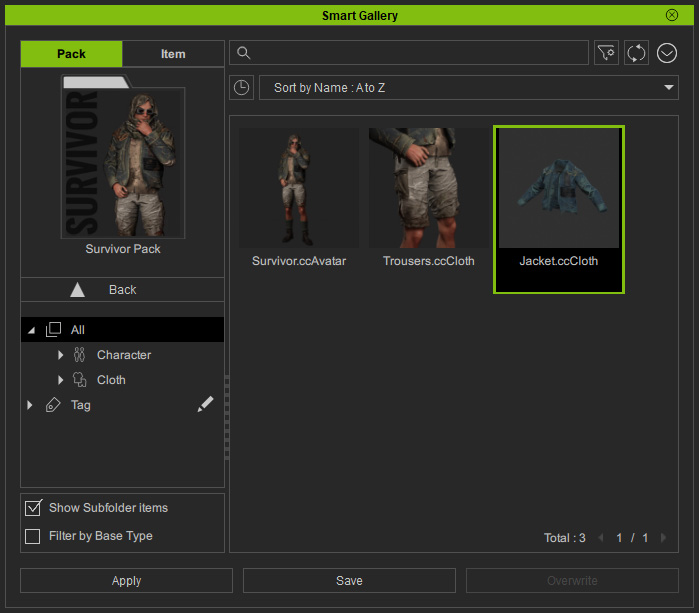
- Apply items in a custom pack.
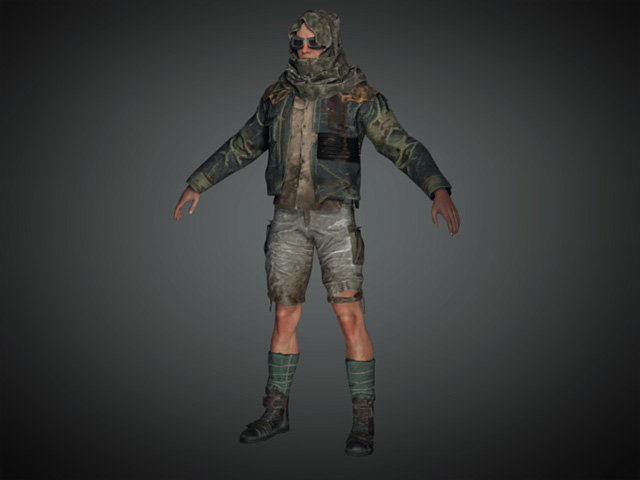
- Modify one of the clothes.
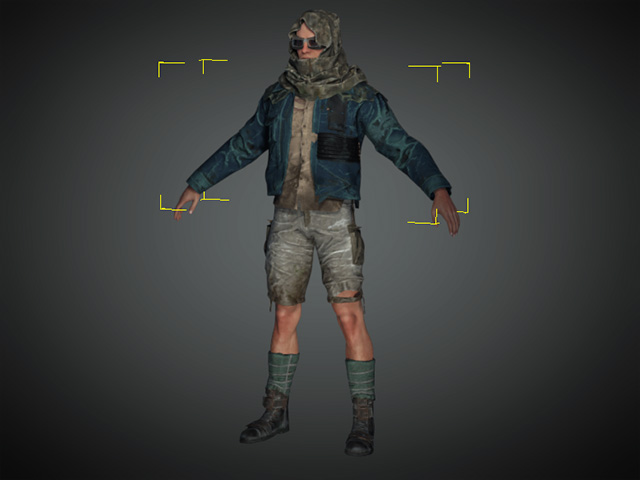
- Make sure the modified object is selected in the viewport
and pick the corresponding item in the pack.
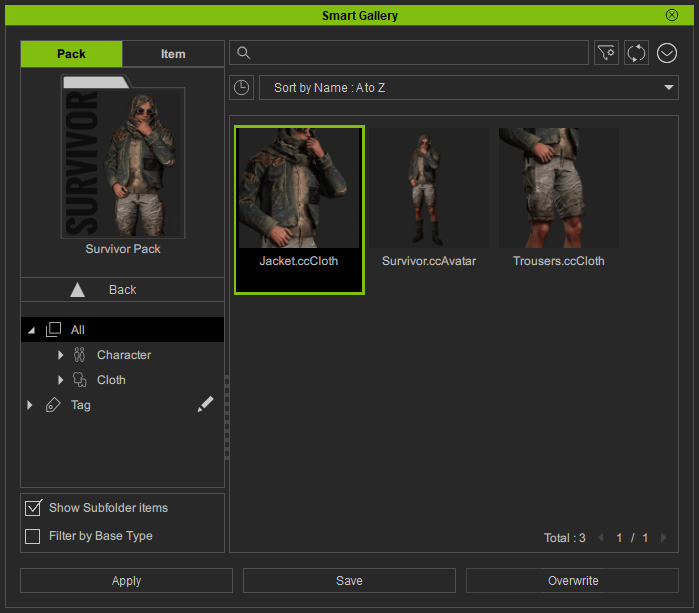
- Click the Overwrite button at the bottom of the panel.

- The item of the pack under the Custom node in the Smart Gallery
will be updated.
- Delete one of the items in the pack from the right-click context menu.
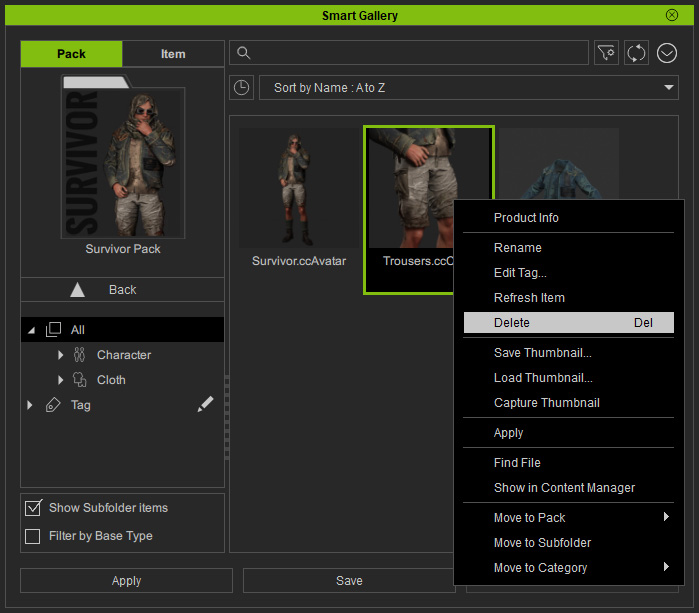
Click the OK button in the subsequent dialog window to confirm.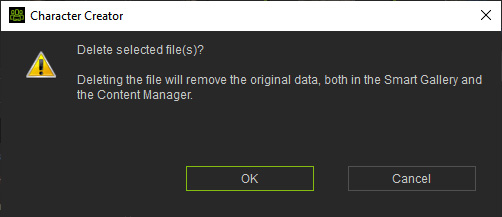
The item will be removed.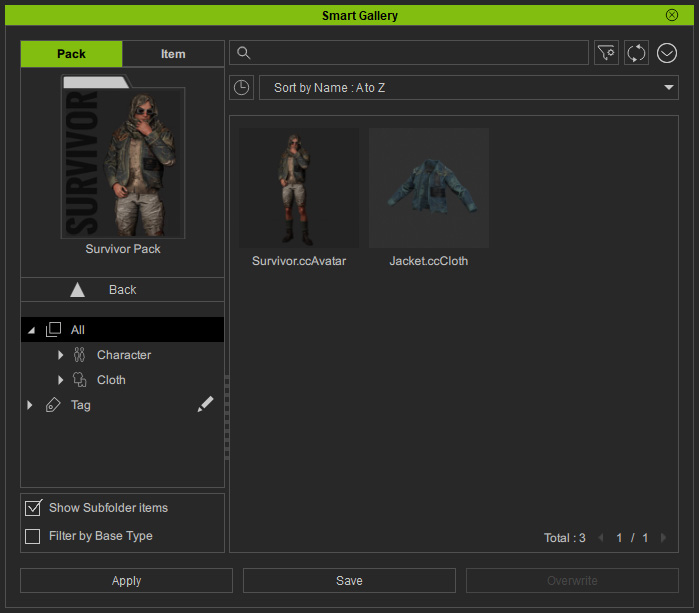
- Add another piece
of clothing to the character in the pack.

- Switch back to the Pack view. Upload the pack once again.
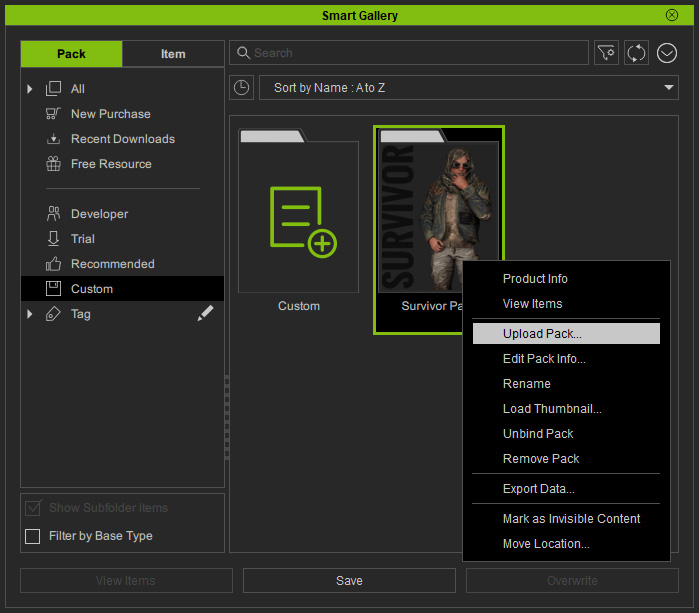
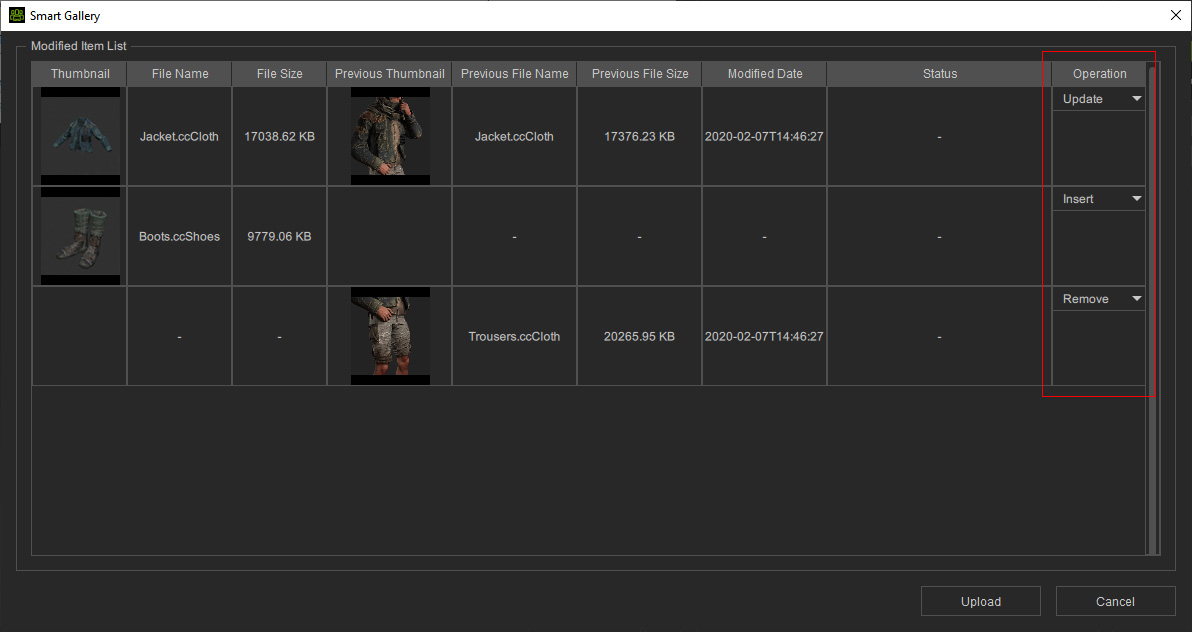
- Smart Gallery will perform checks on the online pack data and display
operational status. Click the Upload button to confirm the modification.
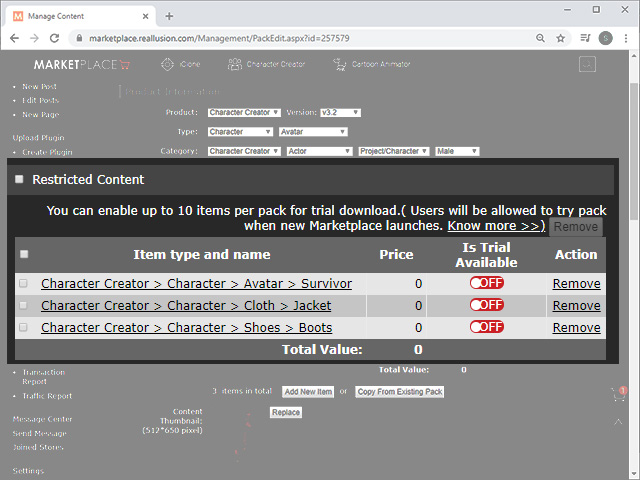
- Go to the online Marketplace page to verify if the items in the pack is updated.
- In the Developer node of Smart Gallery, uninstall and reinstall the pack in order to update the local database.
- Open the pack and you will see what the customers will see after they buy and install this pack.