Diffuse and Range Maps
The Face Tools plugin provides you with Diffuse and Range maps from Character Creator (CC) to use as a reference during base mode and wrinkle editing.
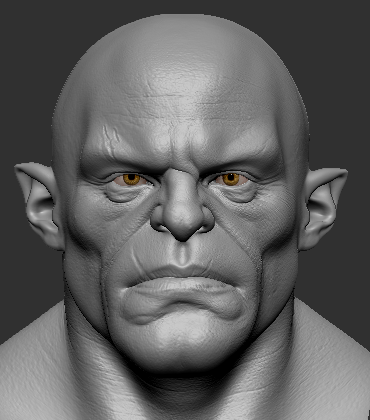
The Diffuse map in ZBrush Face Tools is converted from your character model’s head diffuse map in CC. Enabling the Diffuse option enhances the visual accuracy of your character in the ZBrush viewport and provides a better visual representation when editing your model in both the base mesh and expression layers.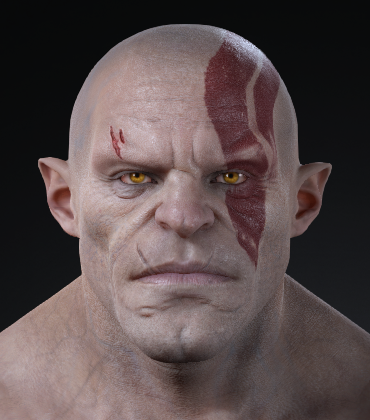
Character model in CC.
- The base model in ZBrush.
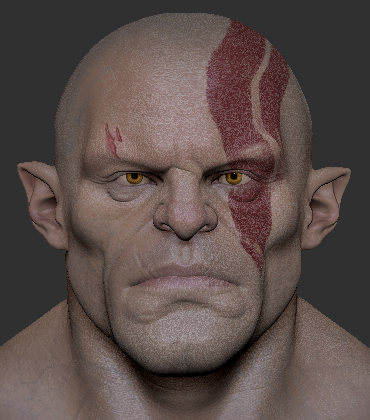
Diffuse map activated.
Diffuse map deactivated.
- Model with expression in ZBrush.
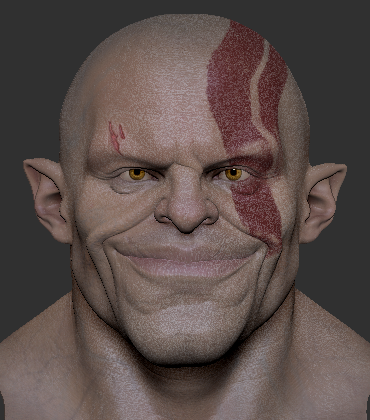
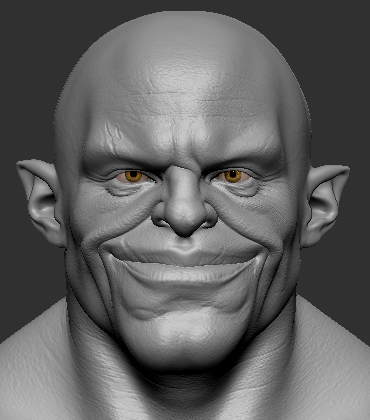
Diffuse map activated.
Diffuse map deactivated.
To transform your Diffuse map in ZBrush into polypaint for your base mode for further editing, follow these steps below.
- Enable the Diffuse option in Texture, ensuring all expression layers are turned off.
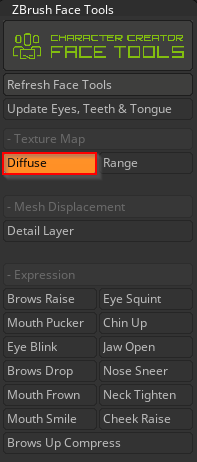
- Activate the Mrgb option in the top control bar.

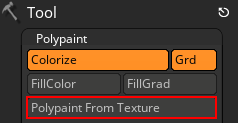
- Navigate to Tool > Polypaint and select Polypaint From Texture.
- Disable the Diffuse option in Texture and examine the polypaint applied from the diffuse map.
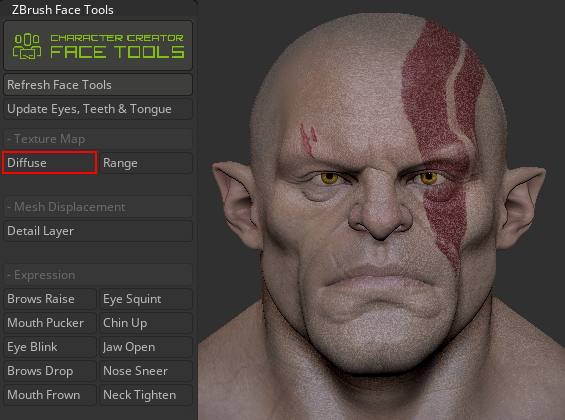
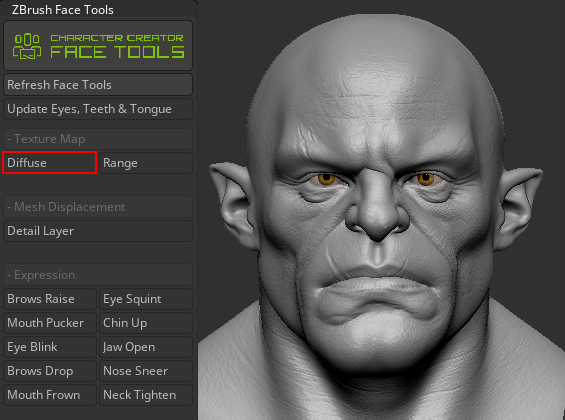
Model with polypaint.
Model without polypaint.
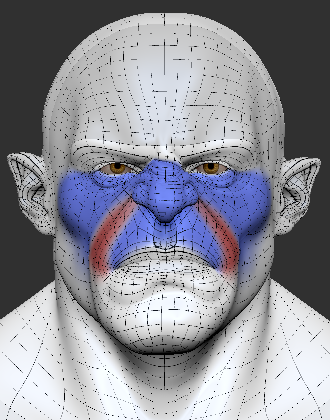
When editing the facial expression wrinkles, it is helpful to understand the effective boundaries of each expression. Enabling the Range map reveals the regions of expression, helping you avoid unnecessary edits outside of these areas.
- Range guide for the base model
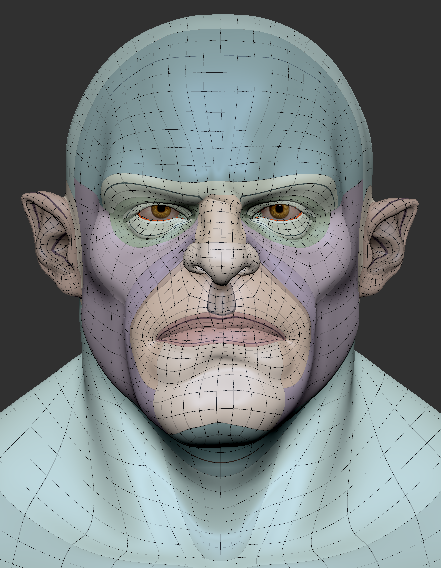
For more information on the base model's CC topology and UVs, refer to this page. - Range map for each individual expression.
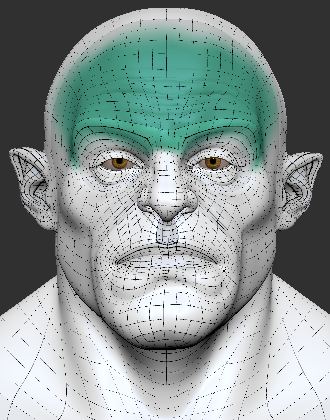
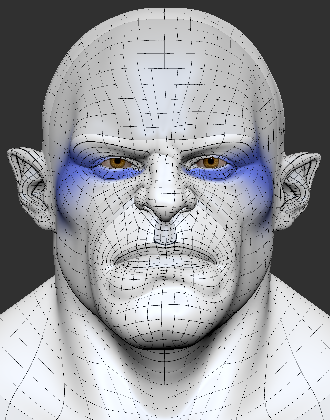
Brow Raise expression with Range map enabled.
Nose Sneer expression with Range map enabled.
Cheek Raise expression with Range map enabled.
