Facial Expression Editing Workflow
Employing the Face Tools plugin to swiftly adjust and convert character expressions within ZBrush and Character Creator (CC) is an uncomplicated procedure as outlined below.
- In CC, import or open your CC3+ (or later versions) character project.

- Go to Modify > Expression Wrinkles > General Setting and enable Activate Expression Wrinkles.

- After you have completed the design process, go to the top toolbar and click Face Tools.

- The ZBrush Face Tools dialog box will appear.

- For the Action field, opt for “Create New” if this character model is being dispatched to ZBrush for the first time.

- Click the GoZ button near the bottom of the dialog box to send your character to ZBrush.

- In ZBrush go to Zplugin > ZBrush Face Tools to access the plugin.

- In ZBrush Face Tools, activate ‘Update Eyes, Teeth & Tongue’.

- Under the Expression section select any expression you want to edit.

- Modify the facial expression to your liking using the tools in ZBrush.

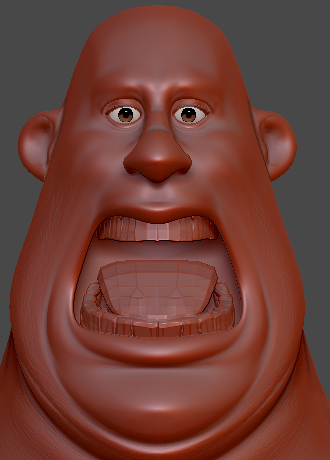
Default expression
Edited expression
- Once your editing is finalized, click the Update to Character Creator button near the bottom of the ZBrush Face Tools plugin panel.

- Update to Character Creator dialog box will emerge. In the Expression and Wrinkle section make sure Expression Morphs is activated. In the Expressions section, you should select only the expressions you edited to reduce transfer time, then click Update to Character Creator.

 Note:
Note:
Before updating your ZBrush model back to CC, make sure the CC3+ model is selected in CC. Selecting any other mesh or props will trigger a pop-up in CC and cancel the update process.
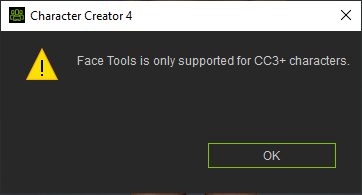
- In CC, the GoZBrush Dialog box will appear.

- Utilize the default settings and click Update.

- Go to Modify > Motion Pose > Motion > Edit Facial.

- Within the Edit Facial dialog box, navigate to the Muscle section and choose the facial components that you have edited in ZBrush and those that are located in close proximity.

Click and drag on the diagram to view the expressions in action.
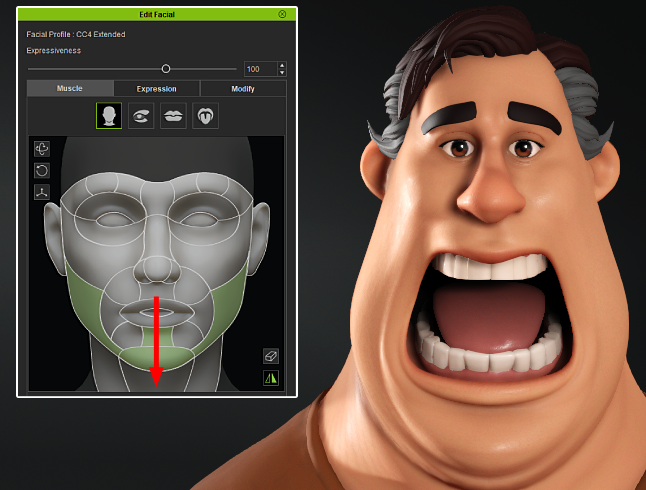
Neutral facial expression
Activated facial expression
- Follow the same editing procedure as previously outlined to incorporate new expressions onto your character model.

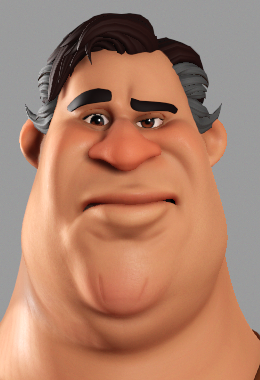
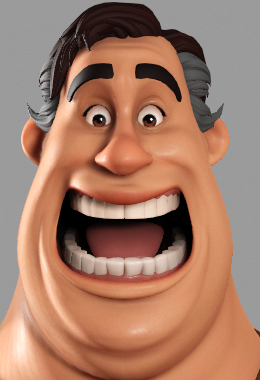
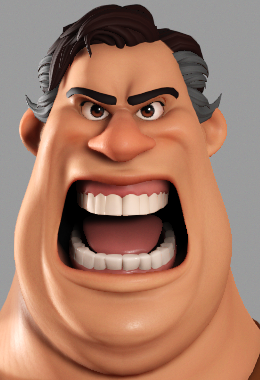
Expression Design 1
Expression Design 2
Expression Design 3
Expression Design 4
