Polypaint Update to Diffuse Map
While applying polypaint to your character model in ZBrush, you can generate various diffuse map designs within a single project. This workflow proves advantageous for rapid concepting and assessment of design compatibility with the character model in CC4.
- After you have transferred your character model from CC4 to ZBrush, deactivate all the plugin features in order to apply polypaint to the base model.
- Utilize any desired methods within ZBrush to apply polypaint to the base model.
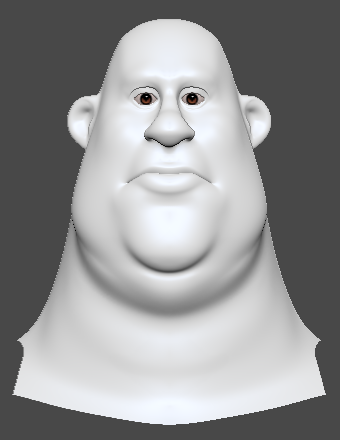
Before polypainting
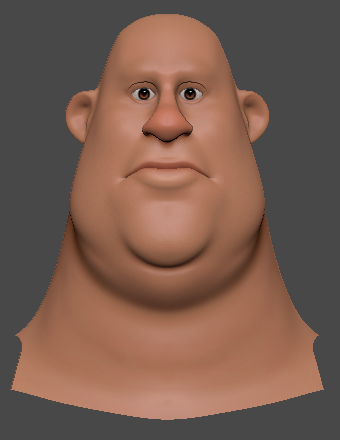
After polypainting
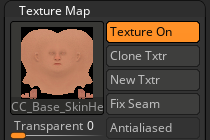
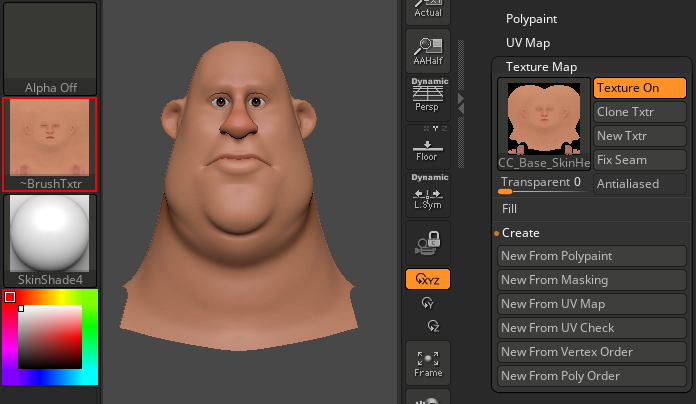
- Once your editing is finalized, go to Tool > Texture Map > Create, and click New From Polypaint.
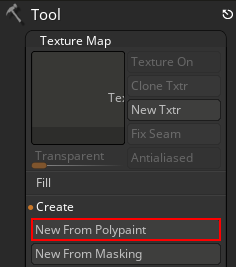
- The texture map will update your polypaint into a CC diffuse map.
- Click the Clone Txtr button.
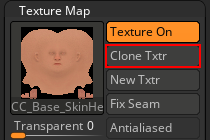
- In ZBrush, the texture map appears in the texture slot on the left.
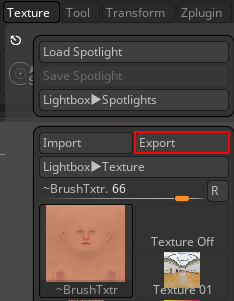
- Click the Texture tab on the menu bar.

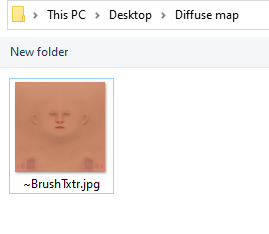
- In the drop-down menu select the Export button to export the diffuse map.
- In CC4, go to Modify > Material List > Std_Skin_Head > Texture Settings.
.png)
Under Texture Settings, make sure Shader Type is set to “Digital_Human Head”.
Double-click on the Base Color channel box.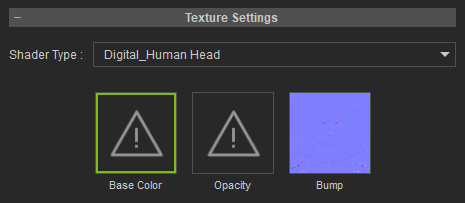
- Select the diffuse map you have exported from ZBrush.
- Within CC4, your recently created polypaint diffuse map is updated.

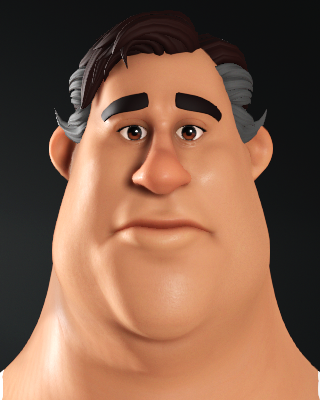
Before
After
Feel free to try out different polypaint variations.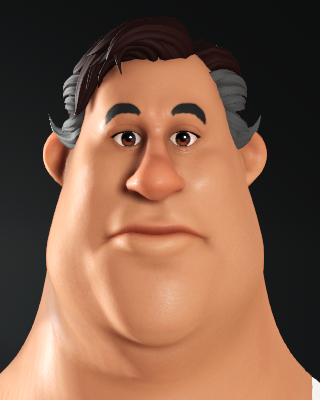

Design 1
Design 2
Design 3
