Polypaint Workflow
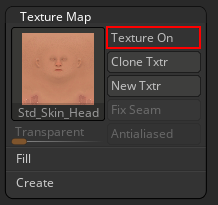
The Face Tools plugin can accurately convert your ZBrush polypaint designs into CC4 diffuse maps. Once converted to CC4 the body’s skin color will automatically synchronize with the polypaints done in ZBrush, reducing the need for color adjustments between the head and body models.
- In CC4, import or open your CC3+ (or later versions) character project.
- Go to Modify > Expression Wrinkles > General Setting and enable Activate Expression Wrinkles.
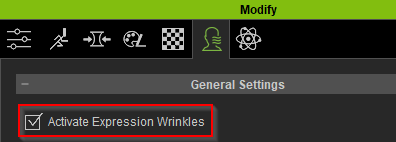
After enabling Activate Expression Wrinkles, go to Attribute > ZBrush > and click Face Tools.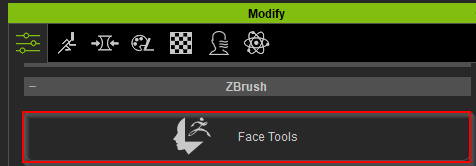
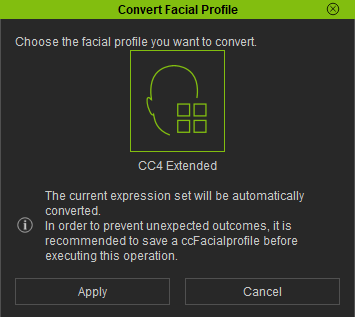
- If the Convert Facial Profile dialog box appears, click Apply.
 Note:
Note:
CC4 offers two types of expression systems for the CC3+ models. The Face Tools plugin supports the CC4 Extended version.
- The ZBrush GoZ Face Tools dialog box will appear.
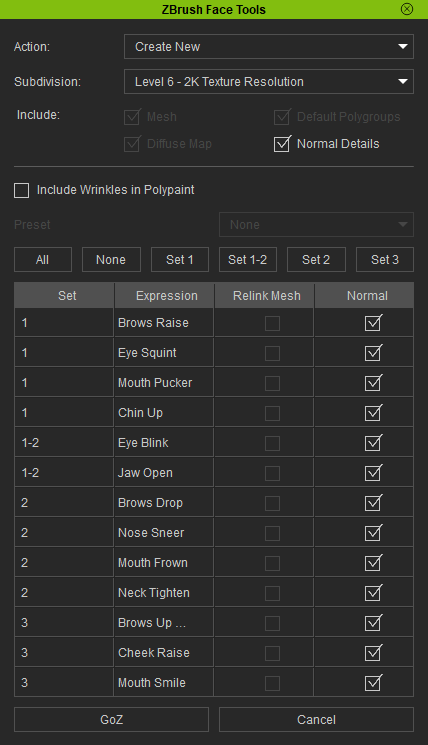
- For the Action field, opt for “Create New” if this character model is being transferred to ZBrush for the first time.

For Subdivision, select the desired resolution for your ZBrush model.
For the Base Model section, activate the Normal Detail option if you wish to utilize the CC4 default normal map for your character model.
Leave the rest of the settings as default and click the GoZ button at the bottom to send your character to ZBrush.
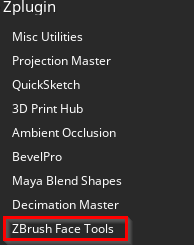
- In ZBrush, go to Zplugin > ZBrush Face Tools to access the plugin.
- In ZBrush Face Tools, deactivate all the features to apply polypaint to the base model.

- Utilize any desired methods within ZBrush to apply polypaint to the base model.

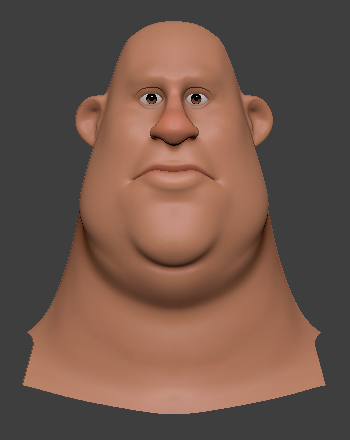
Base model without polypaint
Base model with polypaint
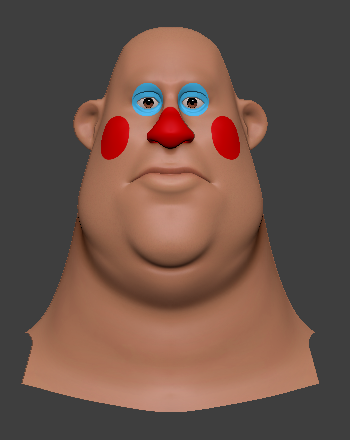
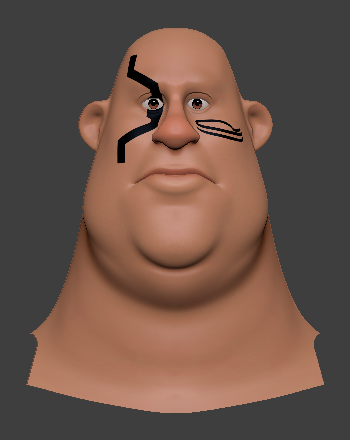
Base model with distinctive polypaint patterns
Base model with polypaint tattoos
- Once your editing is finalized, click the Update to Character Creator button near the bottom of the ZBrush Face Tools plugin panel.

- A dialog box will appear. Deactivate the Update Expressions / Wrinkles section to reduce transfer time. Under Base Texture, enable Polypaint > Diffuse. Then, in the Texture Size setting, select the resulting quality for your model, and click on Update to Character Creator.
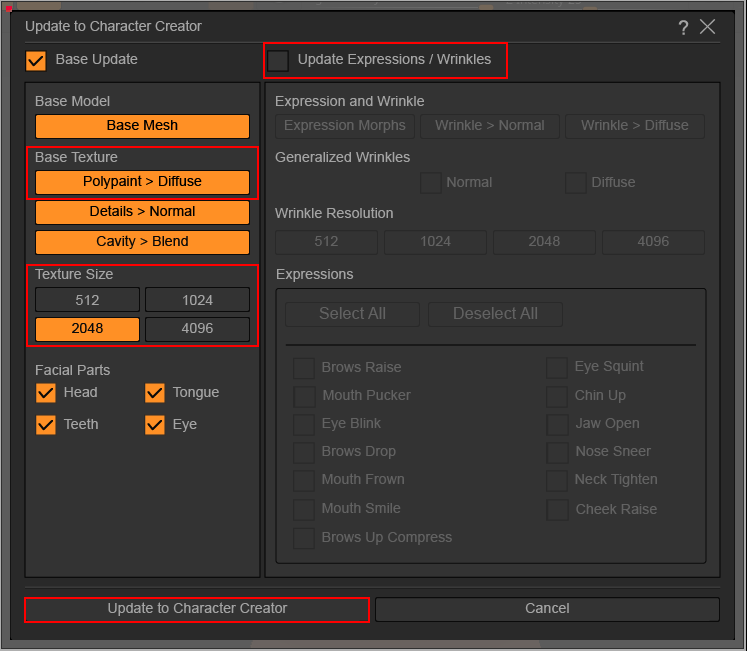
- In CC4, the GoZBrush Dialog box will appear.
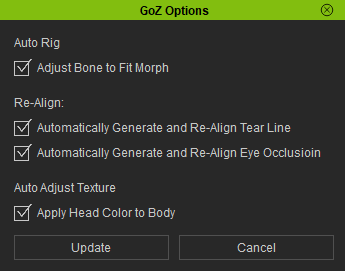
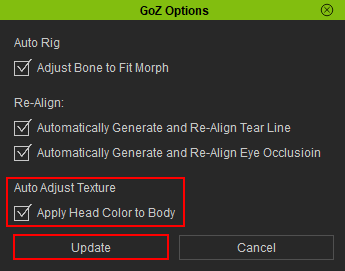
- Keep Auto Rig and Re-Align at the default settings, make sure the Apply Head Color to Body is activated, and click Update.
- In CC4, go to Modify > Material List > Std_Skin_Head > Texture Settings.

In the CC4 Texture Settings, the ZBrush polypaint has been successfully converted to a diffuse map.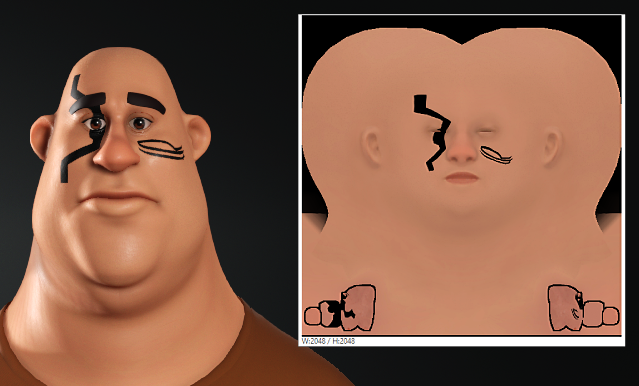
 Note:
Note:
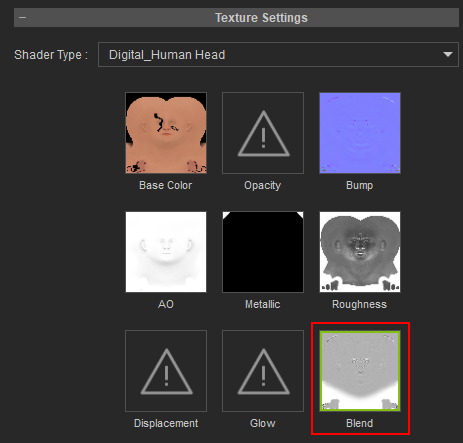
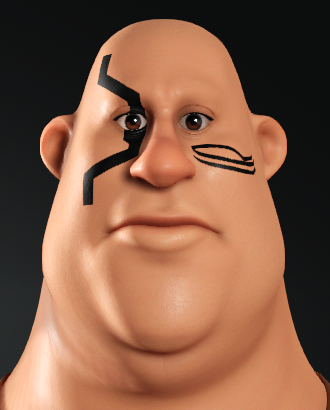
If the appearance of the CC4 model seems somewhat colorless, this could be attributed to the grayish tone introduced by the automatically generated blend map. To address this, consider refining the color of the blend map to enliven the skin tone.
- Go to Modify > Material List > Std_Skin_Head > Texture Settings.
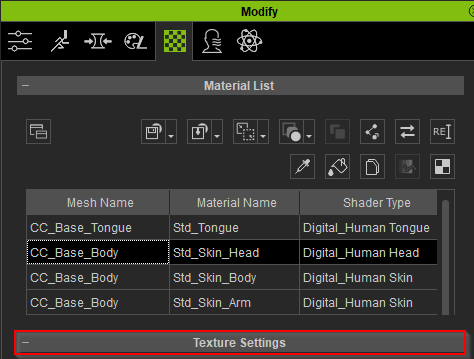
- Under Texture Settings, right-click the Blend channel image.
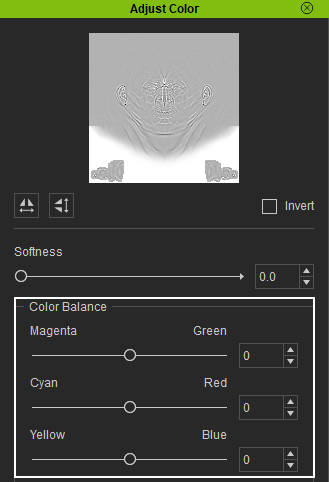
- In the drop-down menu, select Adjust Color.
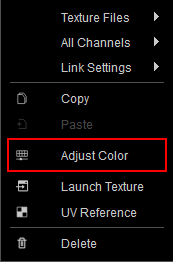
- In the Adjust Color dialog box finetune the color settings in Color Balance to match your character model’s skin tone.
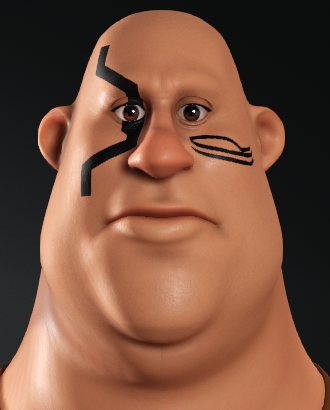
Before Blend map fine-tuning
After Blend map fine-tuning

