Enabling Z Axis
With the Enable Z Axis feature activated by default,
your character can perform an imported 3D motion with the Z axis movements.
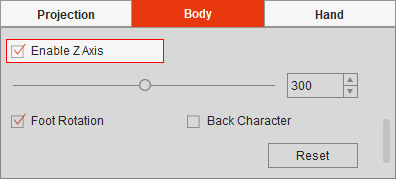
| Enable Z Axis = On (default). | Enable Z Axis = Off. |
| The character will move along the Z axis and be scaled up (closer to the camera) or scaled down (away from the camera). | The character won't move along the Z axis and be the same size regardless of the Z values. |
The Z-depth layer relationship between objects on the scene may influence your preview on a 3D motion, because the character's animation can be partly blocked off by the surrounding objects or background images.
| Z Axis strength = 300 (default).
The character's animation is blocked off. | Z Axis strength = 150.
The character's animation is shown off. |
Follow the steps below to decrease the Z axis distance.
- Apply a character (Roger Back in this case) to the scene.
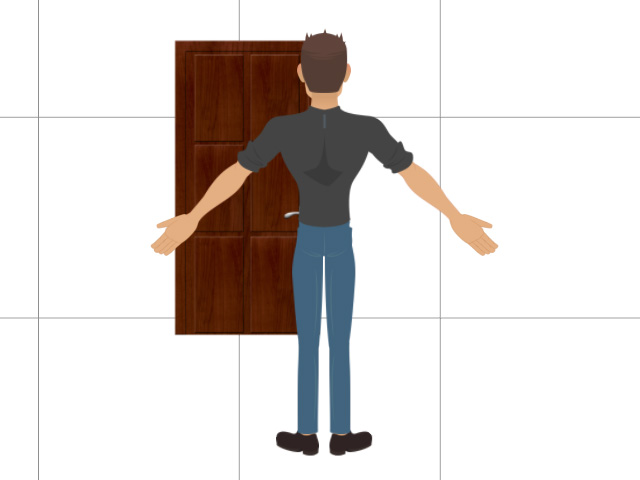
- Drag a 3D motion onto the character (Male_Walk in this case).
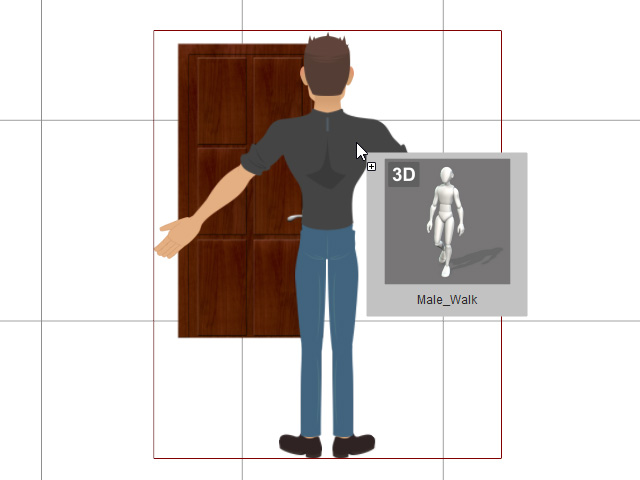
- The Import 3D Motion panel will open.
Click the -180 or 180 angle preset for the back character in this case.
The 3D view dummy and the character (limb bones) will turn to the rear view.
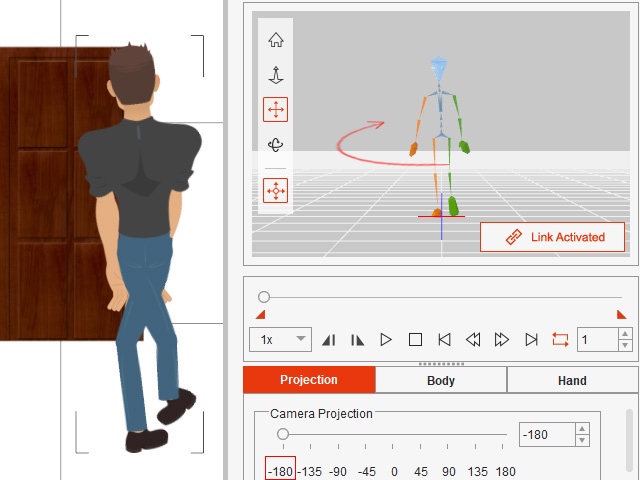
- Go to the Body tab.
Enable the Back Character checkbox to the swap the character's body parts.
Disable the Foot Rotation checkbox to ignore the foot rotation in this case. And keep in mind to switch the foot sprites of the character after applying motion.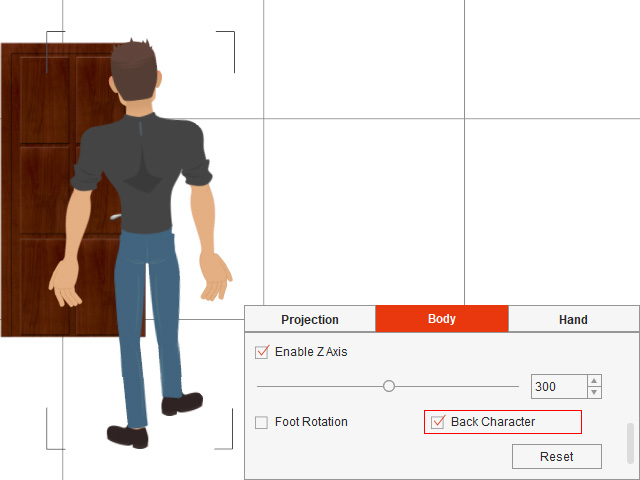
- Click the Play/Pause button in the 3D View.
The dummy and the character will walk forward.
The character is blocked off by the door in this case.
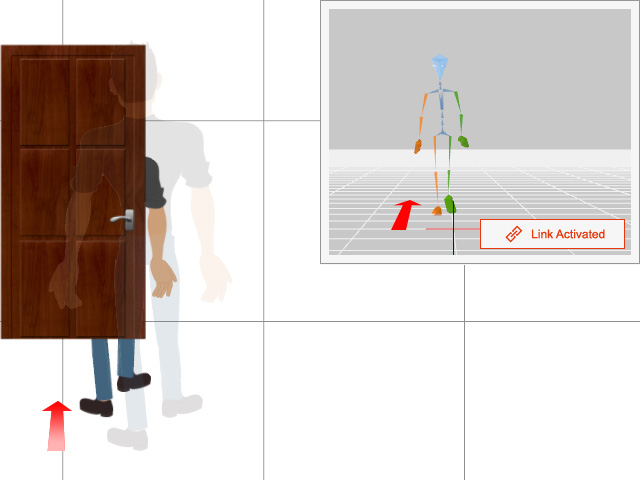
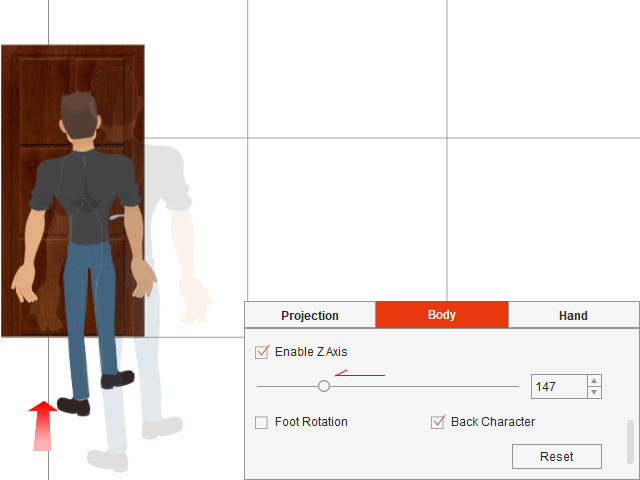
- Drag the slider to the left to decrease the Z axis strength.
Now the character won't be influenced by the prop.
- Apply the motion to Timeline.
Click the 3D View button on the Camera Toolbar to switch the camera to the 3D top view.
Drag the play head to playback the motion and adjust the initial Z values of the object layers if necessary.

You can increase the Z Axis strength to enhance the visual impact of the 2D animation.
| Z Axis strength = 300 (default).
The character stays in your view. | Z Axis strength = 600.
The character walks off your view. |
Follow the steps below to increase the Z axis strength.
- Select a character (Philipe, Front Side in this case).

- Drag a 3D motion onto the character (Male_Walk in this case).
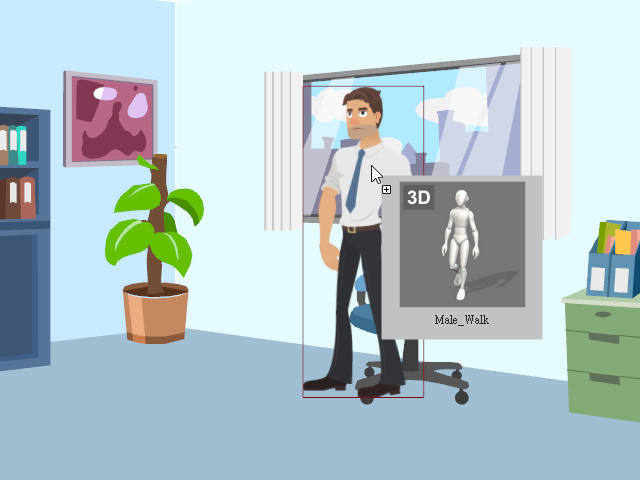
- The Import 3D Motion panel will open.
Drag to an angle suitable for the side character (-40 in this case).
The pose of the 3D view dummy and the character will be adjusted synchronously.
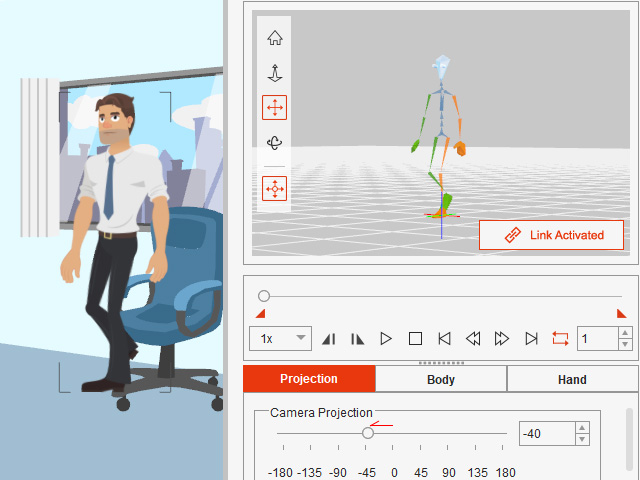
- Click the Play/Pause button in the 3D View.
The dummy and the character will walk forward.
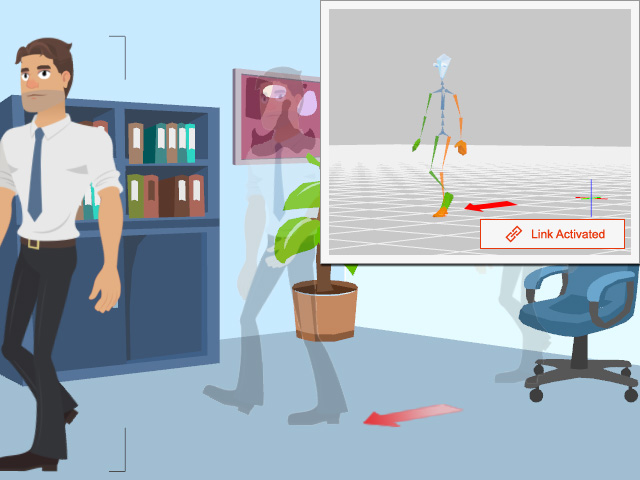
- Go to the Body tab.
Drag the slider to the right to increase the Z axis strength.
Now the character will walk closer to the camera and off-screen.
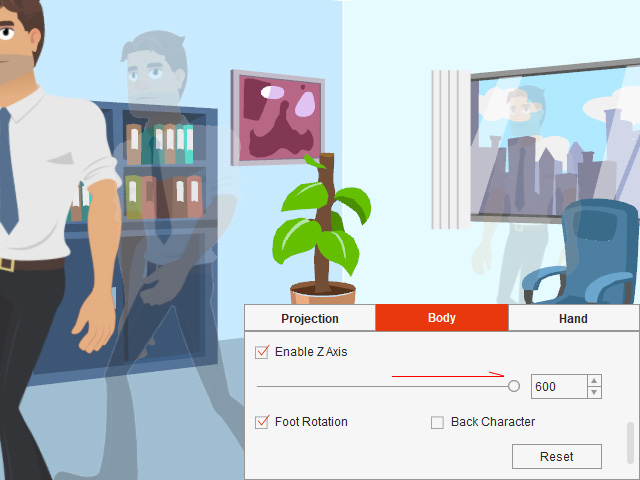
You can also decrease the Lens value in the Camera Editor for an even greater effect.