Quick Guide for FFD Effect
The basic steps for creating FFD effect is to first create an animated object in Stage mode and then apply FFD (either with presets or manually) to exaggerate the animation. You can also set FFD keys to alter the effects at any timeframe.
Creating Animations with FFD Only
- Apply an object (Supported Objects).
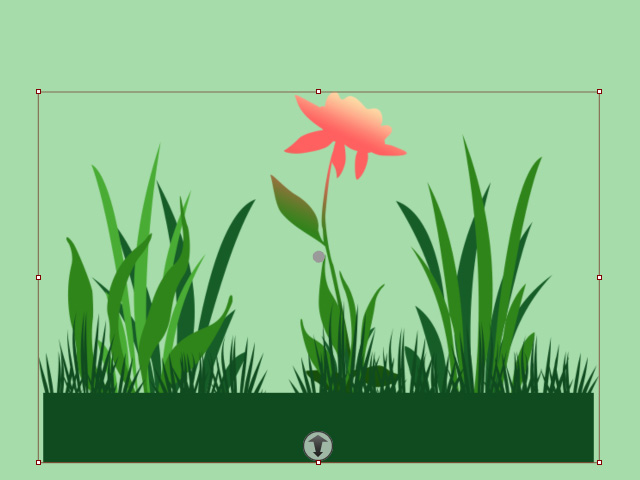
- Go to a desired timeframe for setting a FFD key.
- Click the FFD Editor button on the toolbar.

- The FFD Editor will open.
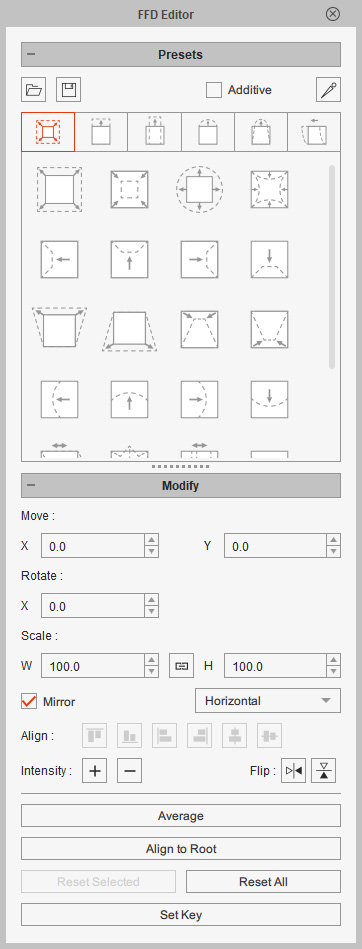
Please refer to the User Interface Introduction for FFD Editor section for more information. - You will see a lattice box surrounding the object.

- Select either one of the tabs to switch to a preset library.
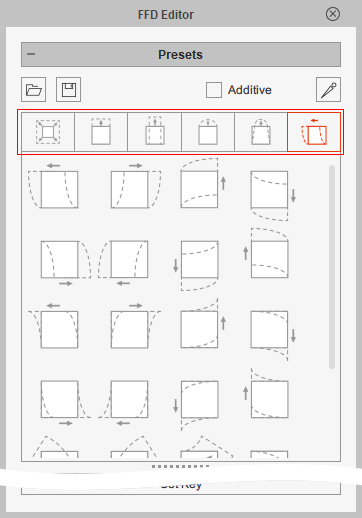
- Pick one of the presets in the library.
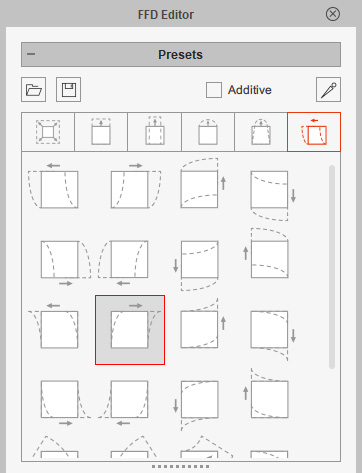
The preset will move the control points of the lattice to deform the object.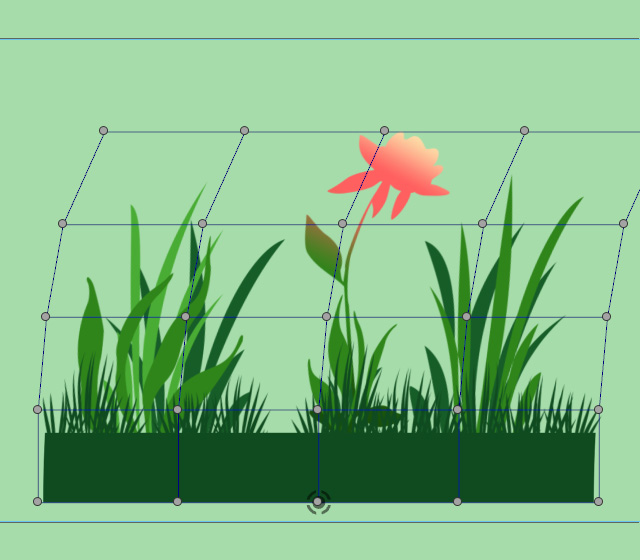
- Go to another timeframe and repeat the same steps to deform the object with
the desired presets.
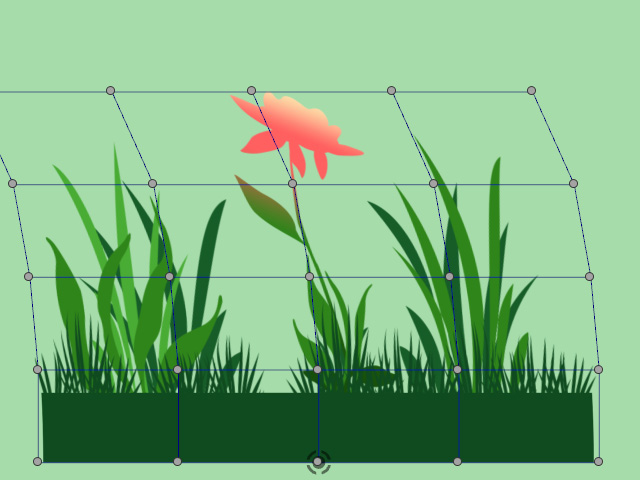
- Open the Timeline and click the FFD button to view the newly added FFD keys.

- Repeat theses steps to add as many keys as you want. Playback to view the result.
Applying Manual FFD to Existing Animations
In addition to applying the presets, you can apply presets or manual FFD effects on top of any existing animation.
- Create an animation for the object.
- Go to a desired time frame for setting a FFD key.
- Click the FFD Editor button on the toolbar.

- The FFD Editor will open.

Please refer to the User Interface Introduction for FFD Editor section for more information. - You will see a lattice box surrounding the object.
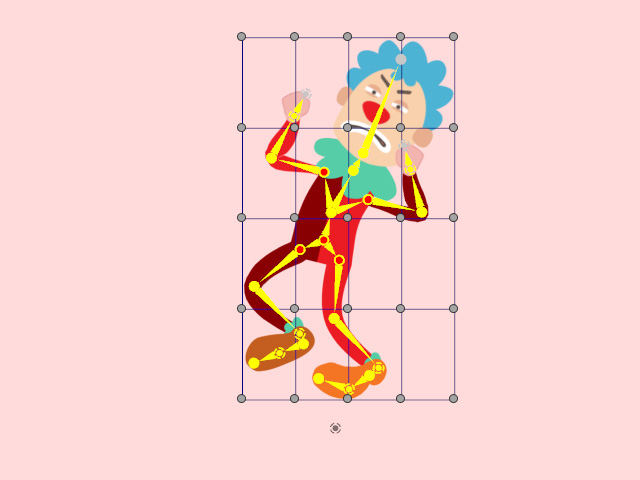
The bones will be hidden from this step. - Select one or more controls points of the lattice box.

- Hold the Ctrl key and click on the control points to select.
- Drag a box on the viewport to frame up desired control points.
- Manually drag the points to relocate them.

- Adjust the control points as close to your ideal deformation as possible.

- Repeat the same steps in different time frames.

- Playback to view the FFD result and compare with the animation before applying FFD effect.