Creating G3 Free Bone Characters with Vector Editor
By working with an Vector Editor, you can turn any SVG graphic into a G3 Free Bone character in Cartoon Animator. The converted character can then be animated with the custom bone structure for keyframe animations.
The following steps will describe how to create a G3 free bone character with a Vector Editor, and then bring it into Cartoon Animator for animation.
- Import to create the character by the following methods:
 Main Menu or Left Toolbar button
Refer to the Creating Actor sections in the SVG Importing Methods page for more information.
 Vector Editor button on Toolbar
- Click the custom Vector Editor button (in this case, Adobe Illustrator) on the toolbar.

- Choose either of the import options in the following dialog (in this case, New Object).
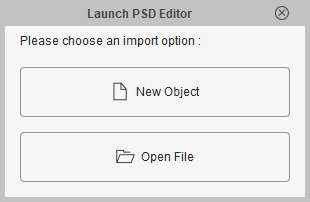
- New Object: Invokes the custom Vector Editor with a blank new file.
- Open File: Opens an existing SVG file and then load it into the Vector Editor.
- Click the custom Vector Editor button (in this case, Adobe Illustrator) on the toolbar.
- Click the New Object button, the Vector Editor will be automatically launched with a new file called "Default".
- Add different graphics into one group ("Alien") under a layer
("Layer1").
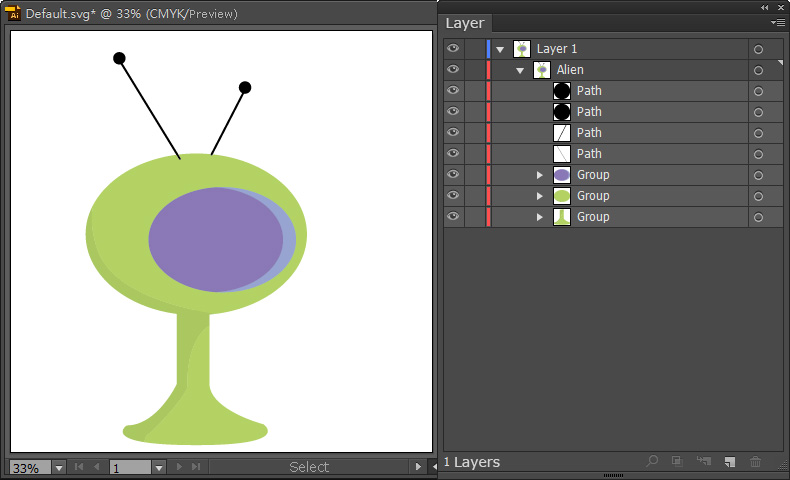
- Press Ctrl+S in the editor to send the graphics to Cartoon Animator.
-
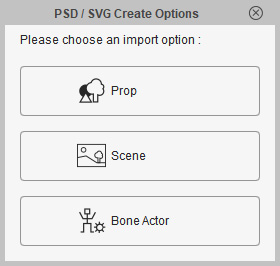
Return to Cartoon Animator, click the Bone Actor button in the PSD/SVG Create Options panel.
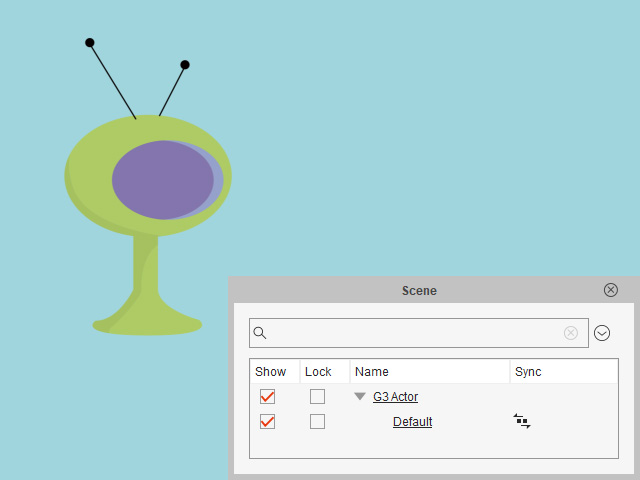
- The group in the layer will then be converted to a free-bone character, synchronizing with the Vector Editor.
 Note:
Note:The SVG Sync
 icon indicates that this object is currently synced to its SVG project in the editor.
- Select the character and switch to the Composer mode.
- Freely add bones to the character with
Bone Editor.
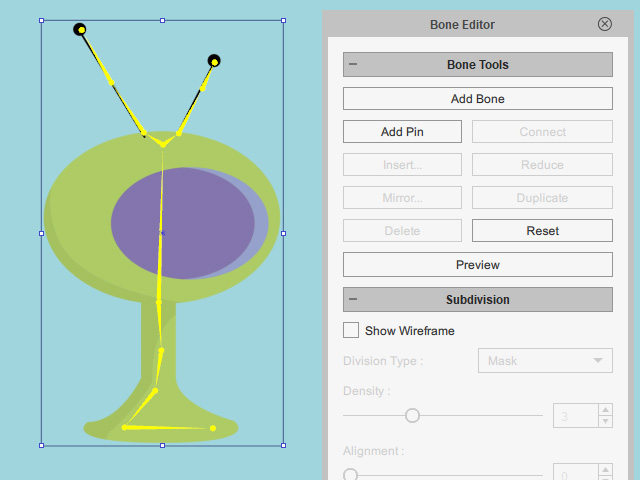
- Apply some bones with spring settings.
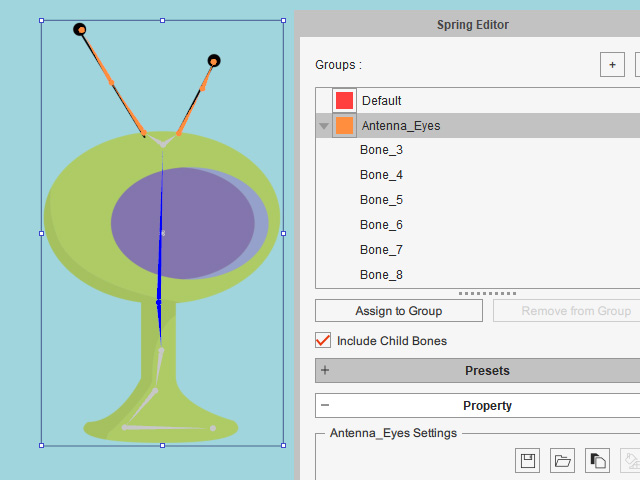
- Switch back to the stage and create key-frame animation for the character.
- Optionally apply FFD effect to have exaggerative animation results.