Using Live Camera
Most of the time you pan, zoom and rotate the Preview Camera to build a scene, and to add and edit characters and props without setting any keys to the camera. However, if you need to produce a story with camera movements for dramatic tension, then you can use the Live Camera.
-
Build a scene.

-
Click on the
 Camera Record Mode button.
-
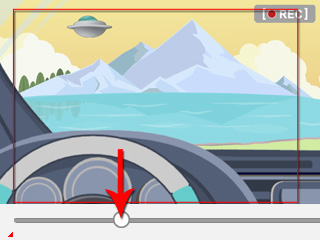
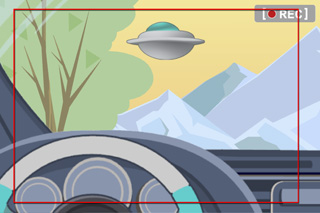
The working area will then switch to the Live Camera view.
You can figure out the source of the view via the icon in the top-right,
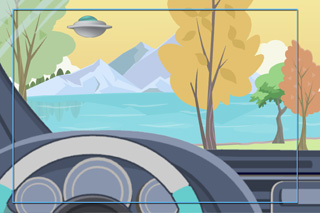
In addition, the rectangle Safe Area outline will change from blue to red.

-
Click the
 Camera Record Mode button again to switch back to the Preview Camera view.
In the Live Camera mode you can pan, zoom and rotate the camera to auto-set a transform key to the animation camera.
-
When you are in Live Camera mode, click the
 Zoom,
Zoom,
 Move or
 Rotate buttons
to show the parameters on the Property Tool Bar.
-
Go to another time frame.

-
Enter values in the number fields of the tool bar to auto-set a key to the camera.

-
You may use hotkeys to quickly set values instead of typing.
 Zoom: Alt + Both mouse buttons (or Alt + Rolling the mouse wheel - can not be undo)
 Move: Alt + Left mouse button
 Rotate: Alt + Right mouse button
 Curve: Camera moves at a slow-fast-slow pace to smooth its movement.
 Linear: Camera moves at a constant speed.
-
Click the
 Reset Key button to set a neutral key to the camera.
-
You may use hotkeys to quickly set values instead of typing.
-
Repeat the steps until you complete the camera movements in the story.
- You can determine the size of the Safe Area by setting the Frame Size or Output Size in the Export Settings panel.
- If you want to further edit other items inside of your project, then return to the Preview Camera to prevent from accidentally setting keys to the Live Camera.


