Creating Props with Vector Editor
By working with Vector Editors, you can turn any SVG graphics into a custom prop in Cartoon Animator. The converted prop can then be animated with Spring effect, Elastic Motions, Transformation or FFD effects, or sprite switch animations.
The following steps will describe how to create a prop with an Vector Editor, and then bring it into Cartoon Animator for animation.
After a prop is produced, you can add bones to the prop in order to create bone-rigged animations and spring effects.
Creating Prop with Single Sprite
- Import to create the props by the following methods:
 Main Menu or Left Toolbar button
Refer to the sections (Creating Actor excluded) in the SVG Importing Methods page for more information.
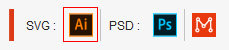
- Vector Editor button on Toolbar
- Click the custom Vector Editor button (in this case, Adobe Illustrator) on the toolbar.
- Choose either of the import options in the following dialog (in this case, New Object).
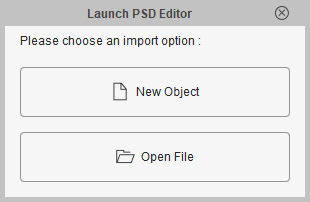
- New Object: Invokes the custom Vector Editor with a blank new file.
- Open File: Opens an existing SVG file and then load it into the Vector Editor.
- Click the custom Vector Editor button (in this case, Adobe Illustrator) on the toolbar.
Alternatively, execute the Create > Create in Illustrator command from the main menu.Note:- If you want to create a sync relationship with Cartoon Animator, you have to click the Open File option in this dialog.
- Alternatively, you can drag the SVG file to the working area of Cartoon Animator.
- Click the New Object button, the Vector Editor will be automatically launched with a new file called "Default".
- Add different graphics into one group ("Rose") in a layer ("Layer 1").
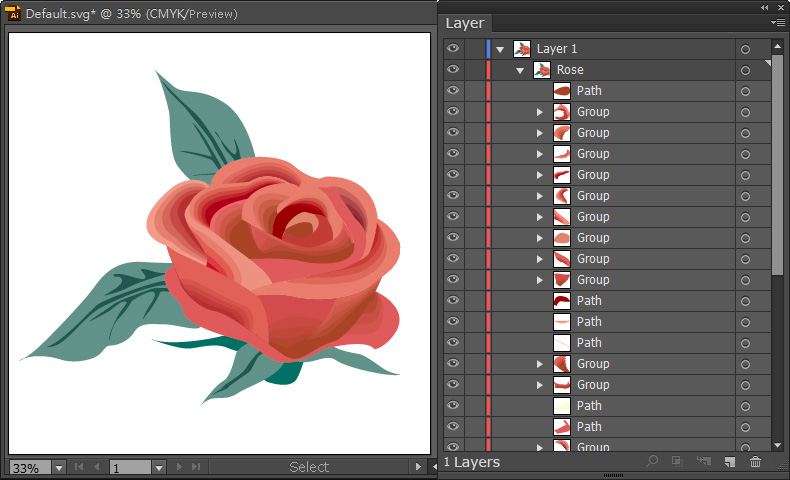
- Press Ctrl+S in the editor to send the graphics to Cartoon Animator.
-
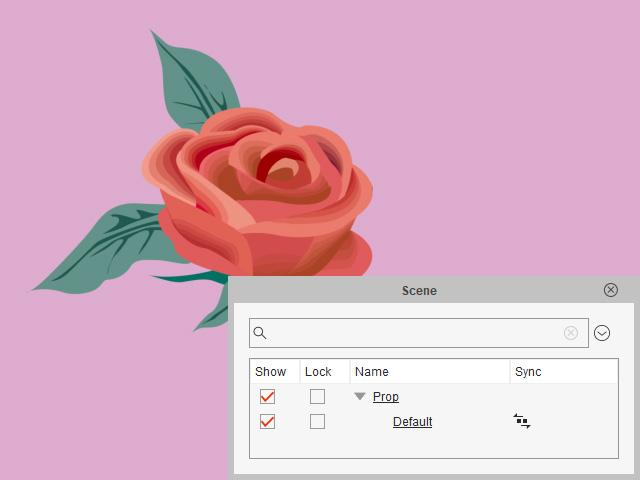
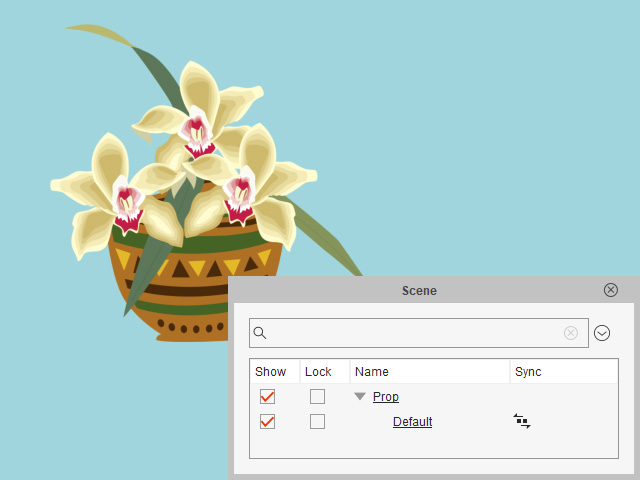
Return to Cartoon Animator, click the Prop button in the PSD / SVG Create Options panel.
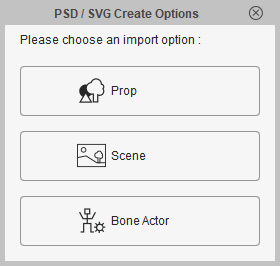
- The group in the layer will then be converted to a prop
and synchronize with the Vector Editor.
 Note:
Note:The SVG Sync
 icon indicates that this object is currently synced to its SVG project in the editor.
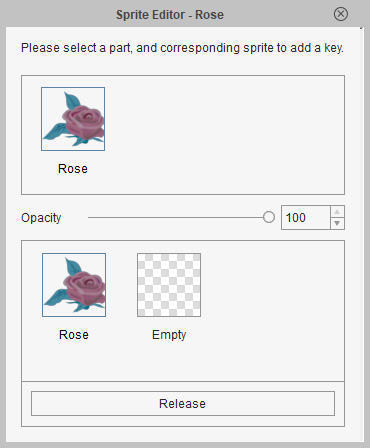
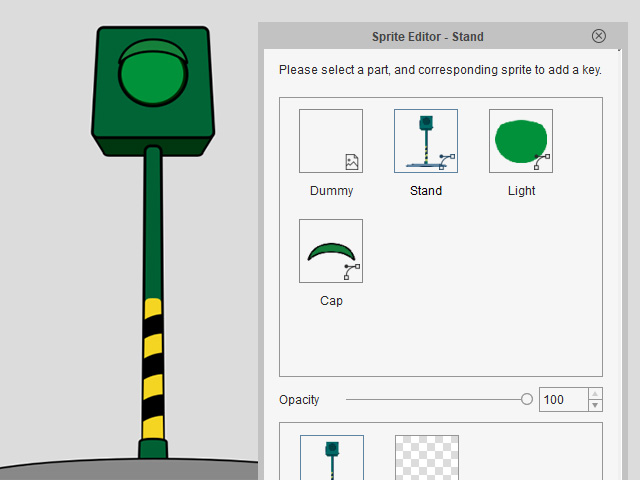
- Select the prop and open the Sprite Editor. You can see the
sprite and the element of the prop.
Creating Prop with Multiple Sprites
- Import to create the props by the following methods:
- Main Menu or Left Toolbar button
Refer to the sections (Creating Actor excluded) in the SVG Importing Methods page for more information.
- Vector Editor button on Toolbar
- Click the custom Vector Editor button (in this case, Adobe Illustrator) on the toolbar.
- Choose either of the import options in the following dialog (in this case, New Object).
- New Object: Invokes the custom Vector Editor with a blank new file.
- Open File: Opens an existing SVG file and then load it into the Vector Editor.
- Click the custom Vector Editor button (in this case, Adobe Illustrator) on the toolbar.
Alternatively, execute the Create > Create in Illustrator command from the main menu.Note:- If you want to create a sync relationship with Cartoon Animator, you have to click the Open File option in this dialog.
- Alternatively, you can drag the SVG file to the working area of Cartoon Animator.
- Click the New Object button, the Vector Editor will be automatically launched with a new file called "Default".
- Add different graphics into different groups ("Orchid" and
"Pottery") in a layer ("Layer 1").
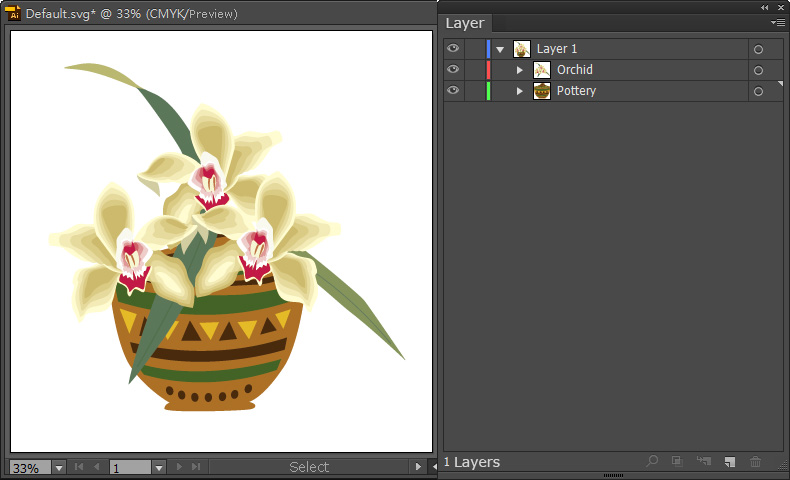
You can also create two individual layers with graphics in them to have the same prop structure in Cartoon Animator.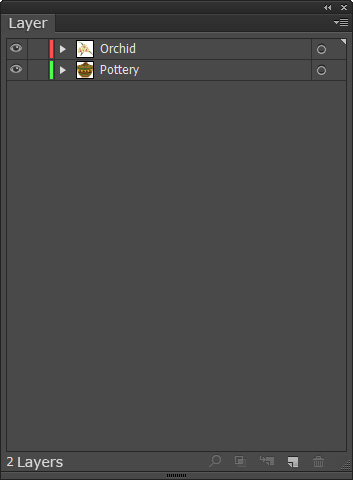
- Press Ctrl+S in the editor to send the graphics to Cartoon Animator.
-
Return to Cartoon Animator, click the Prop button in the PSD/SVG Create Options panel.
- The groups in the layer will then be converted to a prop
and synchronize with the Vector Editor.
 Note:
Note:The SVG Sync
icon indicates that this object is currently synced to its SVG project in the editor.
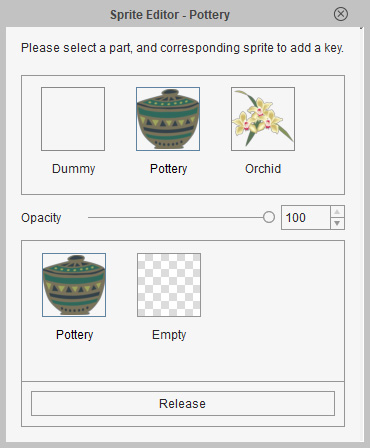
- Select the prop and open the sprite Editor. You can see the
sprite and the element of the prop.
Creating Prop with Multiple Elements in Sprite
- Import to create the props by the following methods:
- Main Menu or Left Toolbar button
Refer to the sections (Creating Actor excluded) in the SVG Importing Methods page for more information.
- Vector Editor button on Toolbar
- Click the custom Vector Editor button (in this case, Adobe Illustrator) on the toolbar.
- Choose either of the import options in the following dialog (in this case, New Object).
- New Object: Invokes the custom Vector Editor with a blank new file.
- Open File: Opens an existing SVG file and then load it into the Vector Editor.
- Click the custom Vector Editor button (in this case, Adobe Illustrator) on the toolbar.
Alternatively, execute the Create > Create in Illustrator command from the main menu.Note:- If you want to create a sync relationship with Cartoon Animator, you have to click the Open File option in this dialog.
- Alternatively, you can drag the SVG file to the working area of Cartoon Animator.
- Click the New Object button, the Vector Editor will be automatically launched with a new file called "Default".
- Add graphics into different groups.
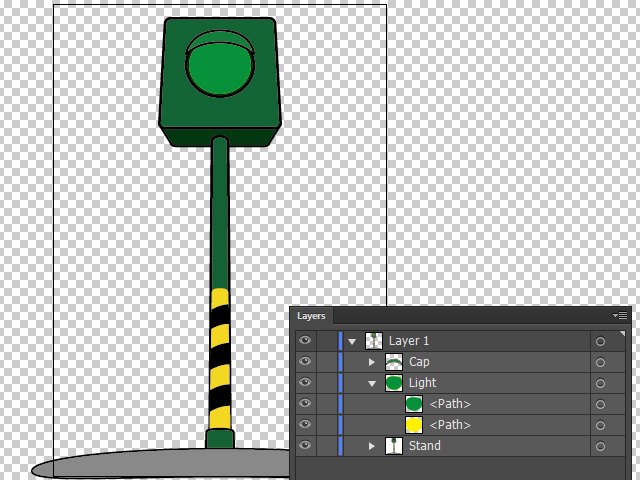
- In order to set the layers in one of the group as element, change the names of the layers to Element:Off: and Element:On:.
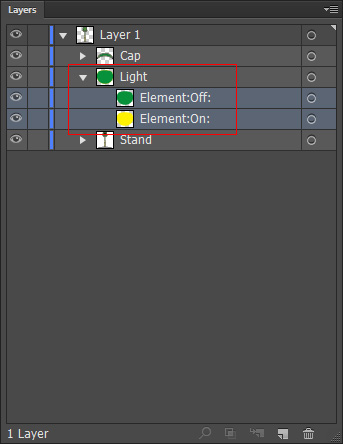
- The naming pattern is "Element:" + "custom name:".
- The colon after each string is necessary.
- The layers been set with the naming pattern will become elements in the sprite for setting sprite-switching animation.
- The custom name will become the name of the element.
- Press Ctrl+S in the editor to send the graphics to Cartoon Animator.
-
Return to Cartoon Animator, click the Prop button in the PSD / SVG Create Options panel.
- The groups in the layer will then become the sprites of a new prop.
- Select the sprite with specially named elements and you will see the elements isolated by the naming rules.
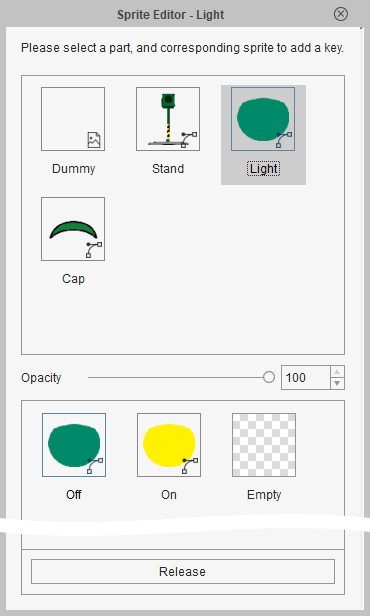
- You can set sprite-switch keys to create animation.