


Adding Bones for Props
In addition to use or create static props, you are allowed to add bones manually for animating the prop. The bone structure can be built without any limitation. Almost everything in your custom image or vector shapes thus can be animated with this feature.
-
Click the Create Media button on the Toolbar.

Click the Prop button from the Create Media panel.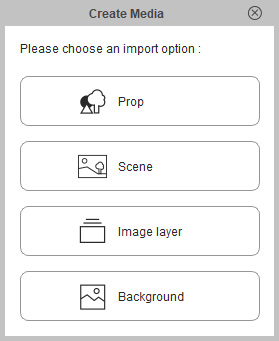
Alternatively, you can start the procedure from Create > Create Media > Prop command.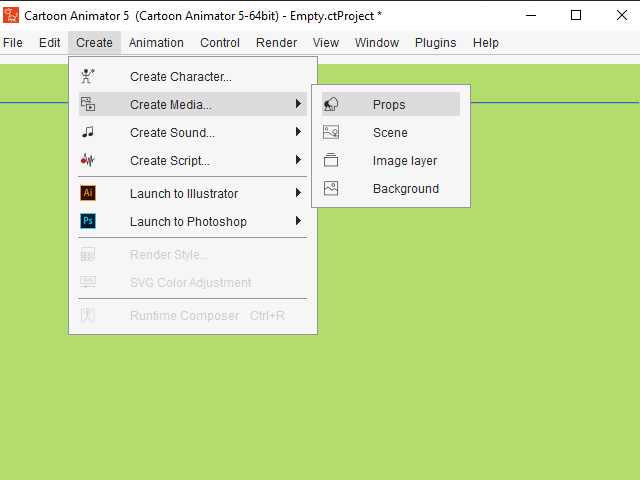
-
Load a custom bitmap or SVG file.

 Note:
Note:Supported formats for bone-rigging function:
- Image Files: *.Jpg, *.jpeg, *.bmp, *.gif, *.png, *.tag
- Vector Files: *.svg, *.swf
- PSD File: *.psd
-
Select the prop and switch to the Composer Mode.
-
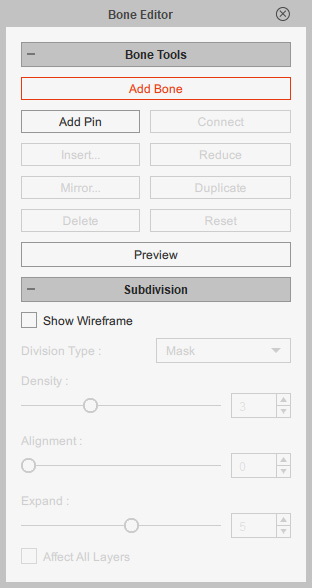
Press down the Bone Editor button on the Toolbar.

Alternatively, you can launch the editor from the main menu.
-
You will see the Bone Editor panel show on the screen, and the Add Bone button On.
-
Click on the image or graphics repetitively where you want it to be controlled by the added new bones. Right-click elsewhere to stop adding bones.

-
Select at least one of the bones, press down the Preview button on the Toolbar or click the Preview button on the Bone Editor panel.

- Select any of the bones.

- Rotate or drag it to view the animation result.


Move Rotate -
Adjust the bone structure with the Bone Editor.

-
Switch back to the Stage mode and the new prop is ready to be animated
with key-frames in the Prop Key Editor panel.

- Playback to view the result.