Creating Camera Switch Effect (New in version 5.3)
With the multiple camera system of Cartoon Animator, you can queue camera cuts like a real director, and it's as simple as assigning different camera names in the timeline.
-
Create or load a project with some animations applied.
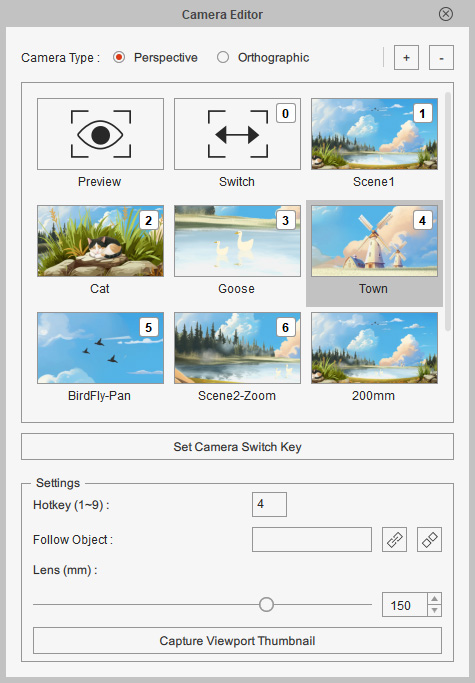
- Follow the steps in the Creating Custom Cameras section to add custom cameras.
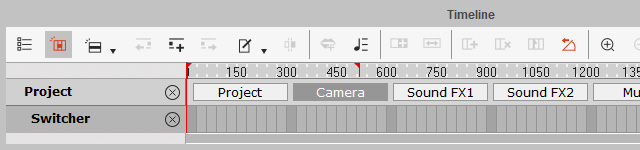
- Launch Timeline and
open the Camera > Switcher track of the Project.
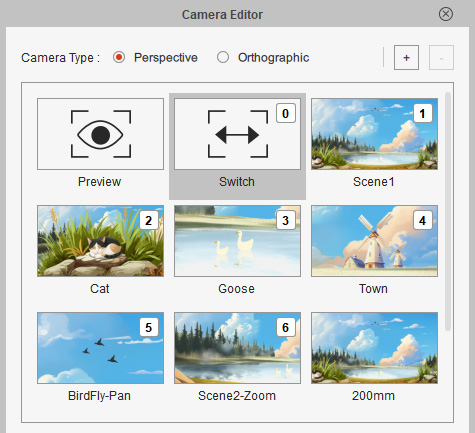
- In the Camera Editor, pick one of the custom camera and click the Set Camera Switch Key

A camera switch key will be auto-added on the track.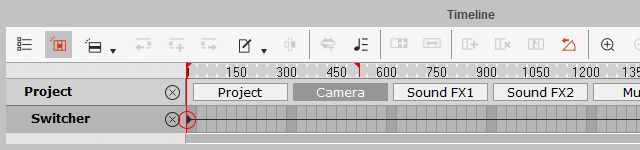
- Repeat the same steps to add more switch keys of different cameras to the track.

If you hover mouse cursor on the key, you will see the tip of the camera's name.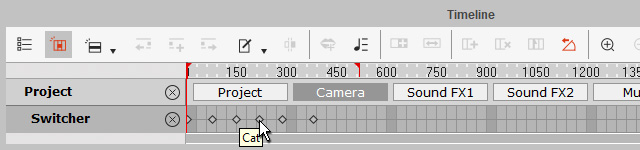
-
Make sure the Switch camera is chosen. This step ensures the viewport to display the view of the switcher.
You can also chose the Switch item from the drop-down list on the Camera toolbar.
- Playback to view the camera switch effect.