Editing Weight Map
After you have loaded a grayscale image as a Weight Map, you can further edit your weight map by following the steps below:
Basic Editing
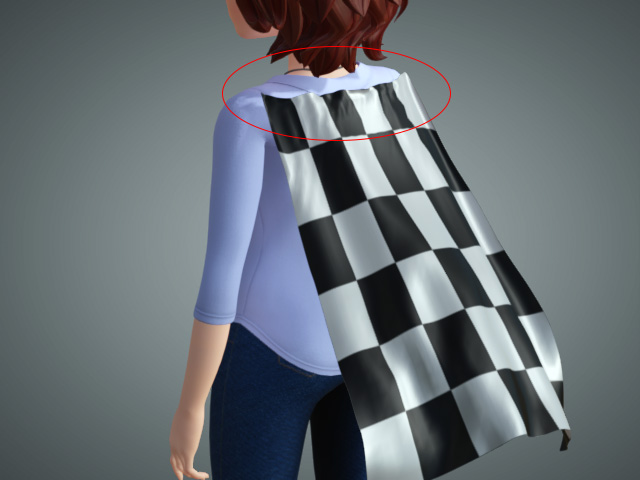
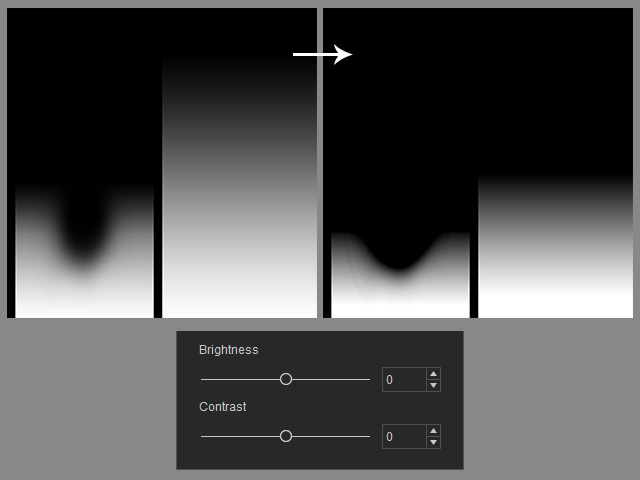
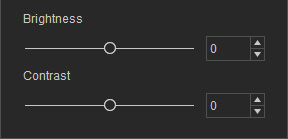
The basic editing method is to simply change the Brightness or Contrast value of the Weight Map to adjust the surfaces that are influenced by the soft cloth settings.
-
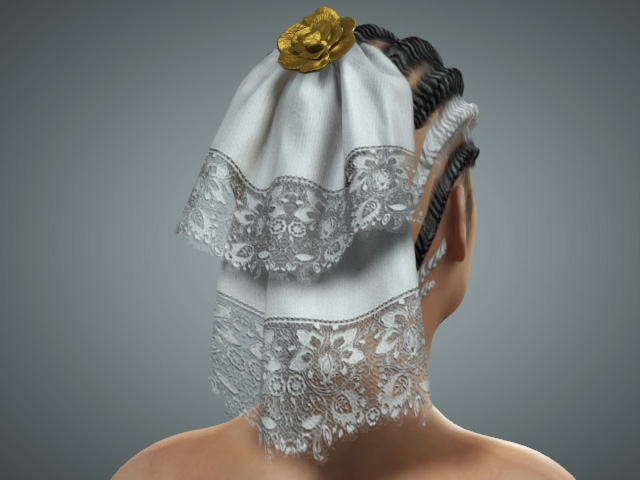
Prepare a cloth with soft-cloth settings applied.
-
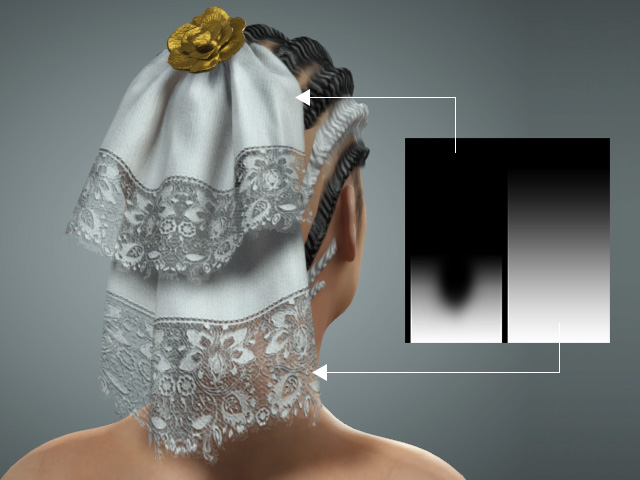
Follow the same steps as described in the
Loading Weight Map section to check out the Weight Map of the soft cloth.
-
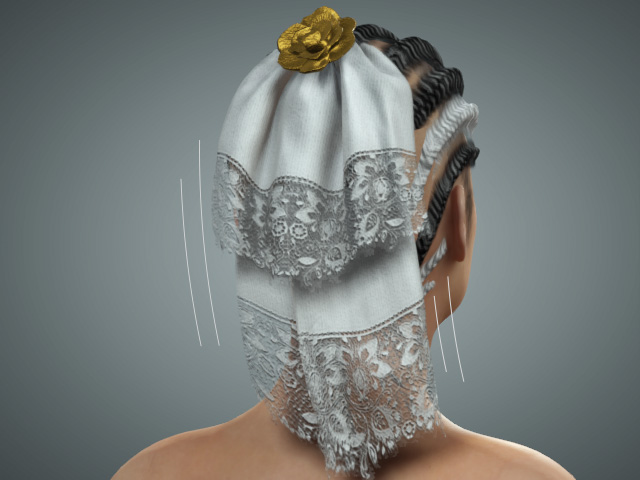
Play back to see the result.
-
You may use the Brightness and Contrast sliders
to do quick and basic editing for the Weight Map texture.
 Note:
Note:Please note that these sliders can only affect the images that are not totally white.
-
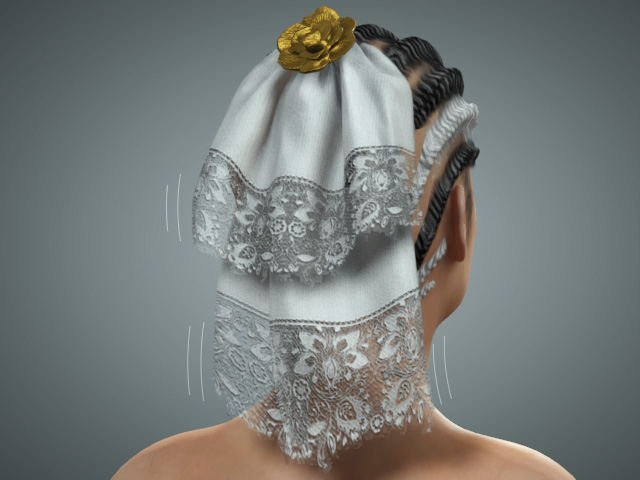
Playback to see the simulation result.
Advanced Editing
-
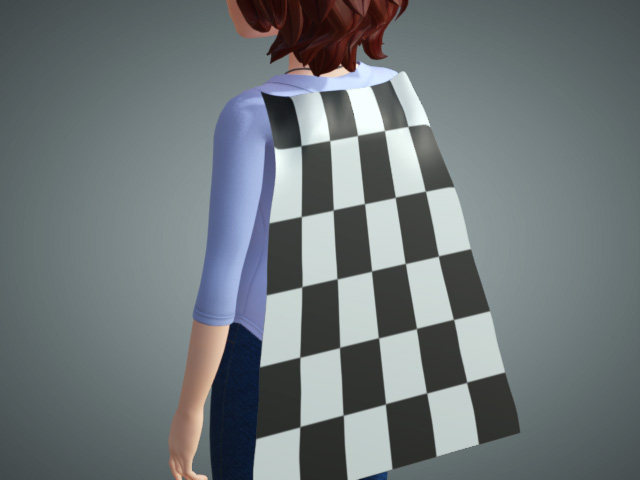
Prepare a cloth or accessory with soft cloth settings applied.
-
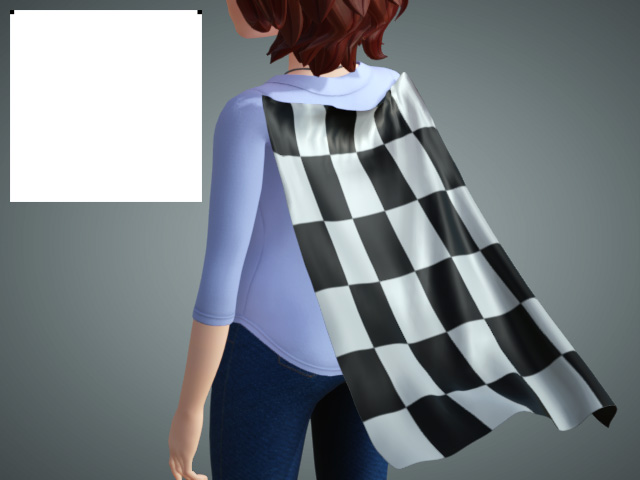
Check out the Weight Map of the soft-cloth.
 Note:
Note:You may use the Brightness and Contrast sliders to do quick and basic editing for the Weight Map texture as described in the previous section.
-
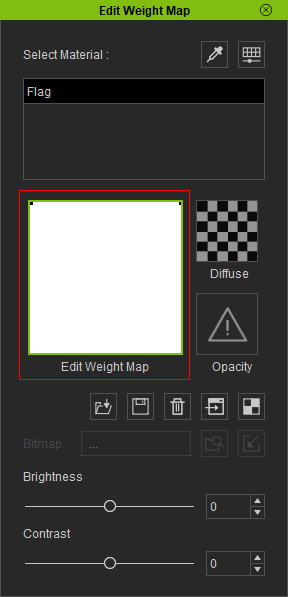
In the Edit Weight Map panel, select either the Edit Weight Map channel.
-
Click the Launch button. The image in the channel will
be passed and open with your favorite image editor.
 Note:
Note:The buttons in the middle of the panel are:

- Load a grayscale image as a Weight Map texture.
- Save the current Weight Map texture to a directory in JPG, BMP, GIF, PNG and TGA formats.
- Delete the current Weight Map texture.
- Launch the current Weight Map texture in the image editor for further editing.
- Launch the UV layout image in the image editor for reference.
-
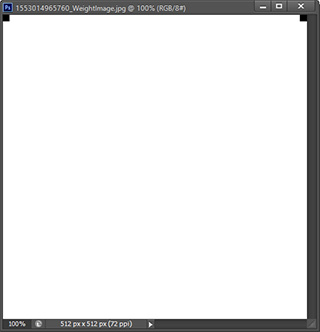
Paint on the
Weight Map image with grayscale color.
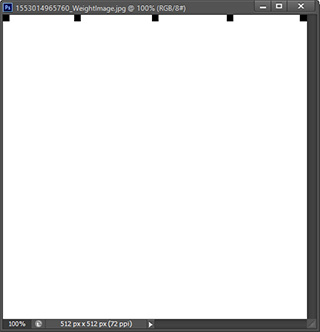
- Save the image in the image editor. The editing result will be automatically sent back to iClone and update the Weight Map data for the soft-cloth.
-
Playback to view the simulation result. The black points hold the prop
in the air instead of letting it fall to the ground.
