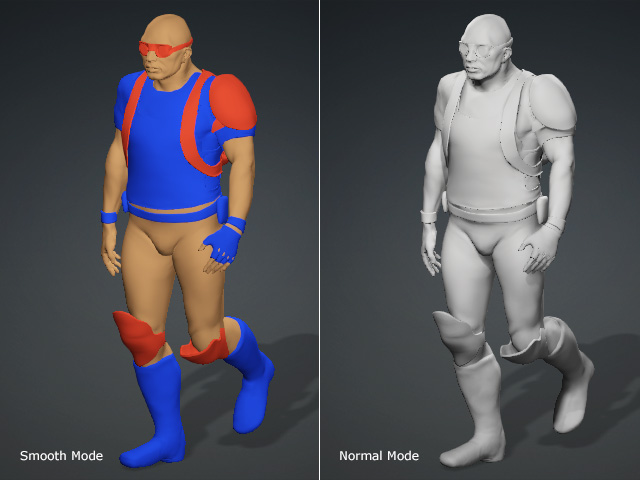
Using Vertex Color (New for v. 4.2)
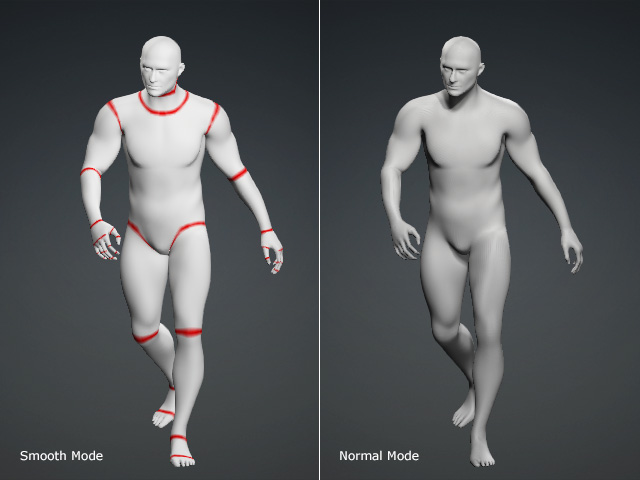
Vertex coloring is an easy way to add colors to your model without using textures, and works by assigning color data to each vertex. To view the vertex colors in Character Creator turn the display mode of a model to "Smooth". You can also use vertex color to help you set the positions of the joints onto a character in AccuRIG.
Marking Proper Regions for Repositioning Joints
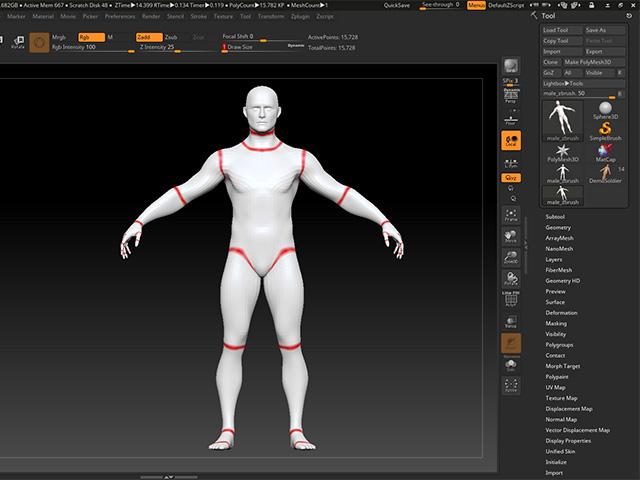
- Paint vertex color onto the surface of a model, in this case, with ZBrush.
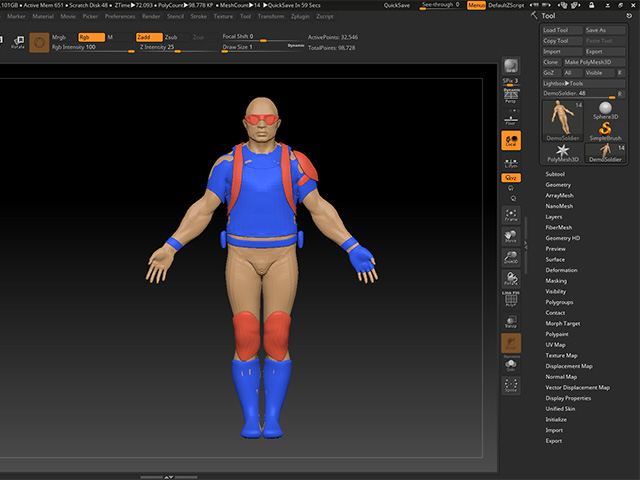
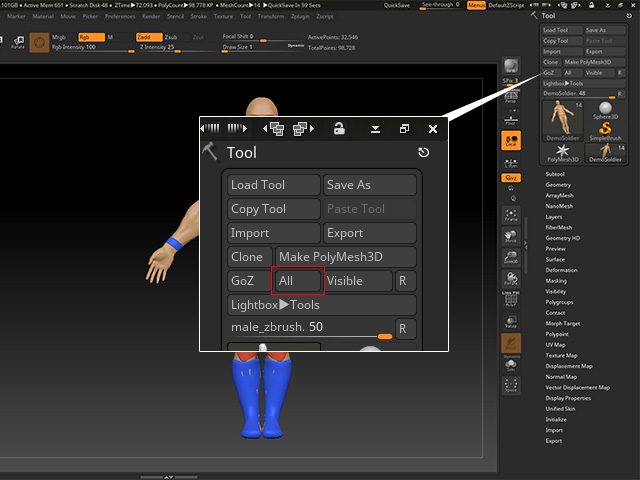
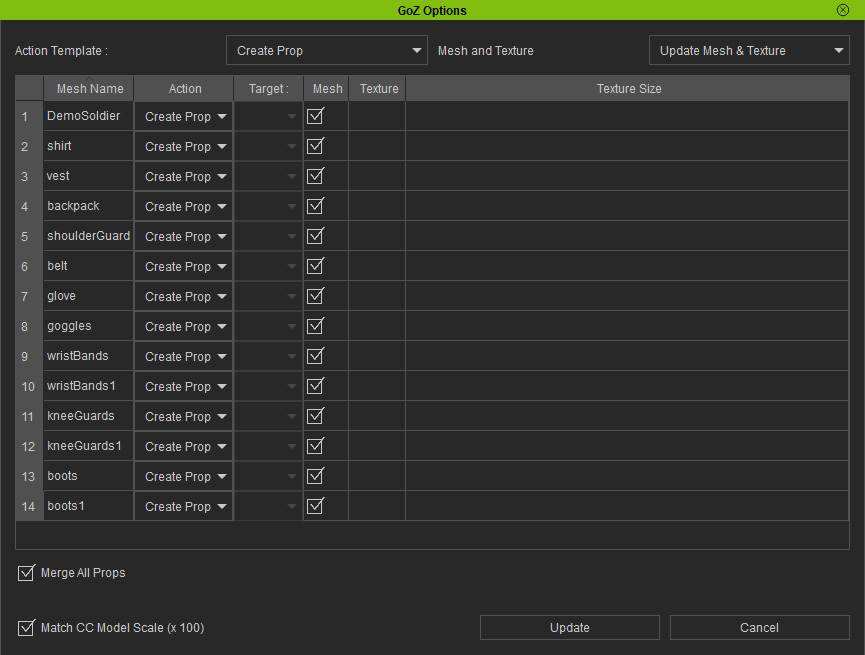
- Use GoZ to transfer the model to Character Creator.
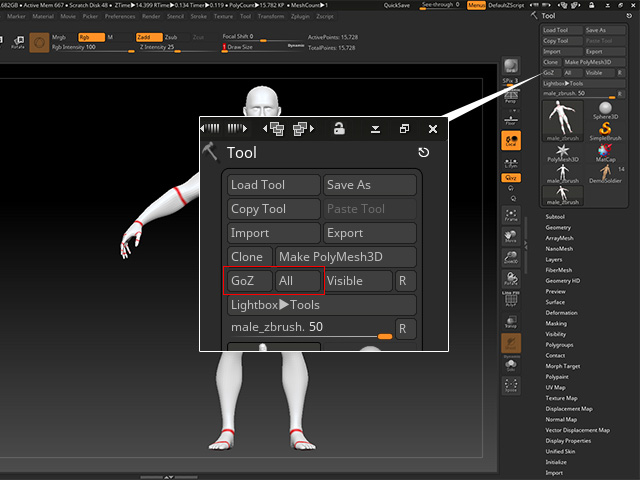
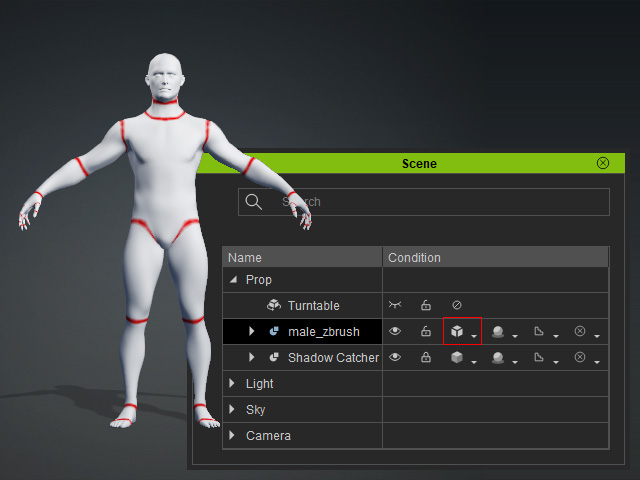
- Click the Update button in Character Creator.
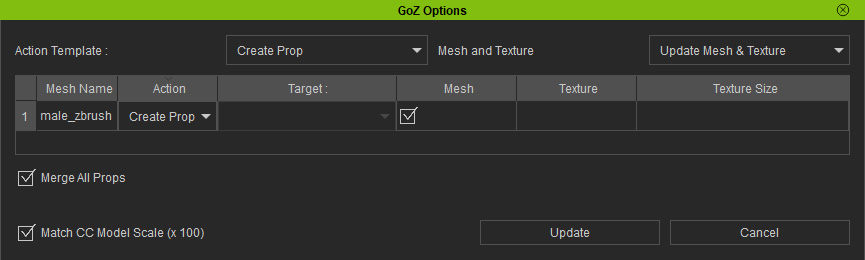
The model will be loaded into Character Creator.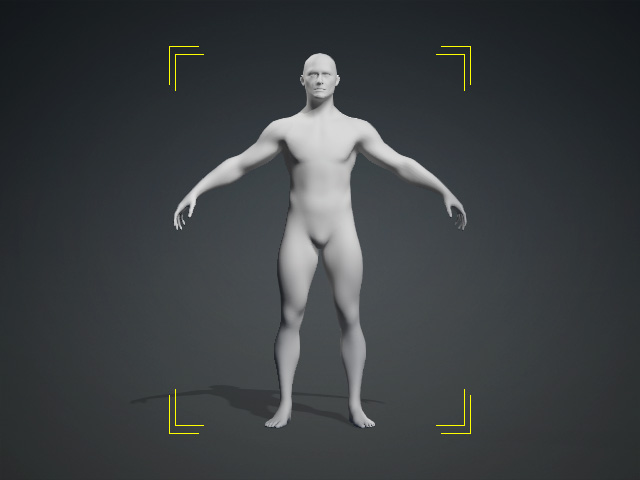
- In Character Creator, switch the display mode of the model to "Smooth" to show the vertex color.
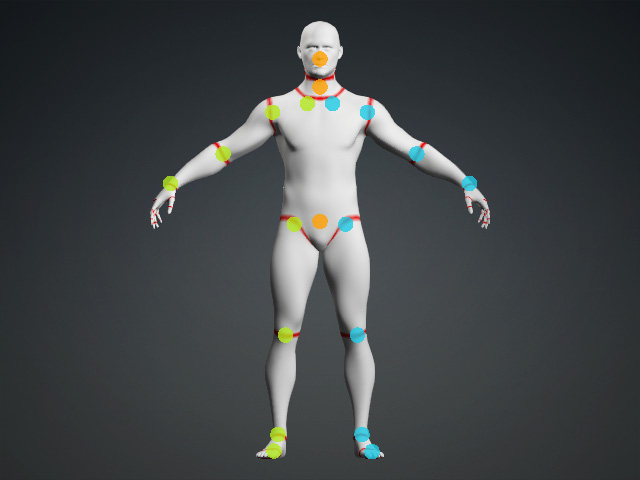
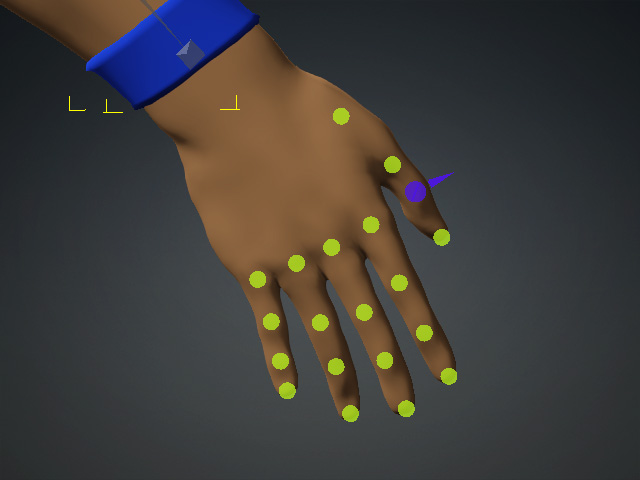
- Use AccuRIG to create guides for the joints of body (along with
the fingers) by referring to the vertex colors of the model.
-
Setting bone positions of the body according to the vertex color
guides:
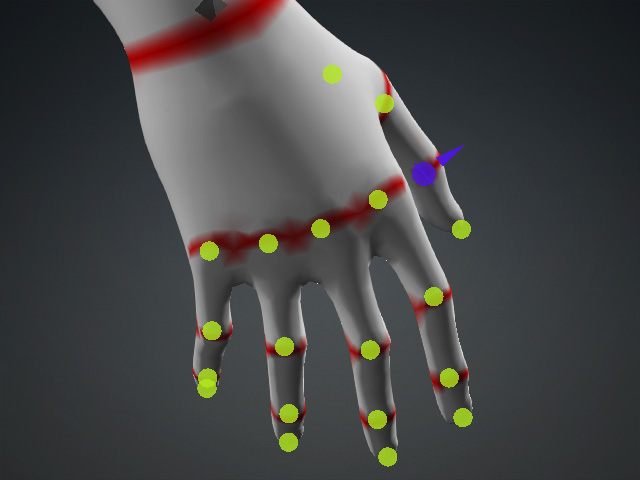
-
Setting bone positions of the fingers according to the vertex
color guides:
-
Setting bone positions of the body according to the vertex color
guides:
- Finishing binding the joints to the model and apply a motion to
the character to view the results.
Defining Stiff and Soft Objects for Binding
- Paint vertex color onto the surface of different meshes to
define different degrees of stiffness.
- Blue for soft-cloth objects.
- Orange for stiff objects.
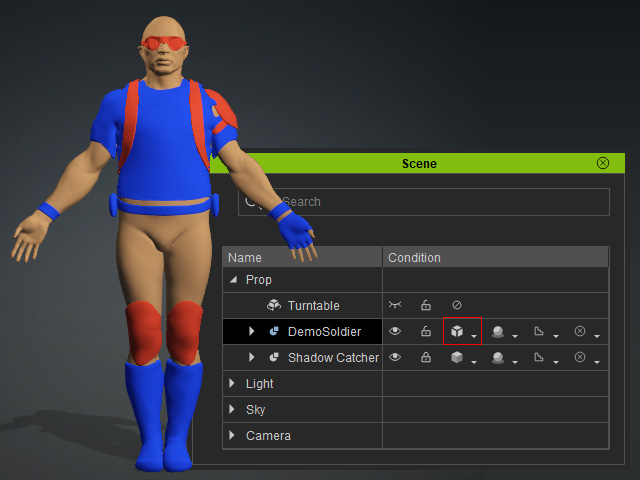
- Use GoZ to transfer the model to Character Creator.
- Click the Update button in Character Creator.
The model will be loaded into Character Creator.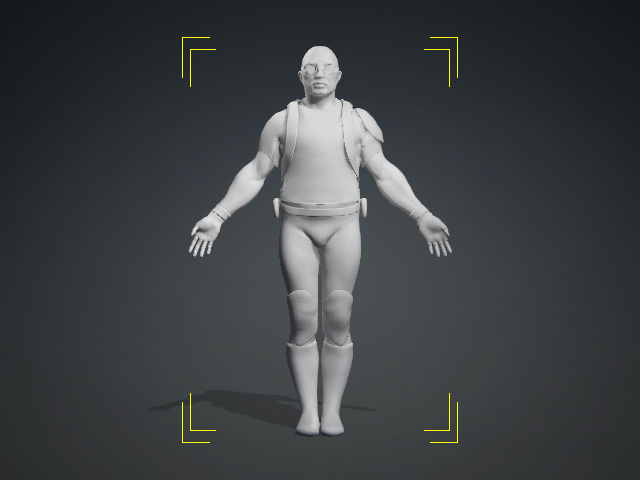
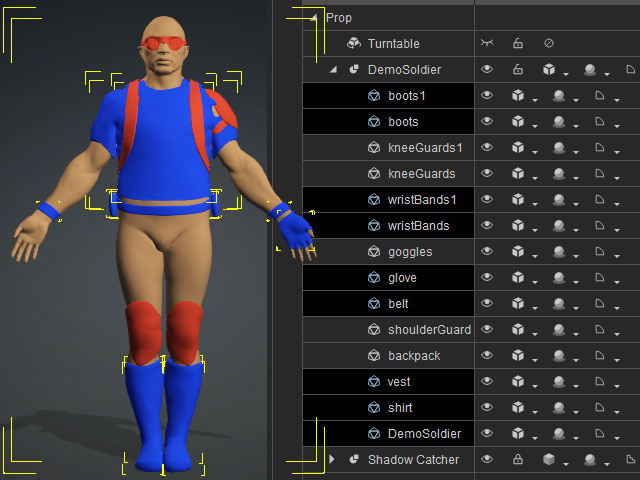
- In Character Creator, switch the display mode of the model to "Smooth" to show the vertex colors.
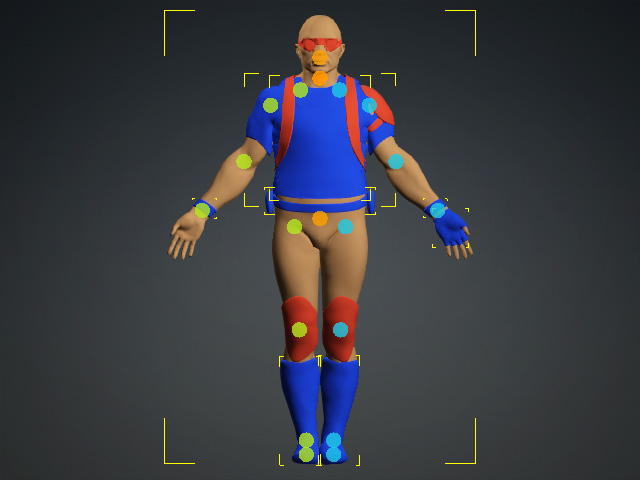
- Use AccuRIG to create guides for the joints of body, fingers and soft-cloths by referring to the vertex colors
of the model.
-
Creating guides for the body:
- Creating guides for the fingers:
-
Creating guides for the body:
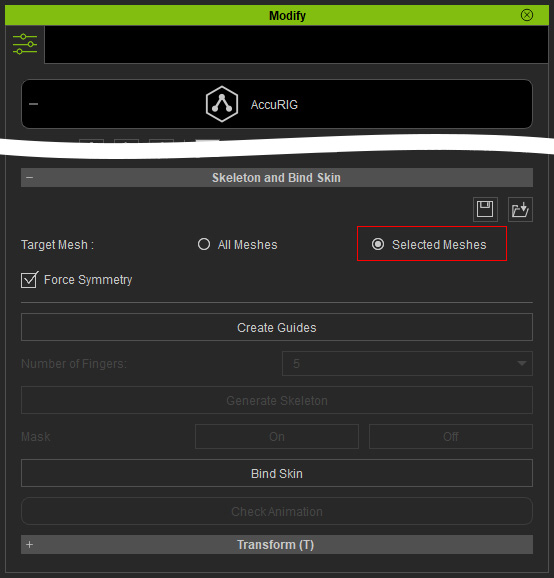
- Make sure the Target Mesh is set to "Selected Meshes".
- Finish the binding procedure and apply a motion to the character
to test the results.