Exchanging Wrinkles by Modifying Wrinkle Set Textures (New for v. 4.2)
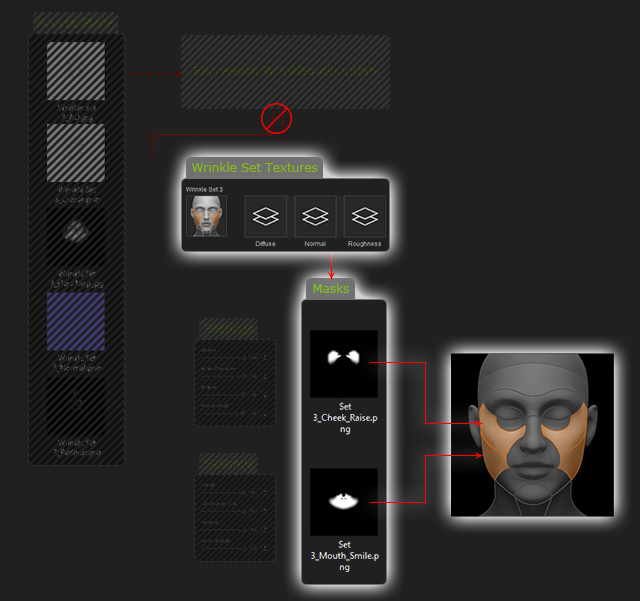
Expression Wrinkles system provides channels for customizing or exchanging wrinkles between characters. You are allowed to load textures with custom wrinkles, or edit the current textures to create
a custom set. See Texture-based Details of Expression Wrinkles section for more information.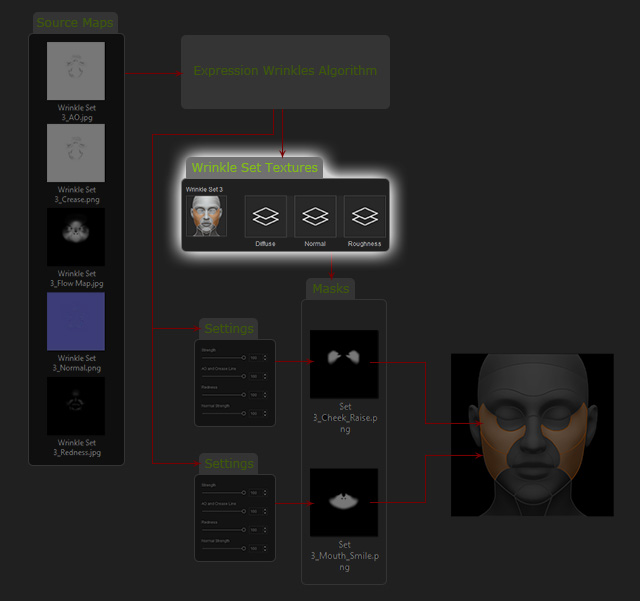
There are three wrinkle sets with identical channels for editing.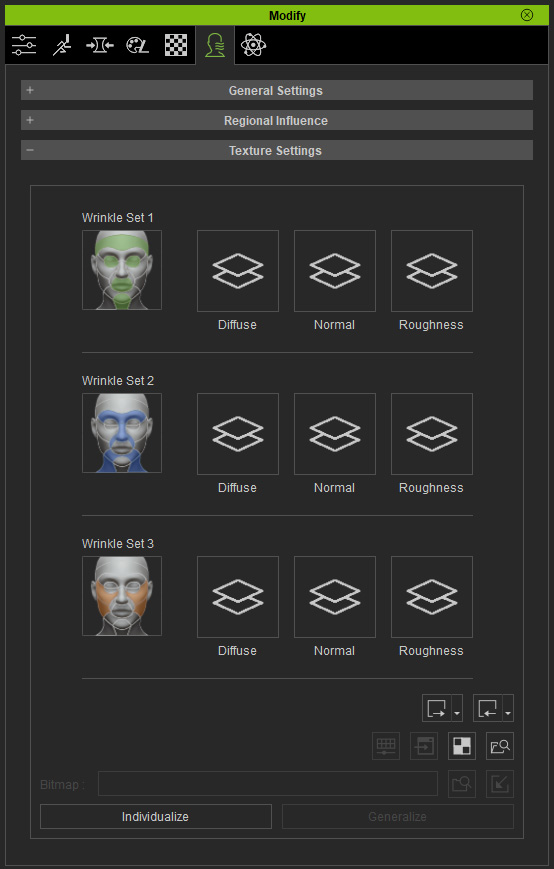
There are three possibilities for the thumbnails of the channels, which individually represent aspects of the texture.
-
 :
There is a texture that works behind the scenes within
the substance material graph. You can still adjust all sliders in the
Regional Influence accordingly.
 -
 :
The wrinkles channels (diffuse, normal, and roughness)
do not take effect when the channel texture is missing.
The textures described in the Expression Wrinkles Related Templates section can be modified with an external image editor. However, this technique requires great skill, and if done haphazardly can lead to unsightly problems with the wrinkle patterns.
Follow the steps below If you want to extract wrinkle textures from a character:
- Create a CC3+ character.
- Switch to the Wrinkle tab in the
Modify panel.

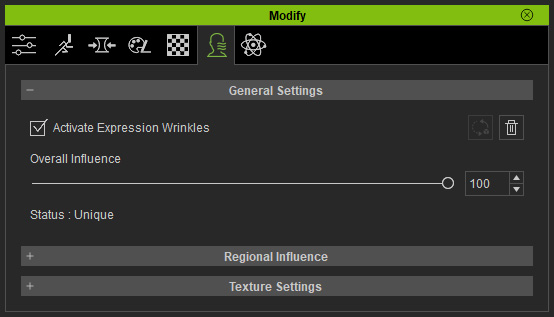
- Enable the Activate Expression Wrinkles checkbox to apply
the default wrinkle profile to the character.
- Activate the Check with Expressions
checkbox to automatically display the wrinkles for the
selected regions.
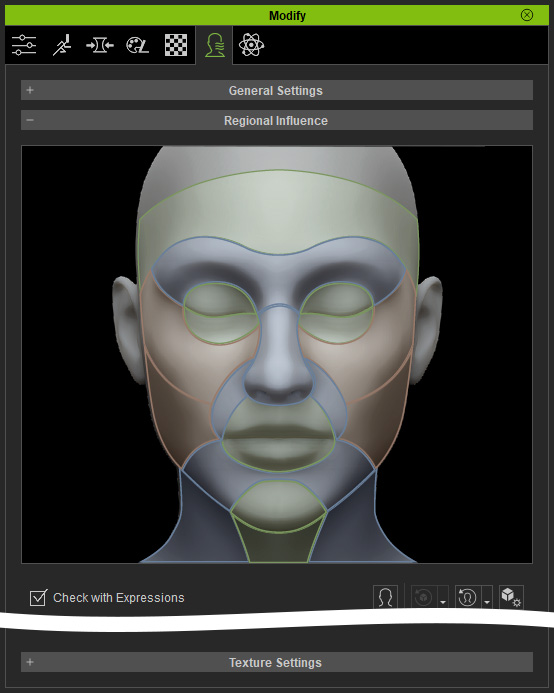
- Under the Region Influence section,
click on any region of the face.
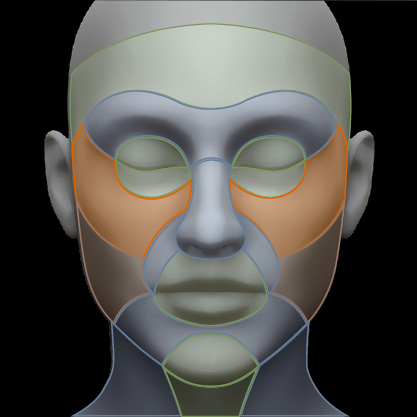
The character will instantly perform an embedded facial expression to display the wrinkles of the region.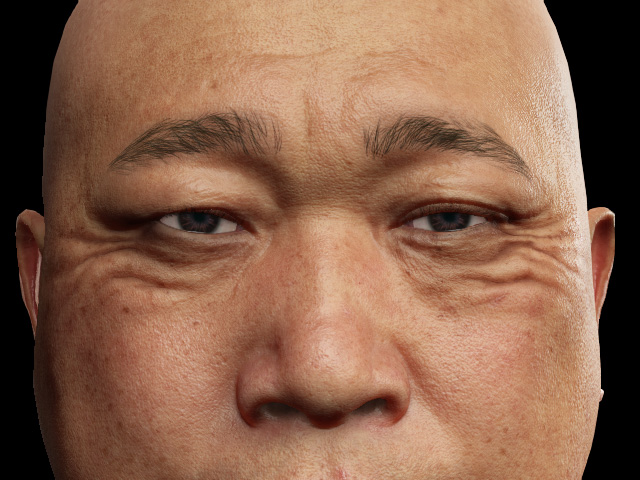
- Select the Diffuse channel of the
region, e.g., Wrinkle Set 3 for the
cheekbone regions.
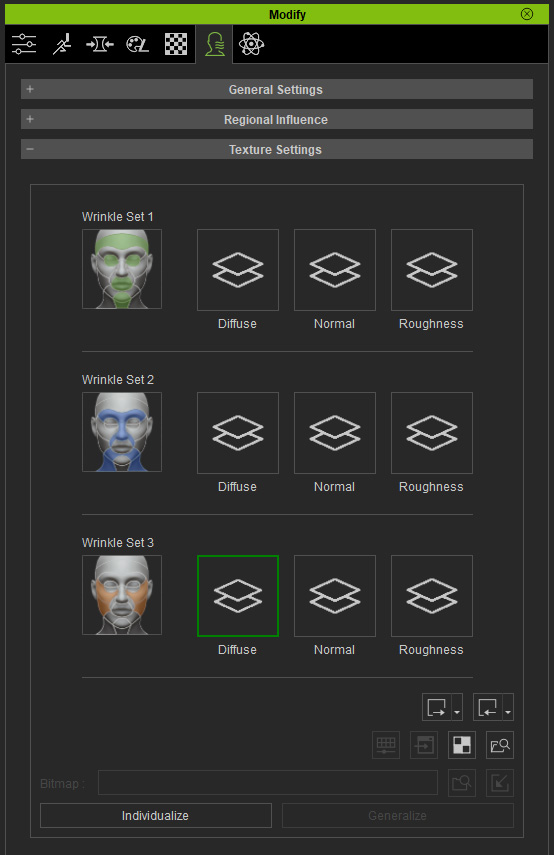
- Click the Individualize button. The texture and related settings will be merged
for the channel.
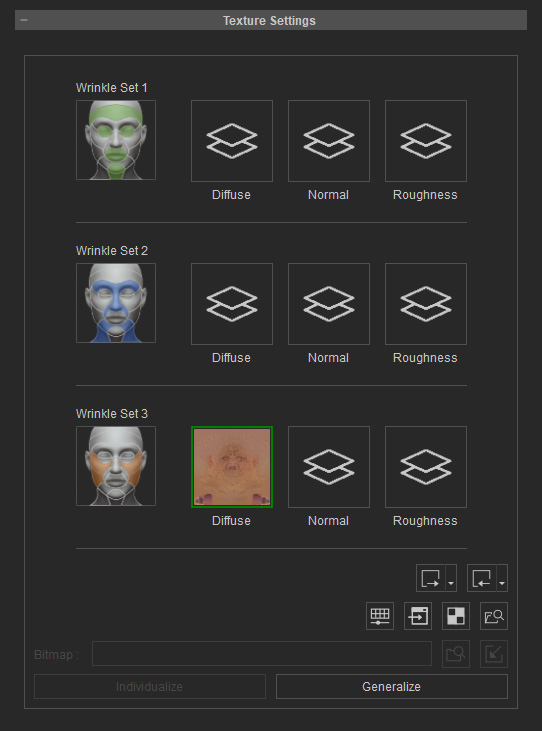
To retrieve or enable the settings and the source maps, click the Generalize button and the thumbnail returns to .
. Note:
Note:Refer to the Relationships between Regions and Wrinkle Sets section for more information.
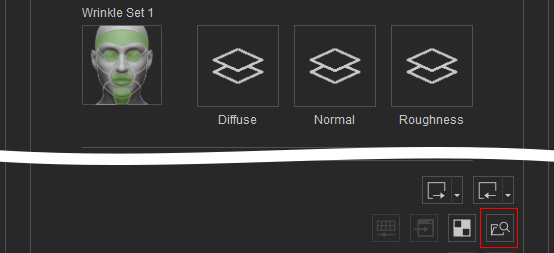
- Click the Launch button to transfer this texture to
a specified image editor.
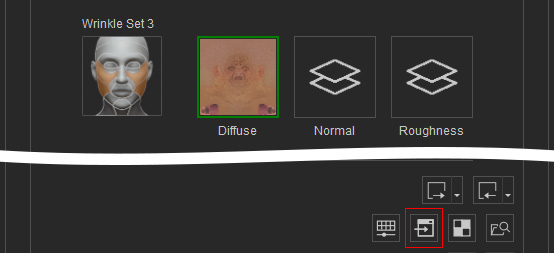
- The diffuse texture will open in the image editor.
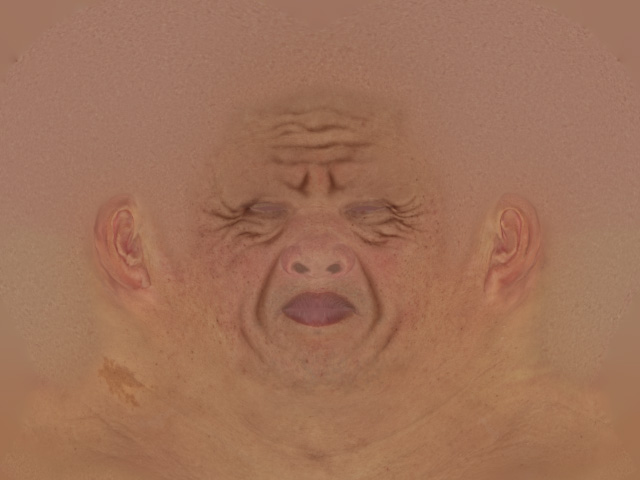
- Repeat steps 6 to 8 for extracting the normal and roughness textures.
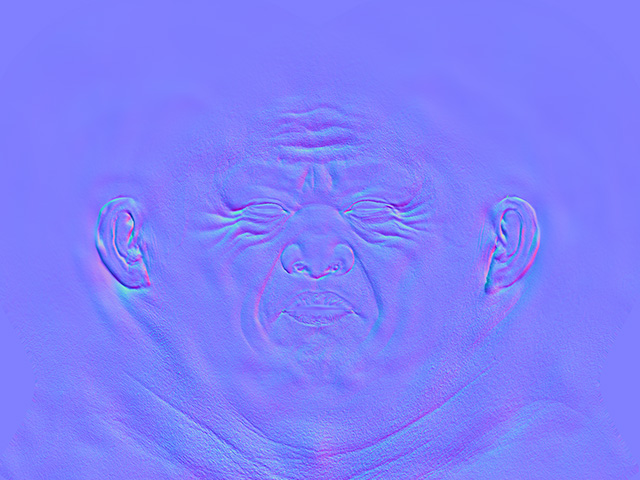
Normal texture.
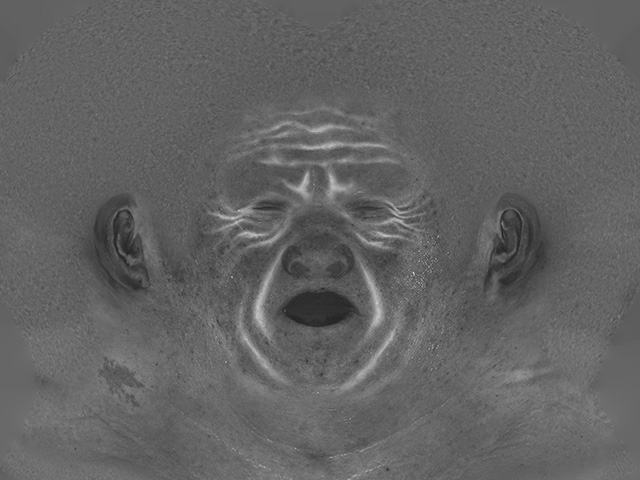
Roughness texture.
After you have extracting the wrinkle textures from a character, you can edit and swap the textures for regions of the face.
- Create a new CC3+ character.
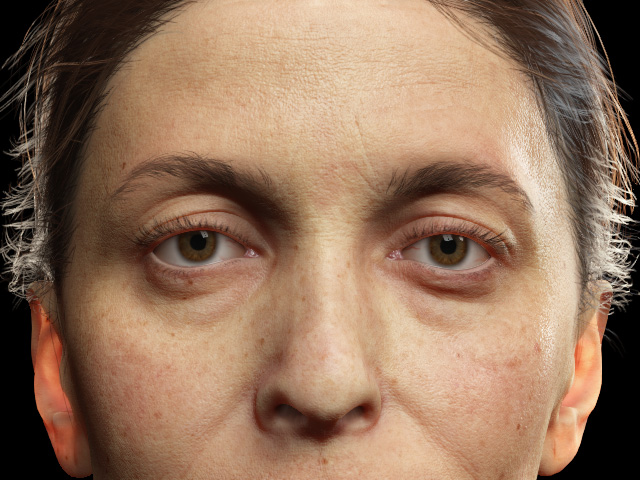
- Switch to the Wrinkle tab in the
Modify panel.

- Enable the Activate Expression Wrinkles checkbox to apply
the default wrinkle profile to the character.

- Activate the Check with Expressions
checkbox to automatically display the wrinkles for the
selected regions.

- Click on regions of the face under the Region
Influence section.
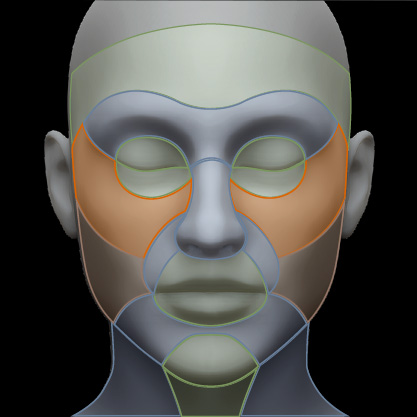
The character will instantly perform an embedded facial expression to show the wrinkles of the region.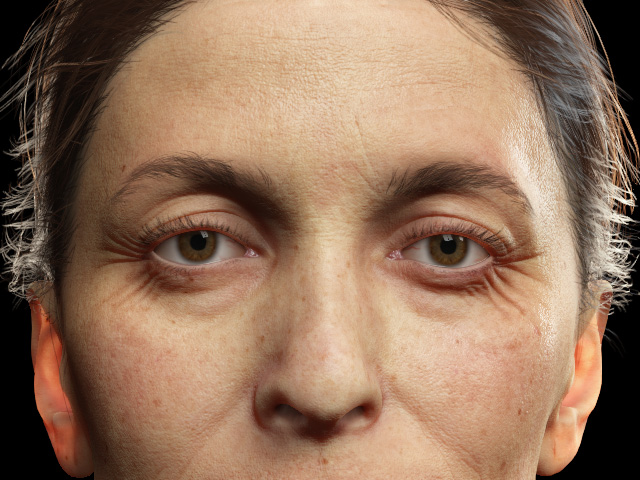
- Select the Diffuse channel of the region,
e.g., Wrinkle Set 1 for the forehead
region.

- Click the Individualize button. The texture and related settings will be merged and emerged in the channel.
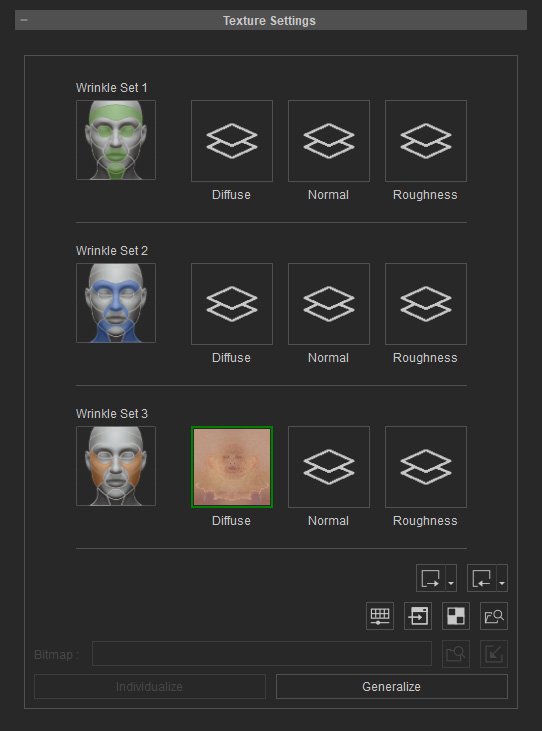
To retrieve or enable the settings and the original texture, click the Generalize button and the thumbnail returns to .
. Note:
Note:Please refer to the Relationships between Regions and Wrinkle Sets section for more information.
- Click the Launch button to transfer this texture to
a specified image editor.
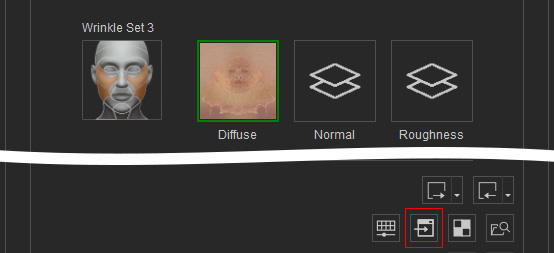
This texture will be opened in the image editor.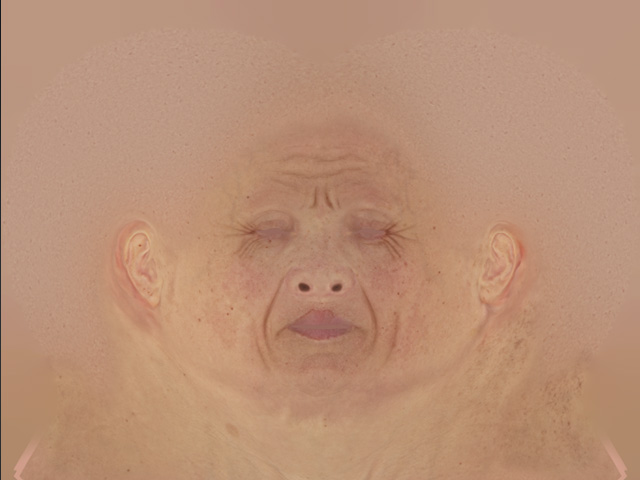
- Copy the regional wrinkle from the diffuse texture extracted in the previous section to
the current diffuse texture.
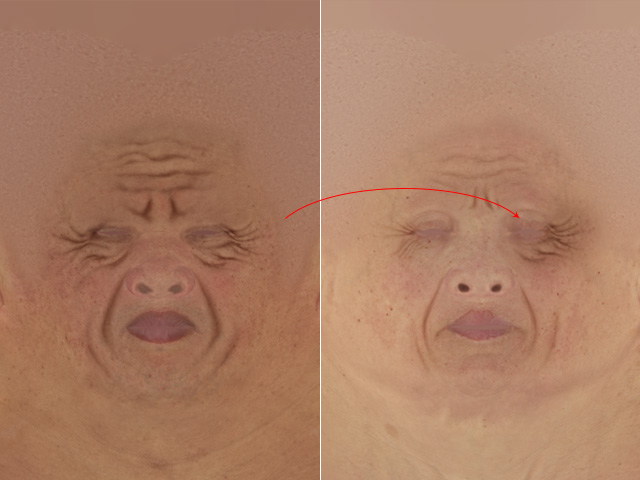
- Modify the fitting of the diffuse texture. Save the image to transfer the changes back to Character Creator.
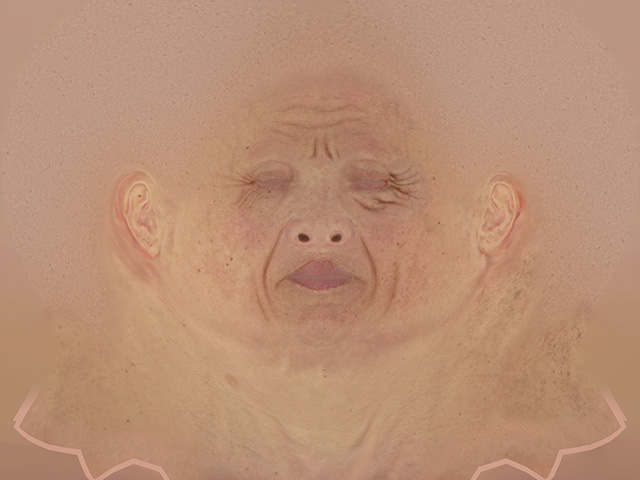
- The wrinkle diffuse is the modified, but the normal and roughness remain unchanged.

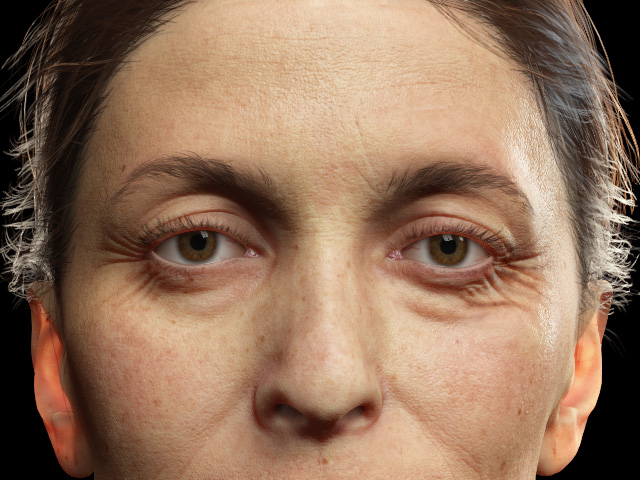
Before
After
- Repeat the prior steps to edit the normal texture.
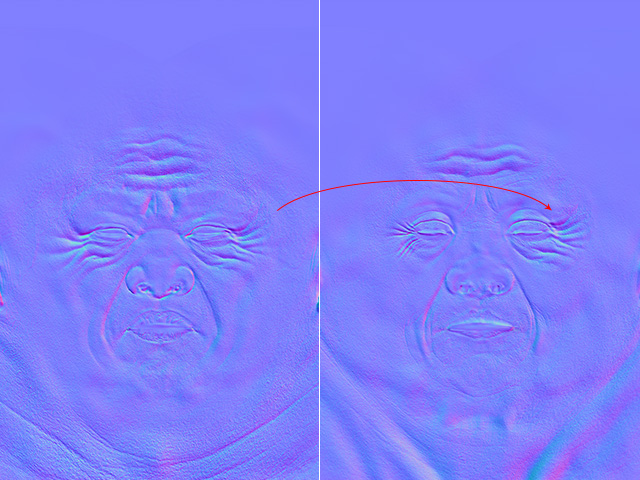
- Adjust the layer to fit the normal texture. Save to transfer the result back to Character Creator.
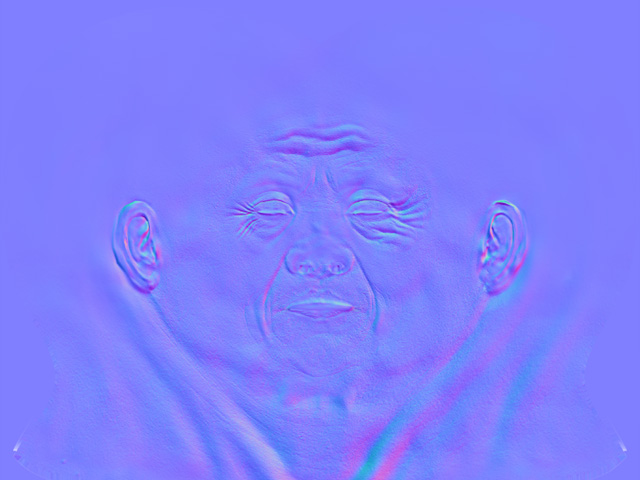
- The normal map is now fitted to diffuse map of the
wrinkle patterns.

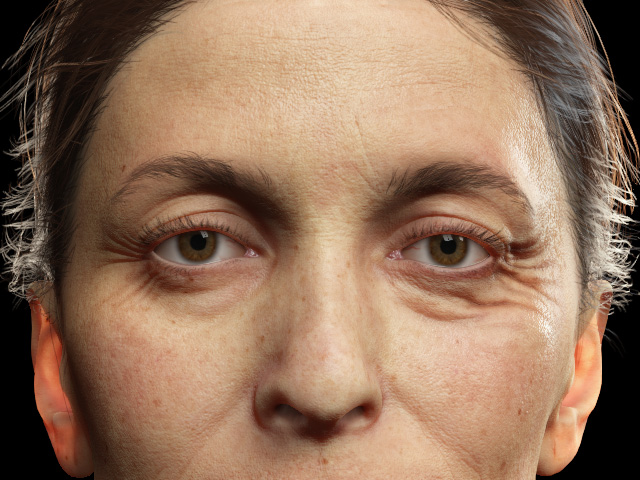
Before
After
- Finally, adjust the roughness texture with the same steps.
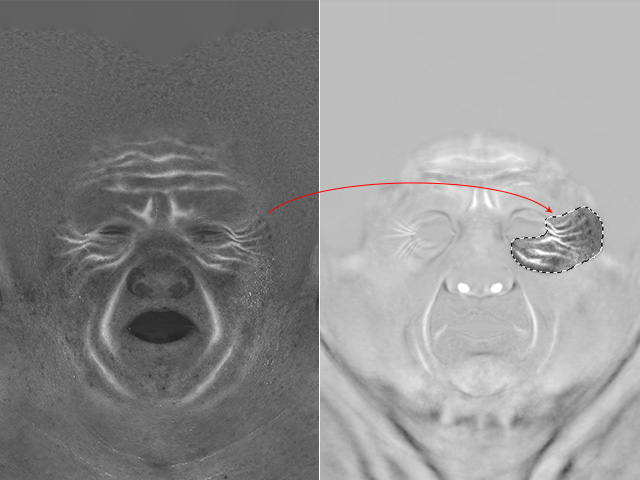
- Adjust the layer to fit to the roughness texture. Save to transfer the result back to Character Creator
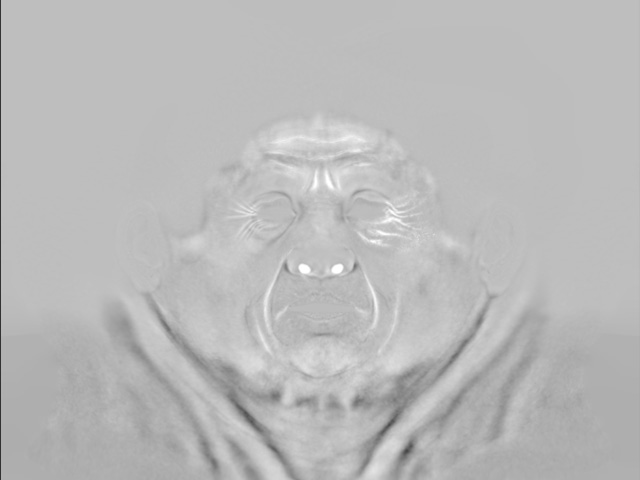
- The roughness map now fits the diffuse and normal maps
for the wrinkle patterns. For demonstration purposes,
brightness levels for the roughness texture has been
decreased.
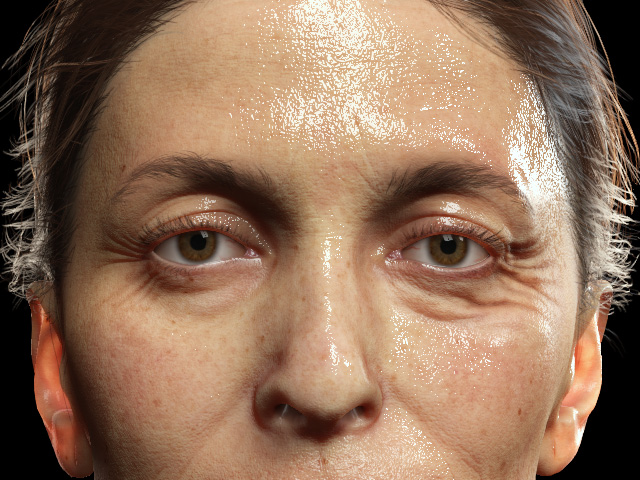
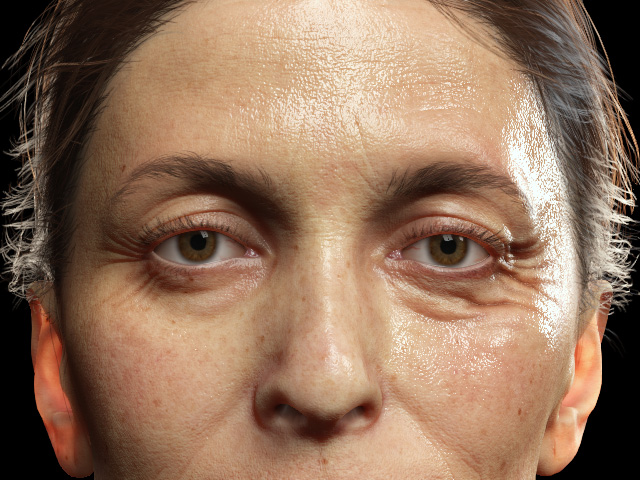
Before
After
- The composite flow for the dynamic wrinkles are now
disrupted and the parameters for the regions
can no longer be adjusted. Refer to the Individualization and Generalization section for more information.
