Crafting Prompts for AI Detail Generation
ComfyUI uses both positive and negative prompts to guide the AI in generating the desired images. You can write prompts for the AI to generate details that serve as clothing elements (such as patches or zippers) within a defined masking region.
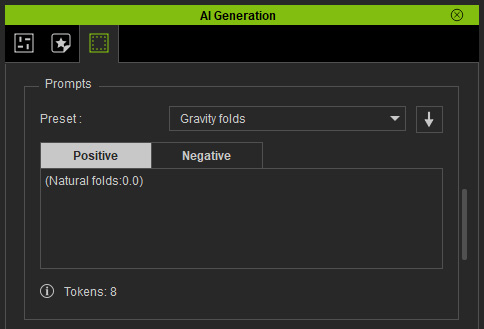
- Positive Prompt: Specifies the textures or details to emphasize, such as “soft leather grain”, “tight embroidery”, or “subtle dirt”.
Use parentheses () in Stable Diffusion to apply weighting and increase the prominence of specific features.
- For stronger emphasis, use (word:1.3).
- For weaker emphasis, use (word:0.8).
- Negative Prompt: Specifies textures or effects to avoid, such as “blurry stitching”, “unnatural shine”, or “overexposed areas”. This field is pre-filled with default terms such as blurry, worst quality, low quality, normal quality, jpeg artifacts, signature, watermark, username, etc.
- Ensure that ComfyUI with the required AI models are installed and that FashionGen is successfully connected to ComfyUI to enable AI Generation features.
- Launch the AI Generation panel and select the Detailing tab.
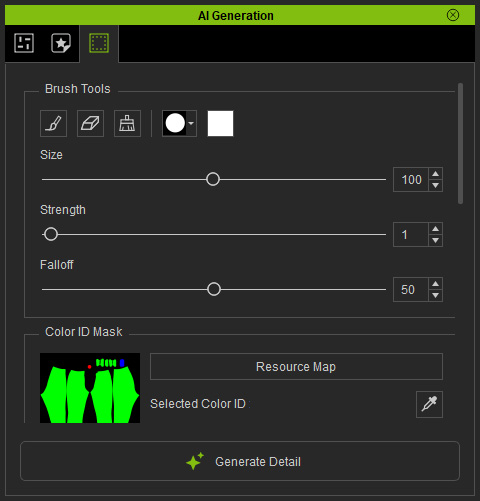
- In the Brush Tools section, press the Mask Brush button, then select a Brush Shape from the drop-down list or load a custom shape to use with the brush.
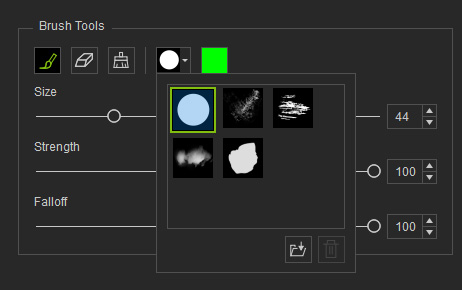
- Paint on the texture where you want to add detail elements, such as patches or zippers.
You can adjust the brush size, strength, and falloff as needed.
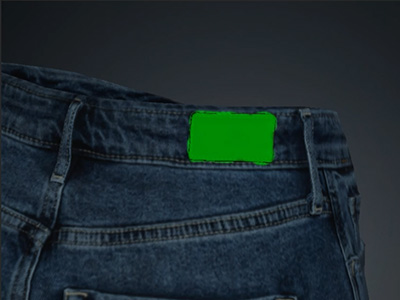
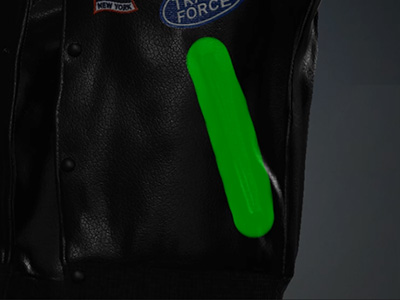
Paint a mask for patch generation.
Paint a mask for zipper generation.
When painting the detail mask, zoom out to give the AI a full view of the clothing, allowing it to generate clearer and more precise details. - Write prompts for detailed patches or zippers.
Note that the Token count follows the SD1.5 specifications adopted by Reallusion. Any tokens beyond the 75-token limit will be ignored.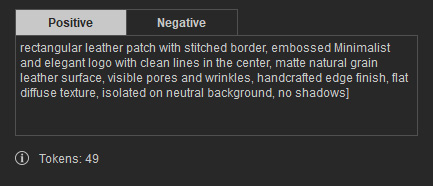
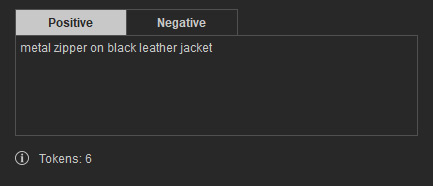
Enter the prompt for patch generation.
Enter the prompt for zipper generation.
- Click the Generate Detail button at the bottom of the panel.
Once generated, a new layer will appear in the Layer Manager.
You can generate a Normal map for this layer to add depth to the image.
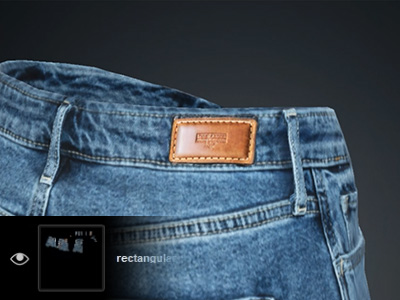
AI-generated patch on the jeans.
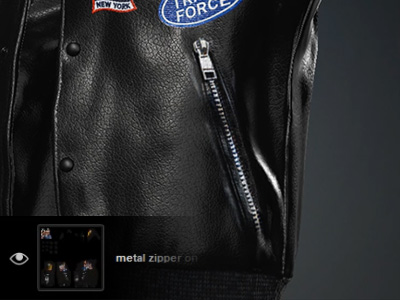
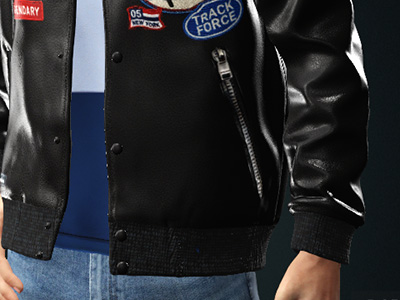
AI-generated zipper on the leather jacket.
- Send the AI-generated details back to CC to preview them on the character, and save your designs in the Custom library of the Content Manager for future editing or application on other characters.
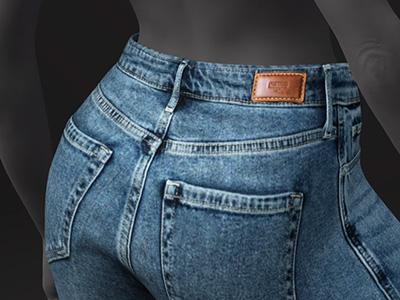
An AI-generated patch on the jeans.
An AI-generated zipper on the leather jacket.
