Generating Normal Maps
In the Texture Editor, you can generate a Normal map from the Base Color map to add surface details (such as bumps, grooves, and scratches) to a texture layer. This allows the texture to interact with light as if those details were actual geometry.
To generate a Normal map for pattern or decal textures, click the Normal button above the Texture Settings section.
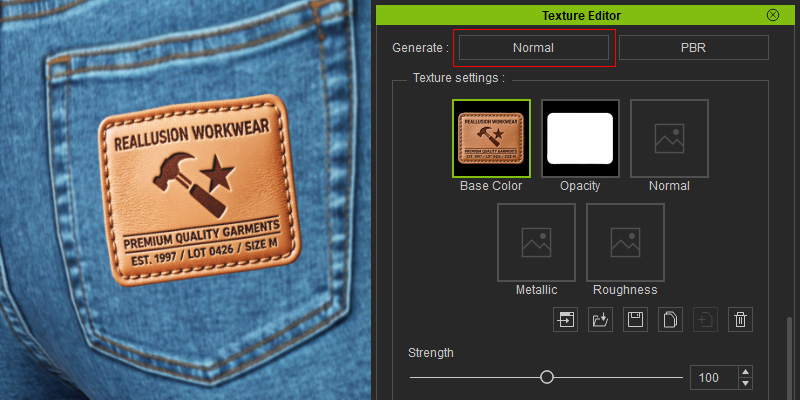
The generated map will create a channel thumbnail in the Texture Settings section.
You can switch the material channel option on the toolbar to view the generated Normal map in the "Normal" material channel on the viewport.
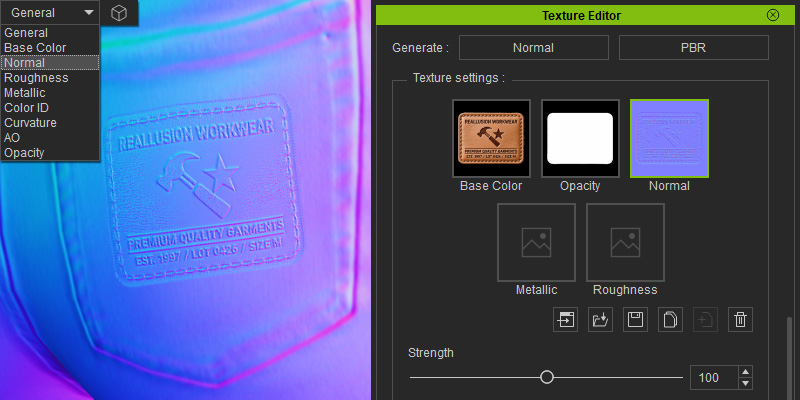
Adjusting Normal Map Strength
With the Normal channel selected, drag the Strength slider to adjust the overall intensity of the Normal effect for the current layer. Increasing the strength enhances the contrast of bumps and dents in the Normal map.
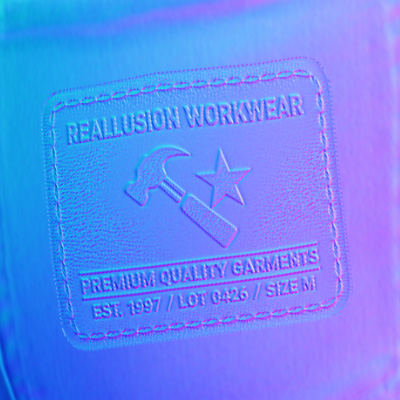 | 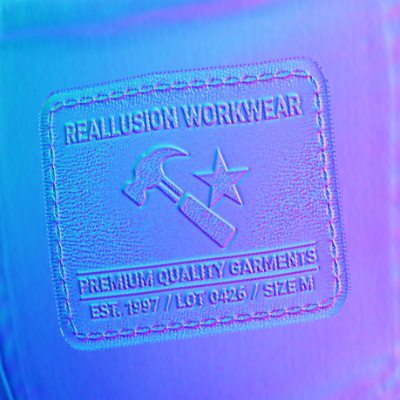 |
Strength = 100 (default) | Strength = 200 |
Flipping the Normal Map
Flipping a Normal map’s direction is necessary to correct the normal orientation of decals.
Use the Invert function in the Normal Settings section to reverse the faces along the X- or Y-axis.
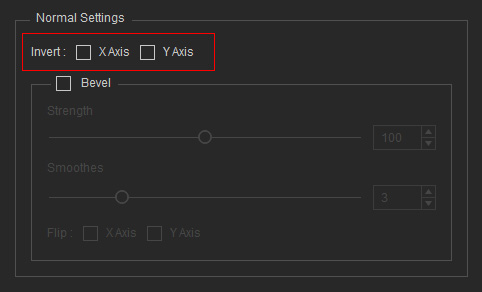
- Flip along the Y-axis:
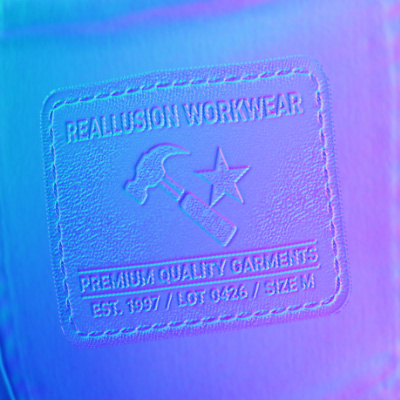
Original Normal: The decal stitches appear recessed.
Checking the Y Axis flips the normals to have the stitches protrude from the surface.
- Flip along the X-axis:
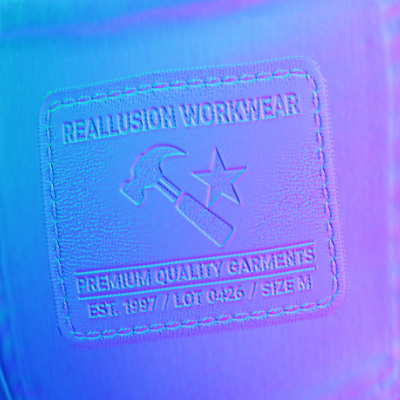
Original Normal: The surface is lit from one side.
Checking the X Axis flips the normals along the X axis, making the lighting appear to come from the opposite side.
See the Creating Beveled Edges section to generate pseudo-bevel Normals along the layer’s edges, enhancing depth and improving the texture’s dimensional appearance.
